Sharp MX 4501N Quick Start Guide - Page 25
Selecting a tray
 |
View all Sharp MX 4501N manuals
Add to My Manuals
Save this manual to your list of manuals |
Page 25 highlights
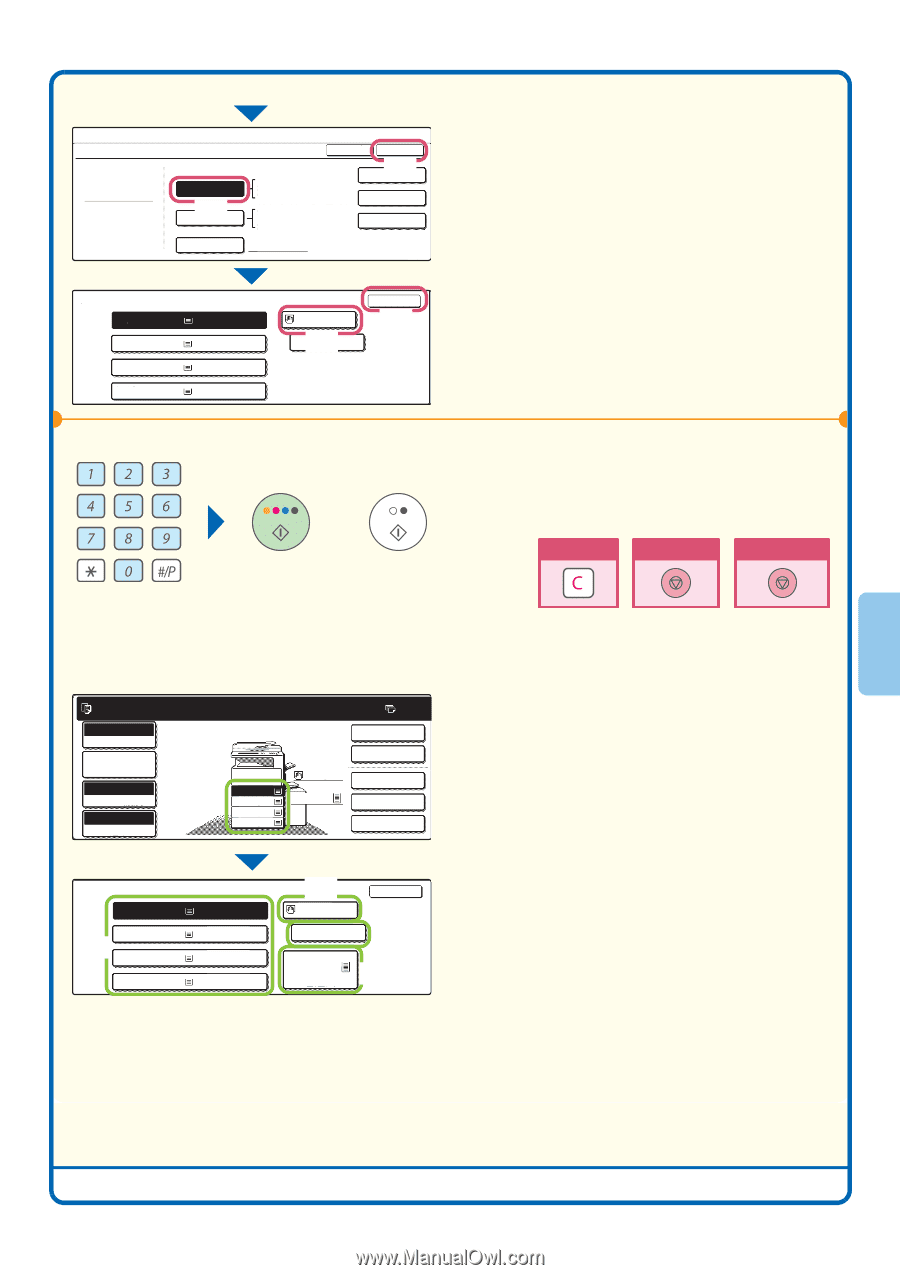
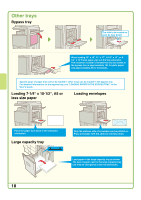
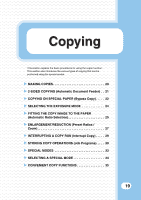
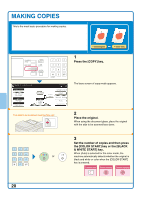
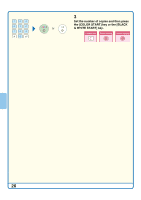
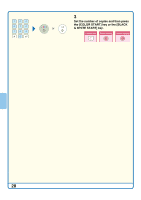
Copy Mode Bypass Tray Type/Size Setting Type Heavy Paper Auto-Inch (5) Auto-AB Custom Size Type Size 12x18,11x17,81/2x14 81/2x11,81/2x11R,51/2x81/2R 71/4x101/2R,A3,A4,B4,B5 A3W,A3,A4,A4R,A5R,B4 B5,B5R,216x330(81/2x13) 11x17,81/2x11 X420 Y297 OK 8(K6) 16K 16KR 2/2 Paper Select 1. 81/2x11 2.81/2x11R 3.81/2x14 4.11x17 Plain Plain Plain Plain 81/2x11 (7) PHreea-vPyriPnatpeedr OK (8) or Select paper settings in the touch panel. (Continued) (5) Touch the [Auto-Inch] key. (6) Touch the [OK] key. (7) Touch the bypass tray key. (8) Touch the [OK] key. 4 Set the number of copies and then press the [COLOR START] key or the [BLACK & WHITE START] key. Correct sets Cancel scanning Cancel copying Selecting a tray Ready to scan for copy. Full color Color mode Job Detail settings Auto Exposure 100% Copy Ratio 1. 81/2x11 2. 81/2x11R 3. 81/2x14 4. 11x17 Plain 81/2x11 5.81/2x11 0 2-sided Copy Output Special Modes File Quick File Paper Select 1. 81/2x11 2. 81/2x11R (1) 3. 81/2x14 4. 11x17 Plain Plain Plain Plain (2) 81/2x11 Plain 5.81/2x11 Plain OK (3) (4) To select the paper to be used for a copy job, touch the image of the machine in the base screen of copy mode. Touch a key to select a tray. (1) The keys appear in the following order from the top: Tray 1, Tray 2, Tray 3, Tray 4. (2) Touch this key to select the bypass tray. (3) Touch this key to set the type of paper in the bypass tray. (4) Touch this key to select Tray 5 (large capacity tray). 23
-
 1
1 -
2
-
3
-
4
-
5
-
6
-
7
-
8
-
9
-
10
-
11
-
12
-
13
-
14
-
15
-
16
-
17
-
18
-
19
-
 20
20 -
 21
21 -
 22
22 -
 23
23 -
 24
24 -
 25
25 -
 26
26 -
 27
27 -
 28
28 -
 29
29 -
 30
30 -
31
-
32
-
33
-
34
-
35
-
36
-
37
-
38
-
39
-
40
-
41
-
42
-
43
-
44
-
45
-
46
-
47
-
48
-
49
-
50
-
51
-
52
-
53
-
54
-
55
-
56
-
57
-
58
-
59
-
60
-
61
-
62
-
63
-
64
-
65
-
66
-
67
-
68
-
69
-
70
-
71
-
72
-
73
-
74
-
75
-
76
-
77
-
78
-
79
-
80
-
81
-
82
-
83
-
84
-
85
-
86
-
87
-
88
 |
 |