Sharp MX 4501N Quick Start Guide - Page 61
Changing The Resolution
 |
View all Sharp MX 4501N manuals
Add to My Manuals
Save this manual to your list of manuals |
Page 61 highlights
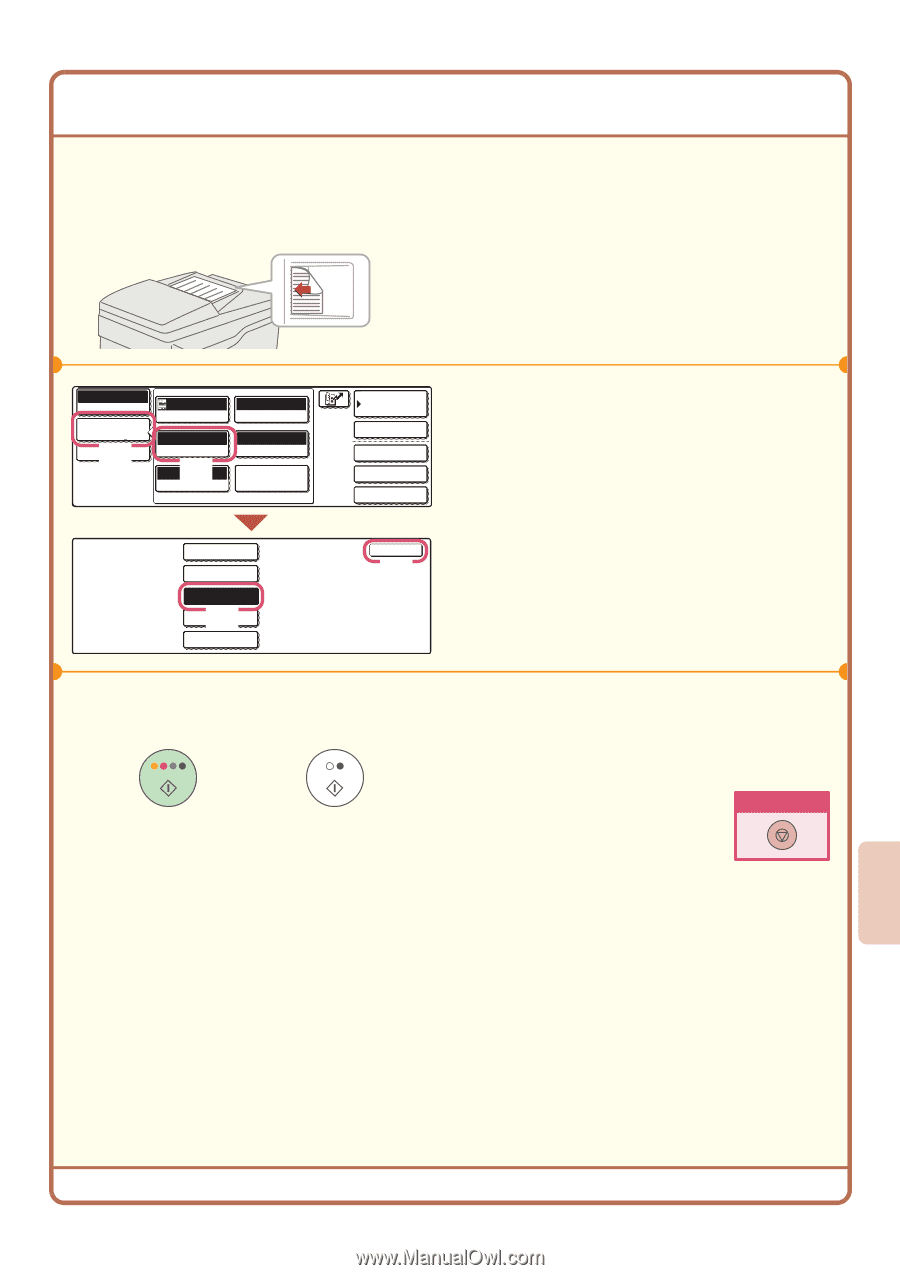
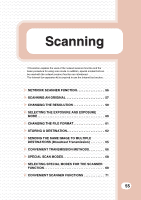
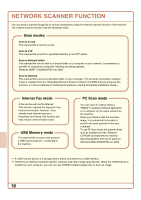
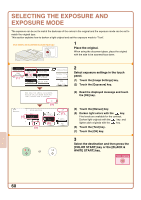
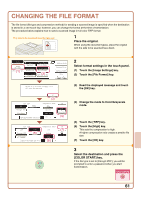
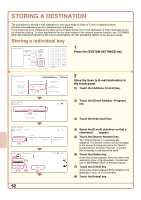
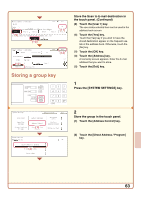
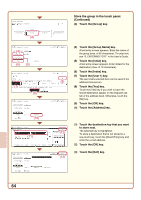
CHANGING THE RESOLUTION You can select the resolution to match the original type. This section explains how to set the resolution to "300X300dpi", which creates a clearer image than the default resolution. The side to be scanned must be face up! 1 Place the original. When using the document glass, place the original with the side to be scanned face down. Scan Mode Switch Image Settings (1) Send Settings Auto Exposure 200X200dpi Resolution (2) Auto 81/2x11 Original Mono2/Auto Color Mode TIFF/JPEG File Format Special Modes Scan Resolution 100X100dpi 200X200dpi 300X300dpi (3) 400X400dpi 600X600dpi or Address Book Address Entry Special Modes File Quick File OK (4) 2 Select the resolution in the touch panel. (1) Touch the [Image Settings] key. (2) Touch the [Resolution] key. (3) Touch the [300X300dpi] key. (4) Touch the [OK] key. 3 Select the destination and then press the [COLOR START] key or the [BLACK & WHITE START] key. Cancel scanning 59
-
 1
1 -
2
-
3
-
4
-
5
-
6
-
7
-
8
-
9
-
10
-
11
-
12
-
13
-
14
-
15
-
16
-
17
-
18
-
19
-
20
-
21
-
22
-
23
-
24
-
25
-
26
-
27
-
28
-
29
-
30
-
31
-
32
-
33
-
34
-
35
-
36
-
37
-
38
-
39
-
40
-
41
-
42
-
43
-
44
-
45
-
46
-
47
-
48
-
49
-
50
-
51
-
52
-
53
-
54
-
55
-
 56
56 -
 57
57 -
 58
58 -
 59
59 -
 60
60 -
 61
61 -
 62
62 -
 63
63 -
 64
64 -
 65
65 -
 66
66 -
67
-
68
-
69
-
70
-
71
-
72
-
73
-
74
-
75
-
76
-
77
-
78
-
79
-
80
-
81
-
82
-
83
-
84
-
85
-
86
-
87
-
88
 |
 |