Sony DSR 250 Operating Instructions - Page 15
Recording a picture - microphone
 |
UPC - 027242579514
View all Sony DSR 250 manuals
Add to My Manuals
Save this manual to your list of manuals |
Page 15 highlights
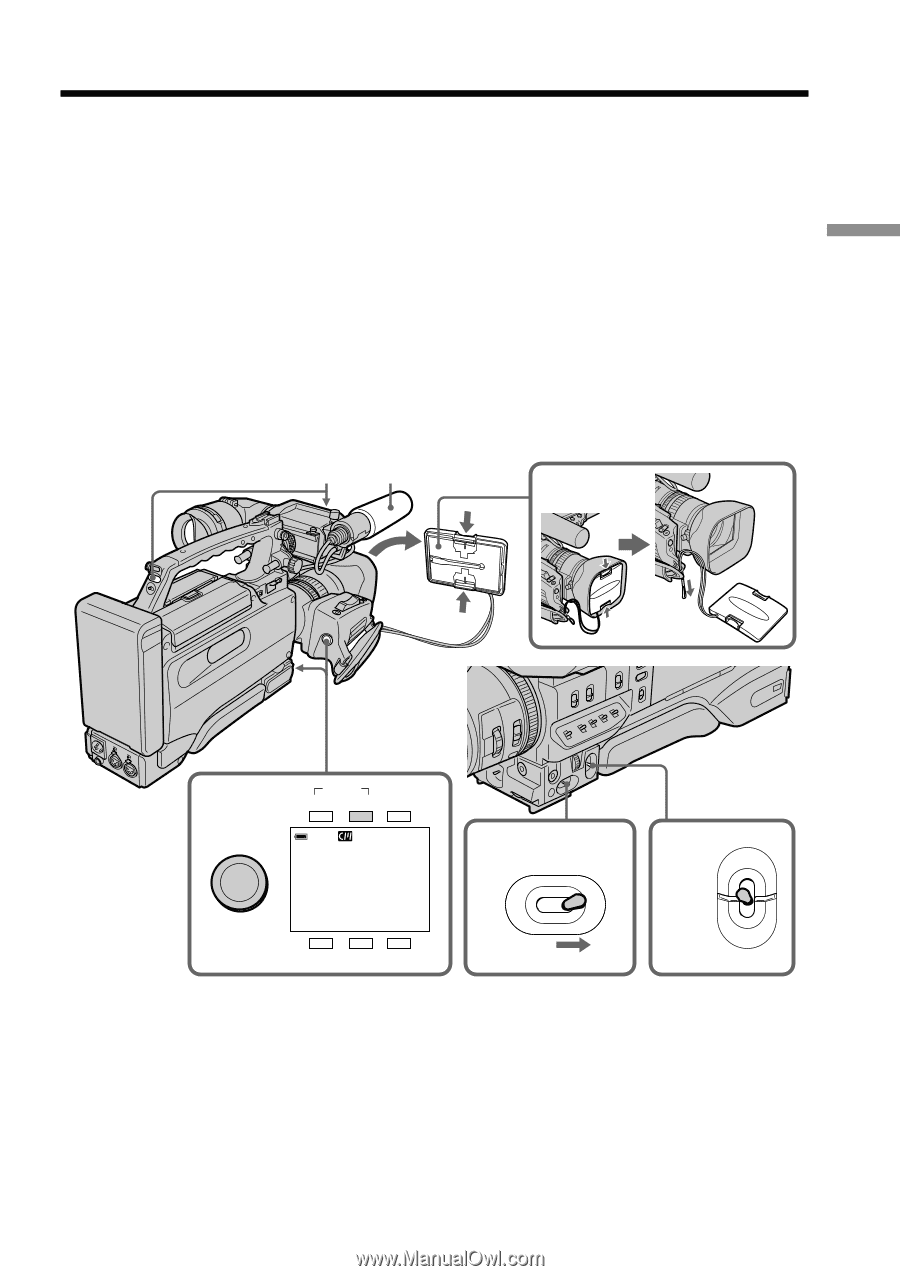
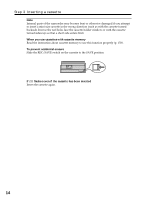
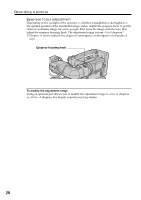
Recording - Basics P - Recording - Basics - Recording a picture Your camcorder automatically focuses for you. (1) Remove the hood cap and pull the hood cap string to fix it. (2) Install the power source and insert a cassette. See "Step 2" and "Step 3" for more information (p. 8 to 14). (3) Set the POWER switch to ON. (4) Set the MEMORY/CAMERA/VTR selector to CAMERA. Your camcorder is set to the standby mode. The picture now being shot is displayed in the viewfinder. (5) Press START/STOP. Your camcorder starts recording. "STBY" in the viewfinder changes to "REC" and the REC lamp in the viewfinder lights up. Also, the TALLY lamps located on the front and rear of your camcorder light up. To stop recording, press START/STOP again. This camcorder is equipped with two START/STOP buttons, and you can use either of them for recording start/stop. TALLY lamps Microphone 1 S 5 TART/STO TALLY TAKE REC BATT Li REC 00:00:00:01 SHUTTER DVCAM 32K GAIN UP 3 POWER OFF ON 4 MEMORY CAMERA VTR 15
-
 1
1 -
2
-
3
-
4
-
5
-
6
-
7
-
8
-
9
-
 10
10 -
 11
11 -
 12
12 -
 13
13 -
 14
14 -
 15
15 -
 16
16 -
 17
17 -
 18
18 -
 19
19 -
 20
20 -
21
-
22
-
23
-
24
-
25
-
26
-
27
-
28
-
29
-
30
-
31
-
32
-
33
-
34
-
35
-
36
-
37
-
38
-
39
-
40
-
41
-
42
-
43
-
44
-
45
-
46
-
47
-
48
-
49
-
50
-
51
-
52
-
53
-
54
-
55
-
56
-
57
-
58
-
59
-
60
-
61
-
62
-
63
-
64
-
65
-
66
-
67
-
68
-
69
-
70
-
71
-
72
-
73
-
74
-
75
-
76
-
77
-
78
-
79
-
80
-
81
-
82
-
83
-
84
-
85
-
86
-
87
-
88
-
89
-
90
-
91
-
92
-
93
-
94
-
95
-
96
-
97
-
98
-
99
-
100
-
101
-
102
-
103
-
104
-
105
-
106
-
107
-
108
-
109
-
110
-
111
-
112
-
113
-
114
-
115
-
116
-
117
-
118
-
119
-
120
-
121
-
122
-
123
-
124
-
125
-
126
-
127
-
128
-
129
-
130
-
131
-
132
-
133
-
134
-
135
-
136
-
137
-
138
-
139
-
140
-
141
-
142
-
143
-
144
-
145
-
146
-
147
-
148
-
149
-
150
-
151
-
152
-
153
-
154
-
155
-
156
-
157
-
158
-
159
-
160
-
161
-
162
-
163
-
164
-
165
-
166
-
167
-
168
-
169
-
170
-
171
-
172
-
173
-
174
-
175
-
176
-
177
-
178
-
179
-
180
-
181
-
182
-
183
-
184
-
185
-
186
-
187
-
188
-
189
-
190
-
191
-
192
 |
 |