TP-Link Archer MR200 Archer MR200 V1 User Guide - Page 54
Reserve LAN IP Addresses, DHCP Server, IP Address Pool, Address Lease Time, Advanced
 |
View all TP-Link Archer MR200 manuals
Add to My Manuals
Save this manual to your list of manuals |
Page 54 highlights
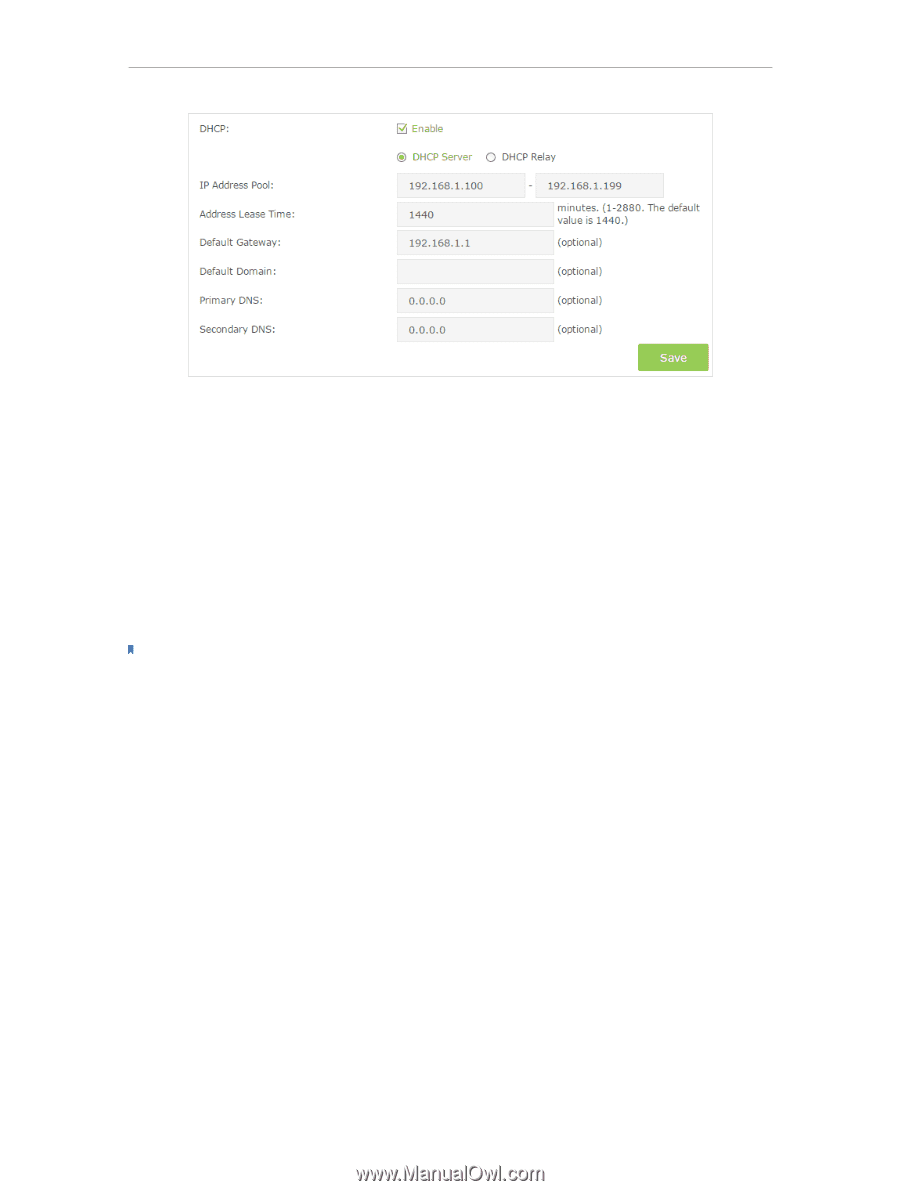
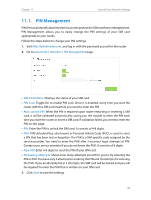
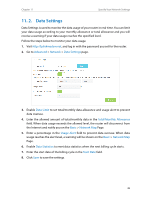
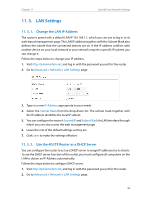
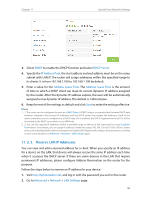
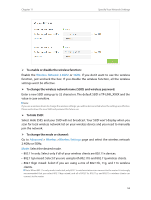
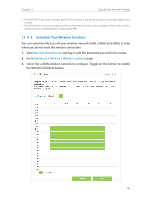
Chapter 11 Specify Your Network Settings 3. Select DHCP to enable the DHCP function and select DHCP Server. 4. Specify the IP Address Pool, the start address and end address must be on the same subnet with LAN IP. The router will assign addresses within this specified range to its clients. It is from 192.168.1.100 to 192.168.1.199 by default. 5. Enter a value for the Address Lease Time. The Address Lease Time is the amount of time in which a DHCP client can lease its current dynamic IP address assigned by the router. After the dynamic IP address expires, the user will be automatically assigned a new dynamic IP address. The default is 1440 minutes. 6. Keep the rest of the settings as default and click Save to make the settings effective. Note: 1. 1. The router can be configured to work as a DHCP Relay. A DHCP relay is a computer that forwards DHCP data between computers that request IP addresses and the DHCP server that assigns the addresses. Each of the device's interfaces can be configured as a DHCP relay. If it is enabled, the DHCP requests from local PCs will be forwarded to the DHCP server that runs on WAN side. 2. 2. You can also appoint IP addresses within a specified range to devices of the same type by using Condition Pool feature. For example, you can assign IP addresses within the range (192.168.1.50 to192.168.1.80) to Camera devices, thus facilitating the network management. Enable DHCP feature and configure the parameters according to your actual situation on Advanced > Network > LAN Settings page. 11. 3. 3. Reserve LAN IP Addresses You can view and add a reserved address for a client. When you specify an IP address for a device on the LAN, that device will always receive the same IP address each time when it accesses the DHCP server. If there are some devices in the LAN that require permanent IP addresses, please configure Address Reservation on the router for the purpose. Follow the steps below to reserve an IP address for your device. 1. Visit http://tplinkmodem.net, and log in with the password you set for the router. 2. Go to Advanced > Network > LAN Settings page. 50
-
 1
1 -
2
-
3
-
4
-
5
-
6
-
7
-
8
-
9
-
10
-
11
-
12
-
13
-
14
-
15
-
16
-
17
-
18
-
19
-
20
-
21
-
22
-
23
-
24
-
25
-
26
-
27
-
28
-
29
-
30
-
31
-
32
-
33
-
34
-
35
-
36
-
37
-
38
-
39
-
40
-
41
-
42
-
43
-
44
-
45
-
46
-
47
-
48
-
 49
49 -
 50
50 -
 51
51 -
 52
52 -
 53
53 -
 54
54 -
 55
55 -
 56
56 -
 57
57 -
 58
58 -
 59
59 -
60
-
61
-
62
-
63
-
64
-
65
-
66
-
67
-
68
-
69
-
70
-
71
-
72
-
73
-
74
-
75
-
76
-
77
-
78
-
79
-
80
-
81
-
82
-
83
-
84
-
85
-
86
-
87
-
88
-
89
-
90
-
91
-
92
-
93
-
94
-
95
-
96
-
97
-
98
-
99
-
100
 |
 |