TP-Link Archer MR200 Archer MR200 V1 User Guide - Page 75
System Log, Advanced, System Tools, Administration, Remote, Management, Remote Management
 |
View all TP-Link Archer MR200 manuals
Add to My Manuals
Save this manual to your list of manuals |
Page 75 highlights
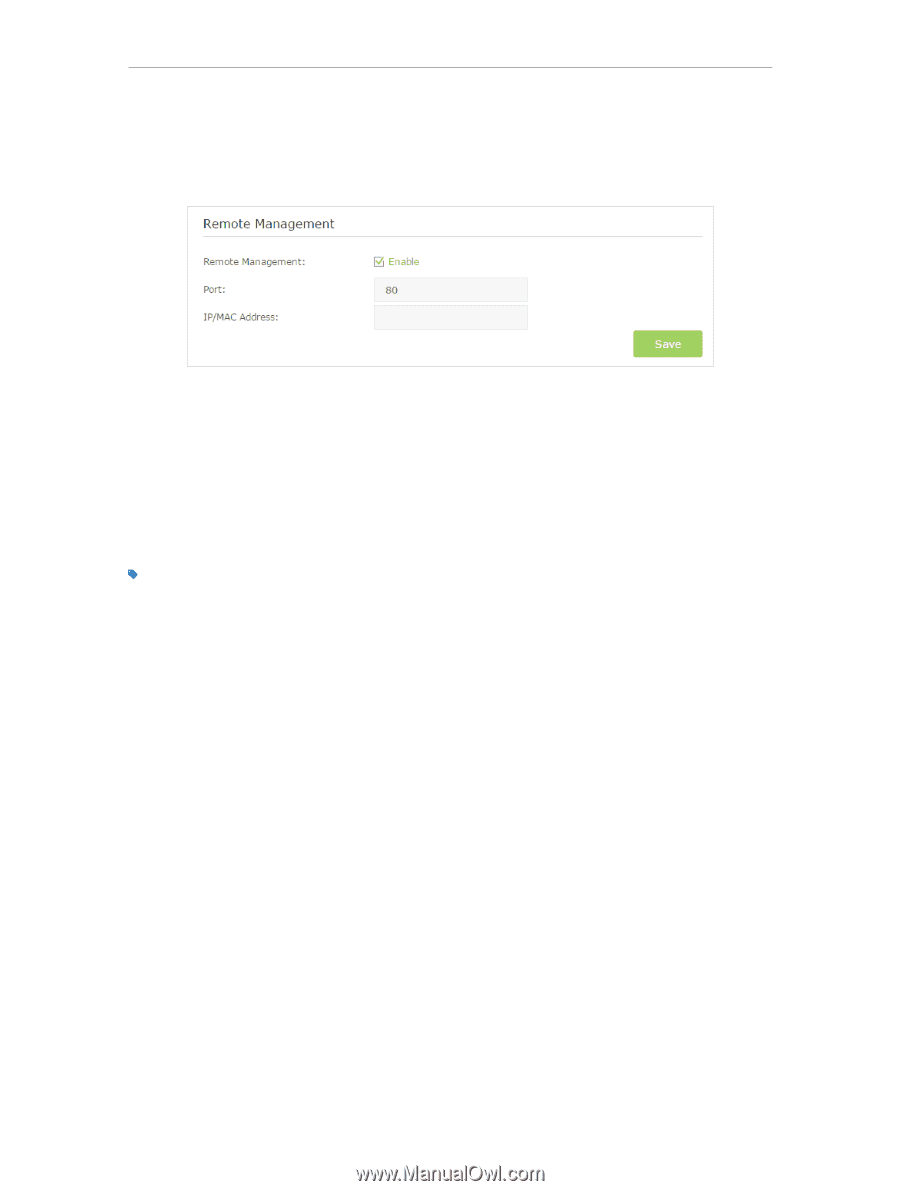
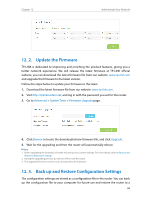
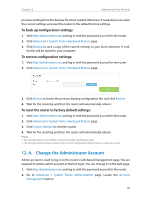
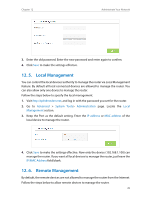
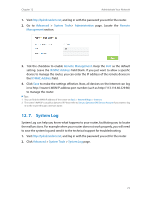
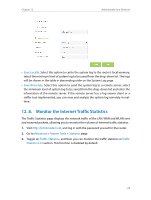
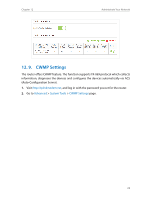
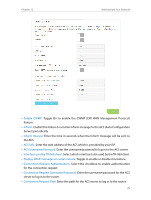
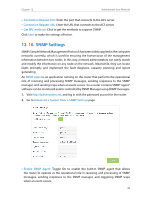
Chapter 12 Administrate Your Network 1. Visit http://tplinkmodem.net, and log in with the password you set for the router. 2. Go to Advanced > System Tools> Administration page. Locate the Remote Management section. 3. Tick the checkbox to enable Remote Management. Keep the Port as the default setting. Leave the IP/MAC Address field blank. If you just want to allow a specific device to manage the router, you can enter the IP address of the remote device in the IP/MAC Address field. 4. Click Save to make the settings effective. Now, all devices on the Internet can log in to http://router's WAN IP address:port number (such as http://113.116.60.229:80) to manage the router. Tips: 1. You can find the WAN IP address of the router on Basic > Network Maps > Internet. 2. The router's WAN IP is usually a dynamic IP. Please refer to Set up a Dynamic DNS Service Account if you want to log in to the router through a domain name. 12. 7. System Log System Log can help you know what happens to your router, facilitating you to locate the malfunctions. For example when your router does not work properly, you will need to save the system log and send it to the technical support for troubleshooting. 1. Visit http://tplinkmodem.net, and log in with the password you set for the router. 2. Click Advanced > System Tools > System Log page. 71
-
 1
1 -
2
-
3
-
4
-
5
-
6
-
7
-
8
-
9
-
10
-
11
-
12
-
13
-
14
-
15
-
16
-
17
-
18
-
19
-
20
-
21
-
22
-
23
-
24
-
25
-
26
-
27
-
28
-
29
-
30
-
31
-
32
-
33
-
34
-
35
-
36
-
37
-
38
-
39
-
40
-
41
-
42
-
43
-
44
-
45
-
46
-
47
-
48
-
49
-
50
-
51
-
52
-
53
-
54
-
55
-
56
-
57
-
58
-
59
-
60
-
61
-
62
-
63
-
64
-
65
-
66
-
67
-
68
-
69
-
 70
70 -
 71
71 -
 72
72 -
 73
73 -
 74
74 -
 75
75 -
 76
76 -
 77
77 -
 78
78 -
 79
79 -
 80
80 -
81
-
82
-
83
-
84
-
85
-
86
-
87
-
88
-
89
-
90
-
91
-
92
-
93
-
94
-
95
-
96
-
97
-
98
-
99
-
100
 |
 |