Xerox PE220 User Guide - Page 62
Collation Copying, Auto Fit Copying, ID Card Copying, Enter, Start, Reduce/Enlarge
 |
UPC - 095205221152
View all Xerox PE220 manuals
Add to My Manuals
Save this manual to your list of manuals |
Page 62 highlights
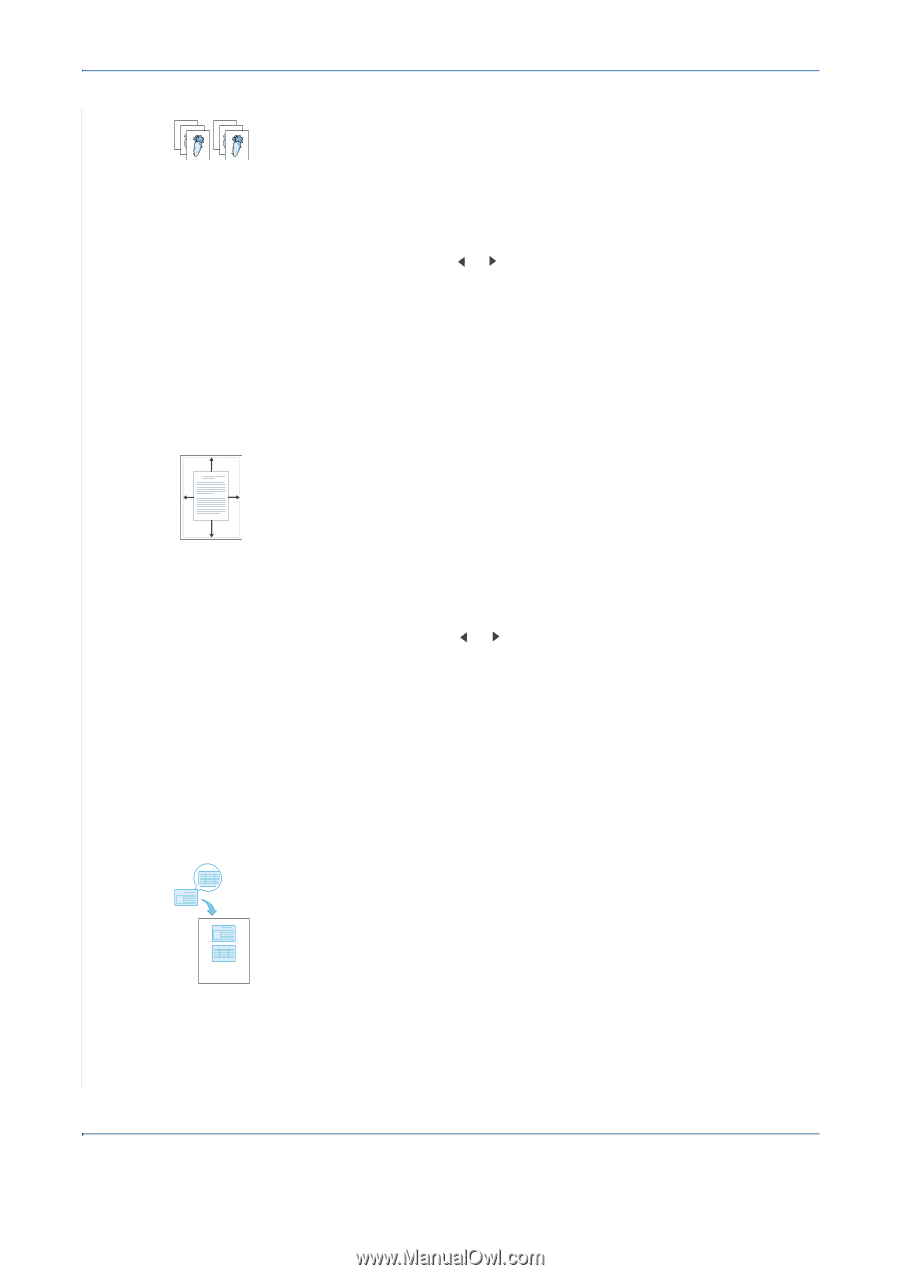
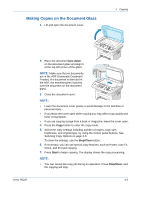
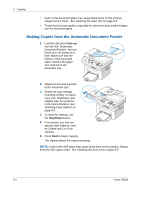
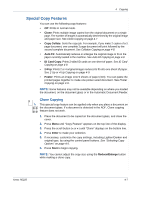
4 Copying Collation Copying 1 1 2 2 3 3 This special copy feature is available only when you load documents in the ADF. 1. Load the documents to be copied in the ADF. 2. Press Menu until "Copy Feature" appears on the top line of the display. 3. Press the scroll button ( or ) until "Copy Collate" displays on the bottom line. 4. Press Enter to make your selection. 5. If necessary, customize the copy settings, including Lighten/Darken and original type, by using the control panel buttons. See "Selecting Copy Options" on page 4-5. 6. Press Start to begin copying. Auto Fit Copying A This special copy feature can be applied only when you place a document on the document glass. If a document is detected in the ADF, Auto Fit copying does not work. 1. Place the document to be copied on the document glass, and close the cover. 2. Press Menu until "Copy Feature" appears on the top line of the display. 3. Press the scroll button ( or ) until "Auto Fit" appears on the bottom line. 4. Press Enter to make your selection. 5. If necessary, customize the copy settings, including Lighten/Darken and original type, by using the control panel buttons. See "Selecting Copy Options" on page 4-5. 6. Press Start to begin copying. NOTE: You cannot adjust the copy size using the Reduce/Enlarge button while Auto Fit copying is enabled. ID Card Copying You can copy both sides of the ID Card to a single side of paper. When you copy using this feature, the machine prints one side of the card on the upper half of the paper and the other side on the lower half without reducing the size of the original. If the original is larger than the printable area, some portions may not be printed. This special copy feature can be applied only when you place a document on the document glass. If a document is detected in the ADF, ID Card copying feature does not work. 4-8 Xerox PE220
-
 1
1 -
2
-
3
-
4
-
5
-
6
-
7
-
8
-
9
-
10
-
11
-
12
-
13
-
14
-
15
-
16
-
17
-
18
-
19
-
20
-
21
-
22
-
23
-
24
-
25
-
26
-
27
-
28
-
29
-
30
-
31
-
32
-
33
-
34
-
35
-
36
-
37
-
38
-
39
-
40
-
41
-
42
-
43
-
44
-
45
-
46
-
47
-
48
-
49
-
50
-
51
-
52
-
53
-
54
-
55
-
56
-
 57
57 -
 58
58 -
 59
59 -
 60
60 -
 61
61 -
 62
62 -
 63
63 -
 64
64 -
 65
65 -
 66
66 -
 67
67 -
68
-
69
-
70
-
71
-
72
-
73
-
74
-
75
-
76
-
77
-
78
-
79
-
80
-
81
-
82
-
83
-
84
-
85
-
86
-
87
-
88
-
89
-
90
-
91
-
92
-
93
-
94
-
95
-
96
-
97
-
98
-
99
-
100
-
101
-
102
-
103
-
104
-
105
-
106
-
107
-
108
-
109
-
110
-
111
-
112
-
113
-
114
-
115
-
116
-
117
-
118
-
119
-
120
-
121
-
122
-
123
-
124
-
125
-
126
-
127
-
128
-
129
-
130
-
131
-
132
-
133
-
134
-
135
-
136
-
137
-
138
-
139
-
140
-
141
-
142
-
143
-
144
-
145
-
146
-
147
-
148
-
149
-
150
-
151
-
152
-
153
-
154
-
155
-
156
-
157
-
158
-
159
-
160
-
161
-
162
-
163
-
164
-
165
-
166
-
167
-
168
-
169
-
170
-
171
-
172
-
173
-
174
-
175
-
176
-
177
-
178
-
179
-
180
-
181
-
182
-
183
-
184
-
185
-
186
-
187
-
188
-
189
-
190
-
191
-
192
-
193
-
194
-
195
-
196
-
197
-
198
-
199
-
200
 |
 |