Xerox PE220 User Guide - Page 71
Installing Xerox Drivers in Microsoft Windows 98 or, Windows Millennium using the USB port, Continue - drivers windows 7
 |
UPC - 095205221152
View all Xerox PE220 manuals
Add to My Manuals
Save this manual to your list of manuals |
Page 71 highlights
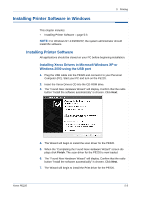
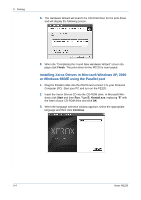
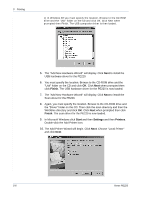
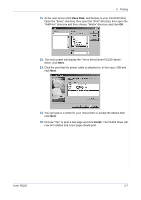
5 Printing 4. Choose the components you want to install and then click Continue. 5. Click Continue. 6. Click Finish. The driver installation is now complete. Installing Xerox Drivers in Microsoft Windows 98 or Windows Millennium using the USB port 1. Plug the USB cable into the PE220 and connect it to your Personal Computer (PC). Start your PC and turn on the PE220. 2. Insert the Xerox Drivers CD into the CD-ROM drive. 3. The "Add New Hardware Wizard" will display. Click Next. 4. Confirm that the radio button "Search for the best driver for your device" is chosen. Click Next. i) In Windows Millennium (ME) the add Hardware Wizard will search and find the scan driver. Click Finish when this process is complete. Windows ME will then display the "Add New Hardware Wizard" for the print driver, click Next. Click Finish when this process is complete. The drivers are installed and you can skip to step 9. Xerox PE220 5-5
-
 1
1 -
2
-
3
-
4
-
5
-
6
-
7
-
8
-
9
-
10
-
11
-
12
-
13
-
14
-
15
-
16
-
17
-
18
-
19
-
20
-
21
-
22
-
23
-
24
-
25
-
26
-
27
-
28
-
29
-
30
-
31
-
32
-
33
-
34
-
35
-
36
-
37
-
38
-
39
-
40
-
41
-
42
-
43
-
44
-
45
-
46
-
47
-
48
-
49
-
50
-
51
-
52
-
53
-
54
-
55
-
56
-
57
-
58
-
59
-
60
-
61
-
62
-
63
-
64
-
65
-
 66
66 -
 67
67 -
 68
68 -
 69
69 -
 70
70 -
 71
71 -
 72
72 -
 73
73 -
 74
74 -
 75
75 -
 76
76 -
77
-
78
-
79
-
80
-
81
-
82
-
83
-
84
-
85
-
86
-
87
-
88
-
89
-
90
-
91
-
92
-
93
-
94
-
95
-
96
-
97
-
98
-
99
-
100
-
101
-
102
-
103
-
104
-
105
-
106
-
107
-
108
-
109
-
110
-
111
-
112
-
113
-
114
-
115
-
116
-
117
-
118
-
119
-
120
-
121
-
122
-
123
-
124
-
125
-
126
-
127
-
128
-
129
-
130
-
131
-
132
-
133
-
134
-
135
-
136
-
137
-
138
-
139
-
140
-
141
-
142
-
143
-
144
-
145
-
146
-
147
-
148
-
149
-
150
-
151
-
152
-
153
-
154
-
155
-
156
-
157
-
158
-
159
-
160
-
161
-
162
-
163
-
164
-
165
-
166
-
167
-
168
-
169
-
170
-
171
-
172
-
173
-
174
-
175
-
176
-
177
-
178
-
179
-
180
-
181
-
182
-
183
-
184
-
185
-
186
-
187
-
188
-
189
-
190
-
191
-
192
-
193
-
194
-
195
-
196
-
197
-
198
-
199
-
200
 |
 |
