Brother International XL 5130 Users Manual - English - Page 46
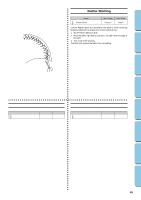
Scallop Stitching, Universal Stitching, Point feston, Point universel
 |
View all Brother International XL 5130 manuals
Add to My Manuals
Save this manual to your list of manuals |
Page 46 highlights
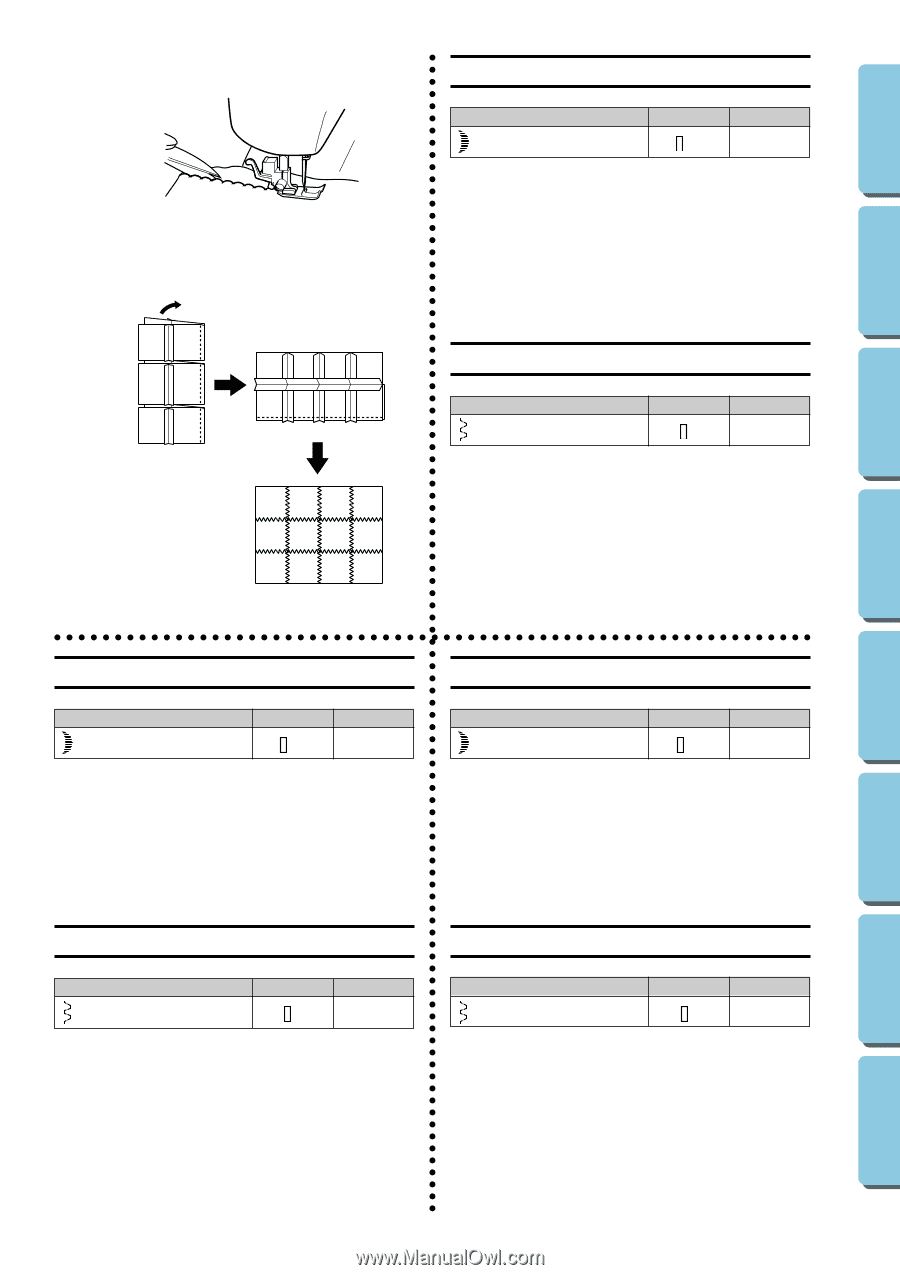
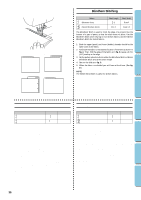
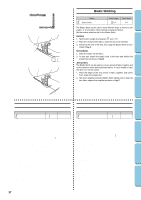
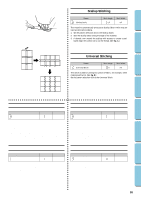
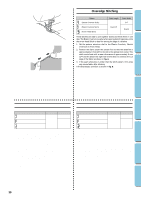
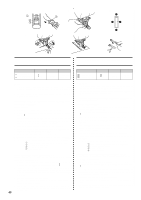
CONTENTS KNOWING YOUR SEWING MACHINE STRAIGHT AND ZIGZAG STITCHING BUILT-IN STITCHES A Scallop Stitching Pattern (Scallop Stitch) Stitch Length -1.5 Stitch Width 3-5 This machine automatically produces a Scallop Stitch which may be used as decorative edging. 1. Set the pattern selection dial to the Scallop Stitch. 2. Sew the Scallop Stitch along the edge of the material. 3. If desired, trim around the scallop with scissors to create a scal- loped edge. Be careful not to cut the thread. (See fig. A.) B Universal Stitching Pattern (Universal Stitch) Stitch Length -3 Stitch Width 3-5 This stitch is used for joining two pieces of fabric, for example, when making patchwork. (See fig. B.) Set the pattern selection dial to the Universal Stitch. Puntada festón Point feston Número de puntada (Puntada festón ondulado) Largo de puntada Ancho de puntada -1,5 3-5 Esta máquina puede realizar automáticamente unas puntadas festón que pueden servir para decorar los bordes de la tela. 1. Ponga el selector de puntadas en puntadas festón. 2. Cosa las puntadas festón a lo largo del borde del tejido. 3. Si lo desea, corte el borde con tijeras, siguiendo las puntadas, para crear un borde festonado. Sin embargo, tenga sumo cuidado en no cortar el hilo. (Ver fig. A.) Modèle (Point feston) Longueur de point Largeur de point -1,5 3-5 Cette machine crée automatiquement un point de feston qui peut servir à réaliser des lisières décoratives (à picots). 1. Mettre le sélecteur de modèle sur le point feston . 2. Effectuer le point de feston le long de la lisière du tissu. 3. Si on le souhaite, découper autour des coquilles à l'aide d'une paire de ciseaux pour festonner le tissu. Faire attention cependant de ne pas couper le fil. (Voir fig. A.) Puntada universal Point universel Número de puntada (Puntada de acolchado) Largo de puntada Ancho de puntada -3 3-5 Esta puntada se usa para unir dos piezas de tejido o realizar trabajos como el patchwork. (Ver fig. B.) Ponga el selector de puntadas en la puntada universal. Modèle (Point universel) Longueur de point Largeur de point -3 3-5 Ce point sert à assembler deux morceaux de tissu, par exemple pour faire du patchwork. (Voir fig. B.) Mettre le sélecteur de modèle sur le point universel. BUTTONHOLE AND BUTTON SEWING USING ATTACHMENTS AND APPLICATIONS MAINTENANCE INDEX 38
-
 1
1 -
2
-
3
-
4
-
5
-
6
-
7
-
8
-
9
-
10
-
11
-
12
-
13
-
14
-
15
-
16
-
17
-
18
-
19
-
20
-
21
-
22
-
23
-
24
-
25
-
26
-
27
-
28
-
29
-
30
-
31
-
32
-
33
-
34
-
35
-
36
-
37
-
38
-
39
-
40
-
 41
41 -
 42
42 -
 43
43 -
 44
44 -
 45
45 -
 46
46 -
 47
47 -
 48
48 -
 49
49 -
 50
50 -
 51
51 -
52
-
53
-
54
-
55
-
56
-
57
-
58
-
59
-
60
-
61
-
62
-
63
-
64
-
65
-
66
-
67
-
68
-
69
-
70
-
71
-
72
-
73
-
74
-
75
-
76
-
77
 |
 |