Brother International GT-541 Instruction Manual - English - Page 60
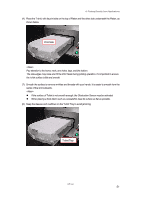
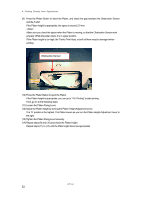
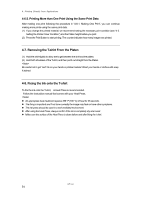
Placing the T-shirt on the Platen, Tighten the Platen Fixing Lever securely.
 |
View all Brother International GT-541 manuals
Add to My Manuals
Save this manual to your list of manuals |
Page 60 highlights
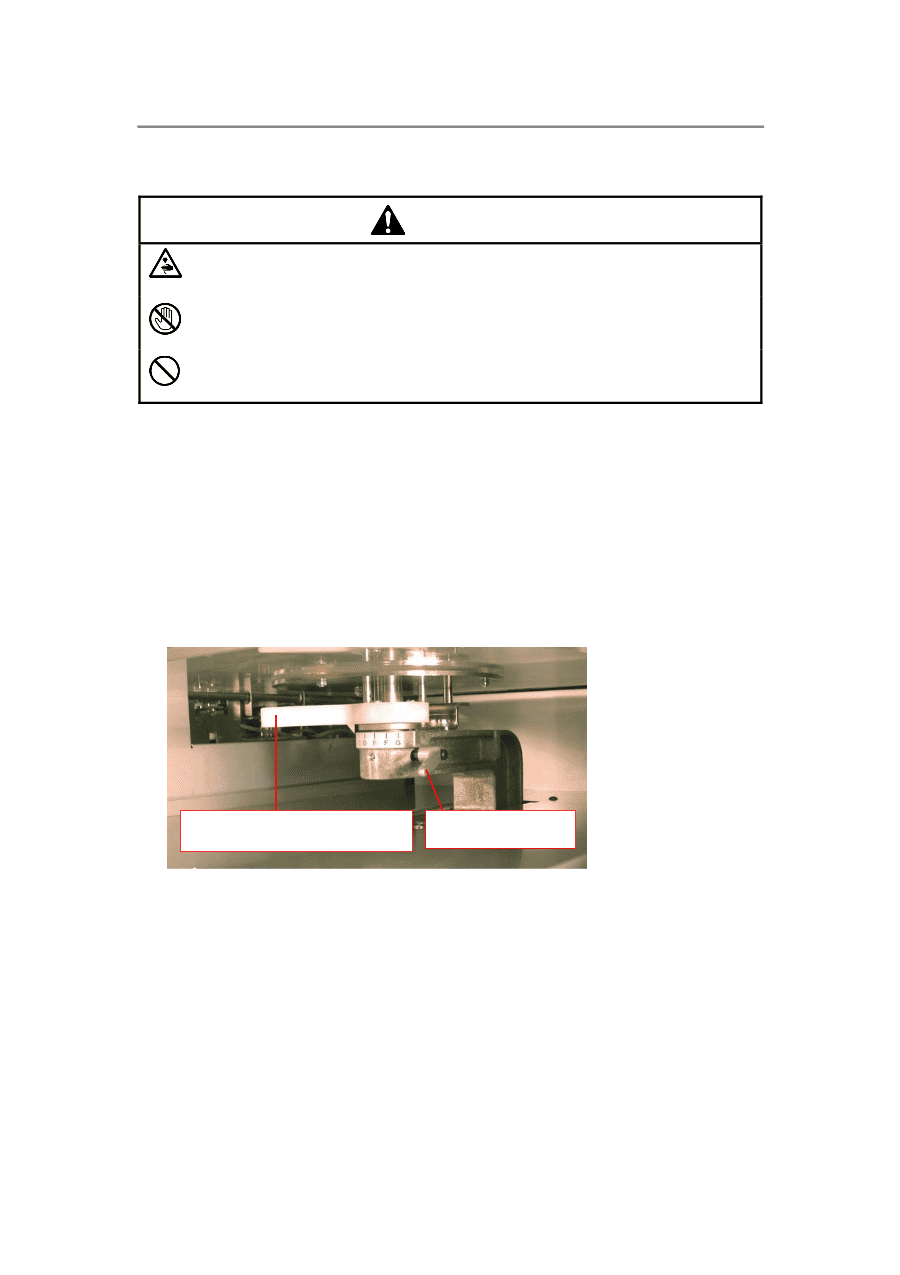
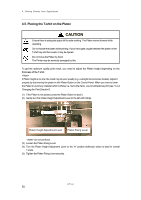
4. Printing Directly from Applications 4-5. Placing the T-shirt on the Platen CAUTION Ensure there is adequate space left for safe working. The Platen moves forward while operating. Do not handle the platen while printing. If your hand gets caught between the platen or the T-shirt tray and the covers, it may be injured. Do not move the Platen by hand. The Printer may be seriously damaged by this. To get the optimum quality print result, you need to adjust the Platen height depending on the thickness of the T-shirt. If Platen height is too low, the result may be poor quality (e.g. a straight line becomes double). Adjust it properly by test moving the platen in with Platen Button on the Control Panel. When you have to lower the Platen to avoid any material which is thicker i.e. hems the hems, use Uni-Directional print (see "7-2-4. Changing the Print Direction"). (1) If the Platen is not ejected, press the Platen Button to eject it. (2) Gently turn the Platen Height Adjustment Lever to the left until it stops. Platen Height Adjustment Lever Platen Fixing Lever Do not use force. (3) Loosen the Platen Fixing Lever. (4) Turn the Platen Height Adjustment Lever to the "A" position (leftmost), where is best for normal T-shirts. (3) Tighten the Platen Fixing Lever securely. GT-541 50
-
 1
1 -
2
-
3
-
4
-
5
-
6
-
7
-
8
-
9
-
10
-
11
-
12
-
13
-
14
-
15
-
16
-
17
-
18
-
19
-
20
-
21
-
22
-
23
-
24
-
25
-
26
-
27
-
28
-
29
-
30
-
31
-
32
-
33
-
34
-
35
-
36
-
37
-
38
-
39
-
40
-
41
-
42
-
43
-
44
-
45
-
46
-
47
-
48
-
49
-
50
-
51
-
52
-
53
-
54
-
 55
55 -
 56
56 -
 57
57 -
 58
58 -
 59
59 -
 60
60 -
 61
61 -
 62
62 -
 63
63 -
 64
64 -
 65
65 -
66
-
67
-
68
-
69
-
70
-
71
-
72
-
73
-
74
-
75
-
76
-
77
-
78
-
79
-
80
-
81
-
82
-
83
-
84
-
85
-
86
-
87
-
88
-
89
-
90
-
91
-
92
-
93
-
94
-
95
-
96
-
97
-
98
-
99
-
100
-
101
-
102
-
103
-
104
-
105
-
106
-
107
-
108
-
109
-
110
-
111
-
112
-
113
-
114
-
115
-
116
-
117
-
118
-
119
-
120
-
121
-
122
-
123
-
124
-
125
-
126
 |
 |