Compaq CQ2000 Getting Started Guide - Page 104
Creating Folders, Moving Files, Windows Start Button, Computer, Windows, Explorer, Organize
 |
View all Compaq CQ2000 manuals
Add to My Manuals
Save this manual to your list of manuals |
Page 104 highlights
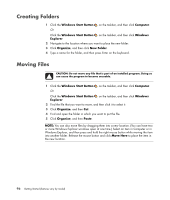
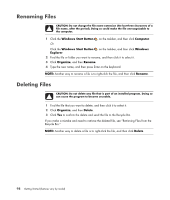
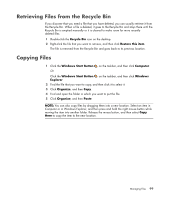
Creating Folders 1 Click the Windows Start Button on the taskbar, and then click Computer. Or Click the Windows Start Button on the taskbar, and then click Windows Explorer. 2 Navigate to the location where you want to place the new folder. 3 Click Organize, and then click New Folder. 4 Type a name for the folder, and then press Enter on the keyboard. Moving Files CAUTION: Do not move any file that is part of an installed program. Doing so can cause the program to become unusable. 1 Click the Windows Start Button on the taskbar, and then click Computer. Or Click the Windows Start Button on the taskbar, and then click Windows Explorer. 2 Find the file that you want to move, and then click it to select it. 3 Click Organize, and then Cut. 4 Find and open the folder in which you want to put the file. 5 Click Organize, and then Paste. NOTE: You can also move files by dragging them into a new location. (You can have two or more Windows Explorer windows open at one time.) Select an item in Computer or in Windows Explorer, and then press and hold the right mouse button while moving the item into another folder. Release the mouse button and click Move Here to place the item in the new location. 96 Getting Started (features vary by model)
-
 1
1 -
2
-
3
-
4
-
5
-
6
-
7
-
8
-
9
-
10
-
11
-
12
-
13
-
14
-
15
-
16
-
17
-
18
-
19
-
20
-
21
-
22
-
23
-
24
-
25
-
26
-
27
-
28
-
29
-
30
-
31
-
32
-
33
-
34
-
35
-
36
-
37
-
38
-
39
-
40
-
41
-
42
-
43
-
44
-
45
-
46
-
47
-
48
-
49
-
50
-
51
-
52
-
53
-
54
-
55
-
56
-
57
-
58
-
59
-
60
-
61
-
62
-
63
-
64
-
65
-
66
-
67
-
68
-
69
-
70
-
71
-
72
-
73
-
74
-
75
-
76
-
77
-
78
-
79
-
80
-
81
-
82
-
83
-
84
-
85
-
86
-
87
-
88
-
89
-
90
-
91
-
92
-
93
-
94
-
95
-
96
-
97
-
98
-
 99
99 -
 100
100 -
 101
101 -
 102
102 -
 103
103 -
 104
104 -
 105
105 -
 106
106 -
 107
107 -
 108
108 -
 109
109 -
110
-
111
-
112
-
113
-
114
-
115
-
116
-
117
-
118
-
119
-
120
-
121
-
122
-
123
-
124
-
125
-
126
-
127
-
128
-
129
-
130
-
131
-
132
-
133
-
134
-
135
-
136
-
137
-
138
-
139
-
140
-
141
-
142
-
143
-
144
-
145
-
146
-
147
-
148
-
149
-
150
-
151
-
152
-
153
-
154
-
155
-
156
-
157
-
158
-
159
-
160
-
161
-
162
-
163
-
164
-
165
-
166
 |
 |