Compaq CQ2000 Getting Started Guide - Page 13
Locate and install driver software, Windows Start Button, Control Panel, System and Maintenance - install windows 7
 |
View all Compaq CQ2000 manuals
Add to My Manuals
Save this manual to your list of manuals |
Page 13 highlights
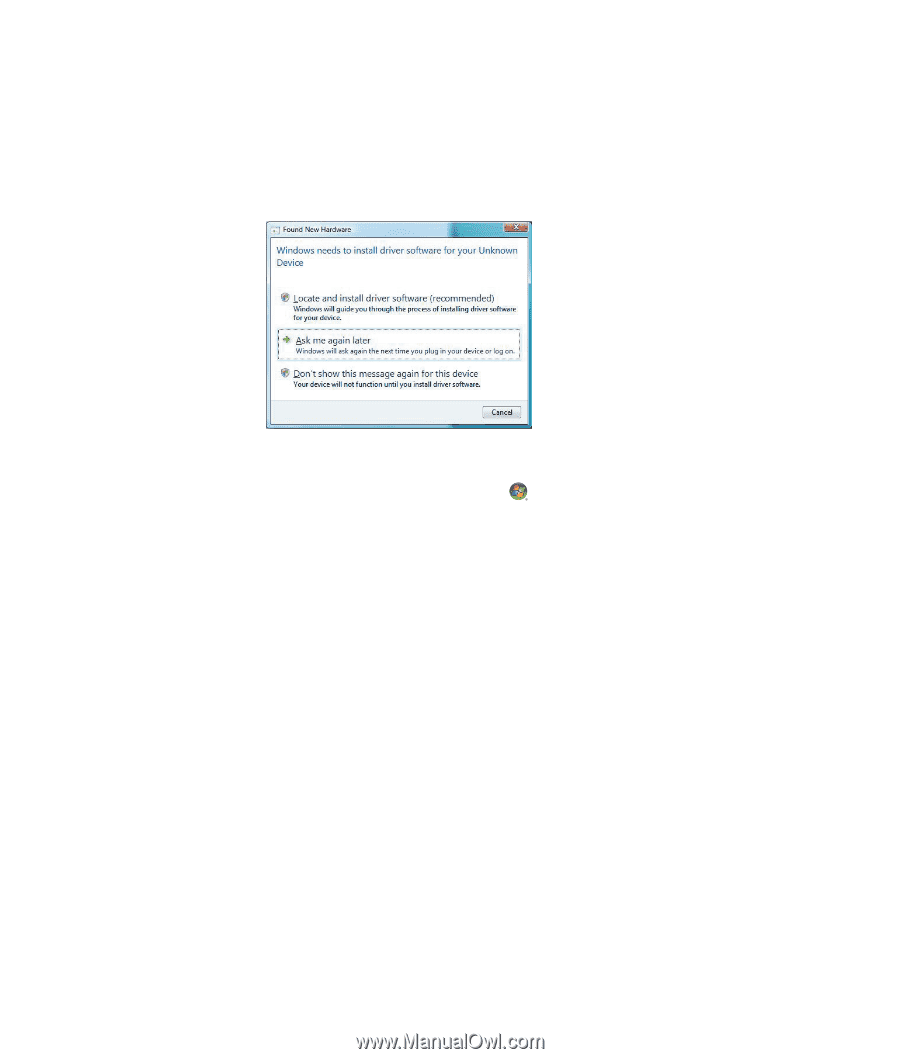
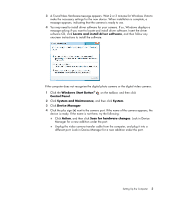
3 A Found New Hardware message appears. Wait 2 or 3 minutes for Windows Vista to make the necessary settings for the new device. When installation is complete, a message appears, indicating that the camera is ready to use. 4 You may need to install driver software for your camera. If so, Windows displays a message asking if you want to locate and install driver software. Insert the driver software CD, click Locate and install driver software, and then follow any onscreen instructions to install the software. If the computer does not recognize the digital photo camera or the digital video camera: 1 Click the Windows Start Button® Control Panel. on the taskbar, and then click 2 Click System and Maintenance, and then click System. 3 Click Device Manager. 4 Click the plus sign (+) next to the camera port. If the name of the camera appears, the device is ready. If the name is not there, try the following: Click Action, and then click Scan for hardware changes. Look in Device Manager for a new addition under the port. Unplug the video camera transfer cable from the computer, and plug it into a different port. Look in Device Manager for a new addition under the port. Setting Up the Computer 5
-
 1
1 -
2
-
3
-
4
-
5
-
6
-
7
-
 8
8 -
 9
9 -
 10
10 -
 11
11 -
 12
12 -
 13
13 -
 14
14 -
 15
15 -
 16
16 -
 17
17 -
 18
18 -
19
-
20
-
21
-
22
-
23
-
24
-
25
-
26
-
27
-
28
-
29
-
30
-
31
-
32
-
33
-
34
-
35
-
36
-
37
-
38
-
39
-
40
-
41
-
42
-
43
-
44
-
45
-
46
-
47
-
48
-
49
-
50
-
51
-
52
-
53
-
54
-
55
-
56
-
57
-
58
-
59
-
60
-
61
-
62
-
63
-
64
-
65
-
66
-
67
-
68
-
69
-
70
-
71
-
72
-
73
-
74
-
75
-
76
-
77
-
78
-
79
-
80
-
81
-
82
-
83
-
84
-
85
-
86
-
87
-
88
-
89
-
90
-
91
-
92
-
93
-
94
-
95
-
96
-
97
-
98
-
99
-
100
-
101
-
102
-
103
-
104
-
105
-
106
-
107
-
108
-
109
-
110
-
111
-
112
-
113
-
114
-
115
-
116
-
117
-
118
-
119
-
120
-
121
-
122
-
123
-
124
-
125
-
126
-
127
-
128
-
129
-
130
-
131
-
132
-
133
-
134
-
135
-
136
-
137
-
138
-
139
-
140
-
141
-
142
-
143
-
144
-
145
-
146
-
147
-
148
-
149
-
150
-
151
-
152
-
153
-
154
-
155
-
156
-
157
-
158
-
159
-
160
-
161
-
162
-
163
-
164
-
165
-
166
 |
 |