Epson PowerLite Pro G6150 User Manual - Page 55
Using Quick Wireless Connection (Windows Only
 |
View all Epson PowerLite Pro G6150 manuals
Add to My Manuals
Save this manual to your list of manuals |
Page 55 highlights
5. Replace the wireless LAN module stopper and secure it using the screw you removed. 6. Close the air filter cover. 7. Plug in and turn on the projector. Parent topic: Wireless Network Projection Related references Optional Equipment and Replacement Parts Using Quick Wireless Connection (Windows Only) You can use the optional Quick Wireless Connection USB key to quickly connect your computer to the projector wirelessly. Then you can project your presentation and remove the key when you are done. Note: Make sure the optional wireless LAN module is installed and the projector is connected wirelessly to your network. 1. Turn on the projector. 2. Press the LAN button on the remote control. You see a screen like this: 55
-
 1
1 -
2
-
3
-
4
-
5
-
6
-
7
-
8
-
9
-
10
-
11
-
12
-
13
-
14
-
15
-
16
-
17
-
18
-
19
-
20
-
21
-
22
-
23
-
24
-
25
-
26
-
27
-
28
-
29
-
30
-
31
-
32
-
33
-
34
-
35
-
36
-
37
-
38
-
39
-
40
-
41
-
42
-
43
-
44
-
45
-
46
-
47
-
48
-
49
-
 50
50 -
 51
51 -
 52
52 -
 53
53 -
 54
54 -
 55
55 -
 56
56 -
 57
57 -
 58
58 -
 59
59 -
 60
60 -
61
-
62
-
63
-
64
-
65
-
66
-
67
-
68
-
69
-
70
-
71
-
72
-
73
-
74
-
75
-
76
-
77
-
78
-
79
-
80
-
81
-
82
-
83
-
84
-
85
-
86
-
87
-
88
-
89
-
90
-
91
-
92
-
93
-
94
-
95
-
96
-
97
-
98
-
99
-
100
-
101
-
102
-
103
-
104
-
105
-
106
-
107
-
108
-
109
-
110
-
111
-
112
-
113
-
114
-
115
-
116
-
117
-
118
-
119
-
120
-
121
-
122
-
123
-
124
-
125
-
126
-
127
-
128
-
129
-
130
-
131
-
132
-
133
-
134
-
135
-
136
-
137
-
138
-
139
-
140
-
141
-
142
-
143
-
144
-
145
-
146
-
147
-
148
-
149
-
150
-
151
-
152
-
153
-
154
-
155
-
156
-
157
-
158
-
159
-
160
-
161
-
162
-
163
-
164
-
165
-
166
-
167
-
168
-
169
-
170
-
171
-
172
-
173
-
174
-
175
-
176
-
177
-
178
-
179
-
180
-
181
-
182
-
183
-
184
-
185
-
186
-
187
-
188
-
189
-
190
-
191
-
192
-
193
-
194
-
195
-
196
-
197
-
198
-
199
-
200
-
201
-
202
-
203
-
204
-
205
-
206
-
207
-
208
-
209
-
210
-
211
-
212
-
213
-
214
-
215
-
216
-
217
-
218
-
219
-
220
-
221
-
222
-
223
-
224
-
225
-
226
-
227
-
228
-
229
-
230
-
231
-
232
-
233
-
234
-
235
-
236
-
237
-
238
-
239
-
240
 |
 |
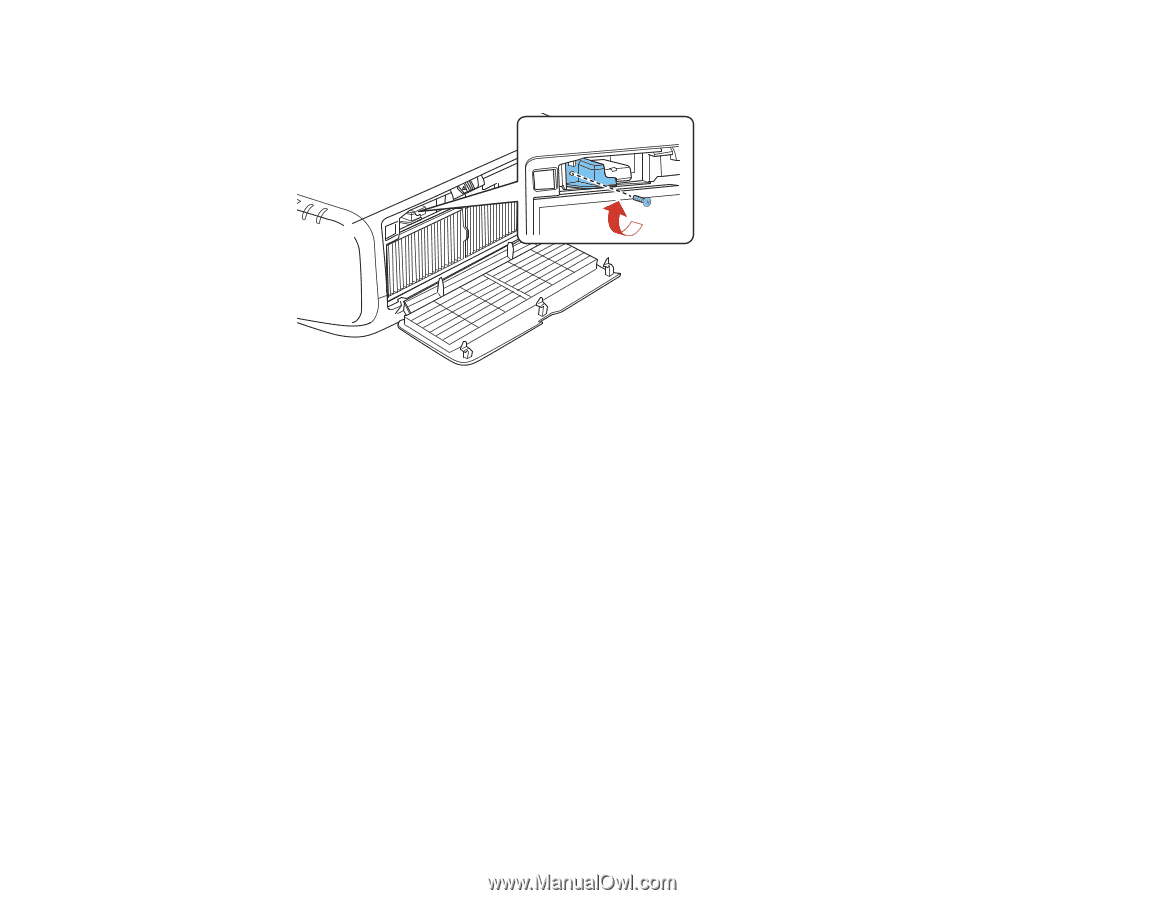
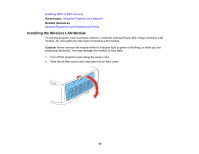
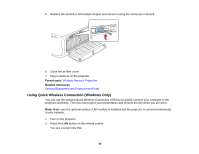
5.
Replace the wireless LAN module stopper and secure it using the screw you removed.
6.
Close the air filter cover.
7.
Plug in and turn on the projector.
Parent topic:
Wireless Network Projection
Related references
Optional Equipment and Replacement Parts
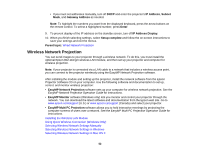
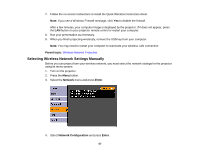
Using Quick Wireless Connection (Windows Only)
You can use the optional Quick Wireless Connection USB key to quickly connect your computer to the
projector wirelessly. Then you can project your presentation and remove the key when you are done.
Note:
Make sure the optional wireless LAN module is installed and the projector is connected wirelessly
to your network.
1.
Turn on the projector.
2.
Press the
LAN
button on the remote control.
You see a screen like this:
55