Kyocera ECOSYS FS-2020D FS-2020D/3920DN/4020DN Operation Guide (Advanced) - Page 42
Job Box Configuration, Deleting a Private/Stored Job, Changing the Maximum Number of Quick Copy
 |
View all Kyocera ECOSYS FS-2020D manuals
Add to My Manuals
Save this manual to your list of manuals |
Page 42 highlights
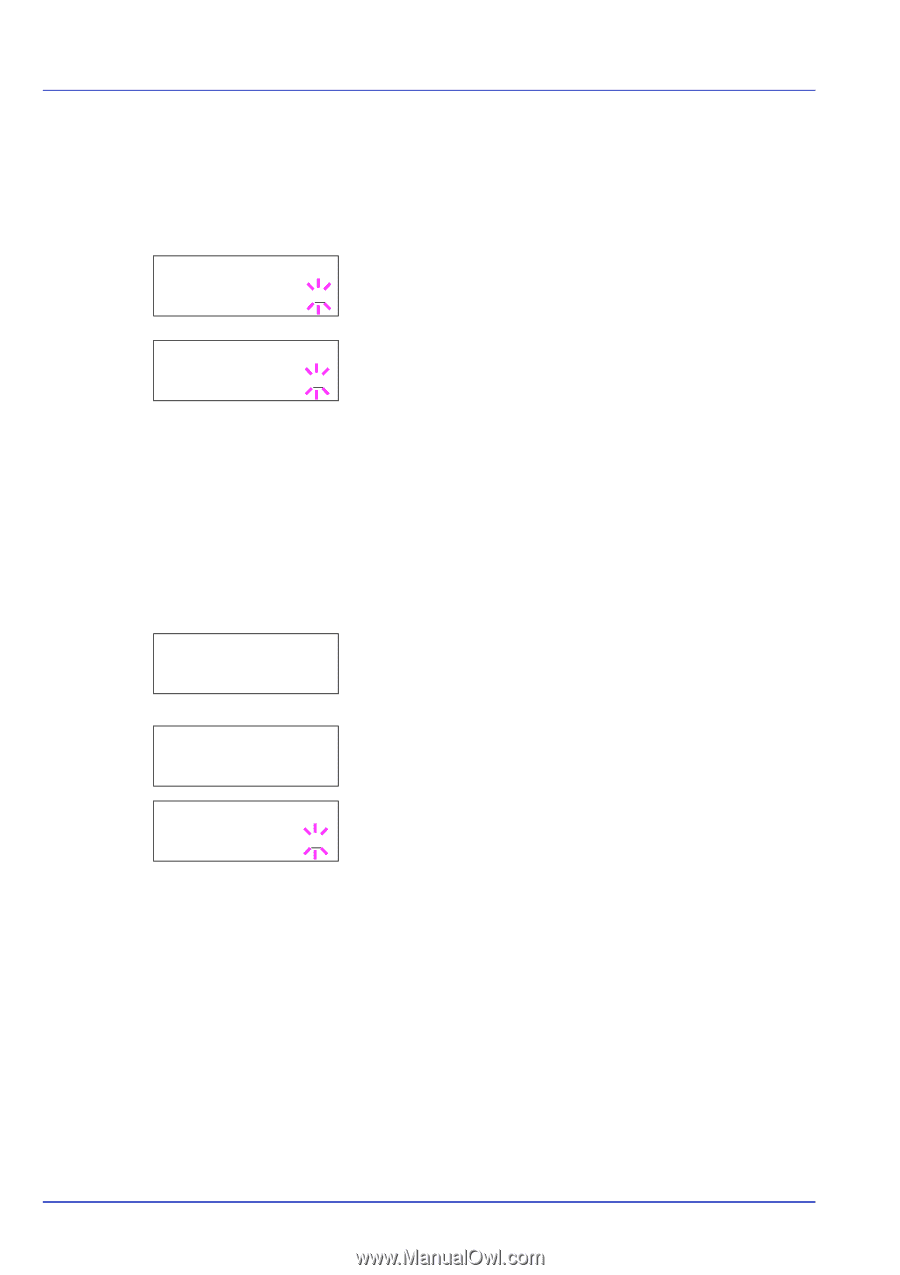
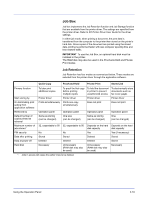
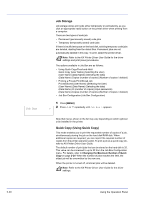
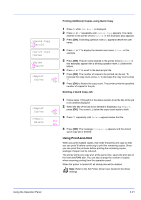
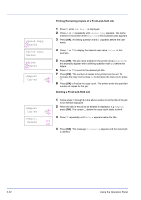
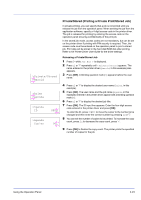
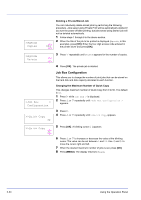
>Agenda Copies 001 Deleting a Private/Stored Job You can individually delete stored jobs by performing the following procedure. Jobs saved using Private Print will be automatically deleted if you turn the power off after printing, but jobs saved using Stored Job will not be deleted automatically. 1 Follow steps 1 through 6 in the above section. 2 When the title of the job to be printed is displayed (Agenda, in this example), press [OK]. Enter the four-digit access code entered in the printer driver and press [OK]. >Agenda Delete >Job Box > Configuration >>Quick Copy 32 >>Quick Copy 32 3 Press V repeatedly until Delete appears for the number of copies. 4 Press [OK]. The private job is deleted. Job Box Configuration This allows you to change the number of print jobs that can be stored on the hard disk and disk capacity allocated to each function. Changing the Maximum Number of Quick Copy This changes maximum number of Quick Copy from 0 to 50. The default is 32. 1 Press Z while Job Box > is displayed. 2 Press U or V repeatedly until >Job Box Configuration > appears. 3 Press Z. 4 Press U or V repeatedly until >>Quick Copy appears. 5 Press [OK]. A blinking cursor (_) appears. 6 Press U or V to increase or decrease the value at the blinking cursor. The value can be set between 0 and 50. Use Y and Z to move the cursor right and left. 7 When the desired maximum number of jobs is set, press [OK]. 8 Press [MENU]. The display returns to Ready. 2-24 Using the Operation Panel
-
 1
1 -
2
-
3
-
4
-
5
-
6
-
7
-
8
-
9
-
10
-
11
-
12
-
13
-
14
-
15
-
16
-
17
-
18
-
19
-
20
-
21
-
22
-
23
-
24
-
25
-
26
-
27
-
28
-
29
-
30
-
31
-
32
-
33
-
34
-
35
-
36
-
 37
37 -
 38
38 -
 39
39 -
 40
40 -
 41
41 -
 42
42 -
 43
43 -
 44
44 -
 45
45 -
 46
46 -
 47
47 -
48
-
49
-
50
-
51
-
52
-
53
-
54
-
55
-
56
-
57
-
58
-
59
-
60
-
61
-
62
-
63
-
64
-
65
-
66
-
67
-
68
-
69
-
70
-
71
-
72
-
73
-
74
-
75
-
76
-
77
-
78
-
79
-
80
-
81
-
82
-
83
-
84
-
85
-
86
-
87
-
88
-
89
-
90
-
91
-
92
-
93
-
94
-
95
-
96
-
97
-
98
-
99
-
100
-
101
-
102
-
103
-
104
-
105
-
106
-
107
-
108
-
109
-
110
-
111
-
112
-
113
-
114
-
115
-
116
-
117
-
118
-
119
-
120
-
121
-
122
-
123
-
124
-
125
-
126
 |
 |