Panasonic AG-AC160A Operating Instructions Advanced - Page 50
Using the counter, Counter display, TC preset mode
 |
View all Panasonic AG-AC160A manuals
Add to My Manuals
Save this manual to your list of manuals |
Page 50 highlights
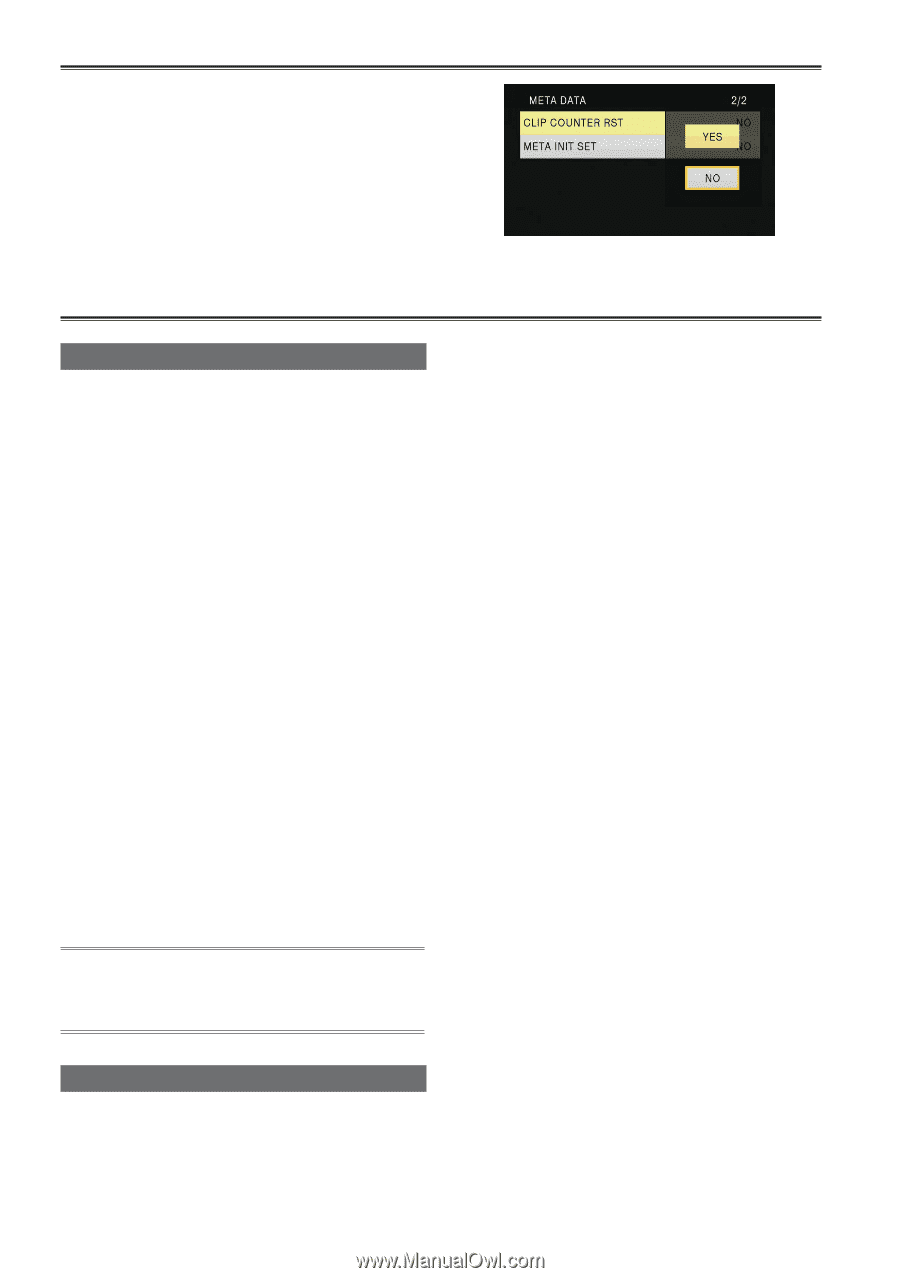
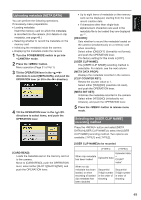
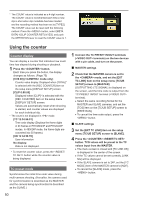
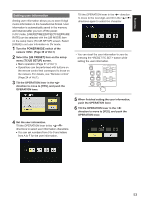
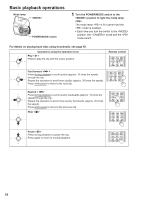
* The COUNT value is indicated as a 4-digit number. The COUNT value is incremented each time a new clip is shot when clip metadata has been loaded and the recording method has been set to [TYPE2]. The COUNT value can be reset with the following method. Press the button, select [META DATA][CLIP COUNTER RST][YES], and push the OPERATION lever to reset the COUNT value to 1. Using the counter Counter display You can display a counter that indicates how much time has elapsed during shooting or playback. 1 Press the button. Each time you press the button, the display changes as follows. (Page 75) [0:00.00] ( mode only) Counter value display. Displayed when [TOTAL]* is selected with the [REC COUNTER] item on the setup menu [DISPLAY SETUP] screen. [CLIP 0:00.00] Displayed when [CLIP]* is selected with the [REC COUNTER] item on the setup menu [DISPLAY SETUP] screen. Values are automatically reset when shooting is started, and counter values are displayed for each individual clip. * The count is not displayed in mode. [TC 12:34:56.01] Time code display (Displays the frame digits in 24 frames in PH1080/24P and PH720/24P modes. In 480i/24P mode, the frame digits are converted into 30 frames.) [UB 12 34 56 78] User information No display: Data is not displayed. • To reset the counter value, press the button while the counter value is being displayed. TC preset mode Synchronizes the initial time code value during multi-camera shooting. (Hereafter, the camera used for synchronization is described as the MASTER and the camera being synchronized is described as the SLAVE.) 1 Connect the TC PRESET IN/OUT terminals ( terminals) on the two devices with a pin cable, and turn on the power. „„MASTER settings 2 Check that the MASTER camera is set to the mode, and set the [EXT TC LINK] item on the setup menu [TC/UB SETUP] screen to [MASTER]. [OUTPUTTING LTC SIGNAL] is displayed on the screen, and the time code is output from the TC PRESET IN/OUT terminal ( terminal). ••Select the same recording format for the MASTER and SLAVE cameras, and set the [TCG] item on the [TC/UB SETUP] screen to [FREE RUN]. ••To cancel the time code output, press the button. „„SLAVE settings 3 Set the [EXT TC LINK] item on the setup menu [TC/UB SETUP] screen to [SLAVE]. 4 Press the - button. TCG values will be preset to the TC values input from the MASTER. ••The menu screen is closed and [TC LINK OK] is displayed in the center of the screen. ••If the TC values cannot be set correctly, [LINK NG] will be displayed. ••If the SLAVE camera is set to 24P, set the [TC MODE] item of the MASTER camera to [NDF]. ••To cancel the [SLAVE] mode, press the button. 50
-
 1
1 -
2
-
3
-
4
-
5
-
6
-
7
-
8
-
9
-
10
-
11
-
12
-
13
-
14
-
15
-
16
-
17
-
18
-
19
-
20
-
21
-
22
-
23
-
24
-
25
-
26
-
27
-
28
-
29
-
30
-
31
-
32
-
33
-
34
-
35
-
36
-
37
-
38
-
39
-
40
-
41
-
42
-
43
-
44
-
 45
45 -
 46
46 -
 47
47 -
 48
48 -
 49
49 -
 50
50 -
 51
51 -
 52
52 -
 53
53 -
 54
54 -
 55
55 -
56
-
57
-
58
-
59
-
60
-
61
-
62
-
63
-
64
-
65
-
66
-
67
-
68
-
69
-
70
-
71
-
72
-
73
-
74
-
75
-
76
-
77
-
78
-
79
-
80
-
81
-
82
-
83
-
84
-
85
-
86
-
87
-
88
-
89
-
90
-
91
-
92
-
93
-
94
-
95
-
96
-
97
-
98
-
99
-
100
-
101
-
102
-
103
-
104
-
105
-
106
-
107
-
108
-
109
-
110
 |
 |