Canon PIXMA Pro9000 Quick Start Guide - Page 73
When using Fine Art Paper Museum Etching, Fine Art Paper Premium Matte, or, RESUME/CANCEL, Size
 |
View all Canon PIXMA Pro9000 manuals
Add to My Manuals
Save this manual to your list of manuals |
Page 73 highlights
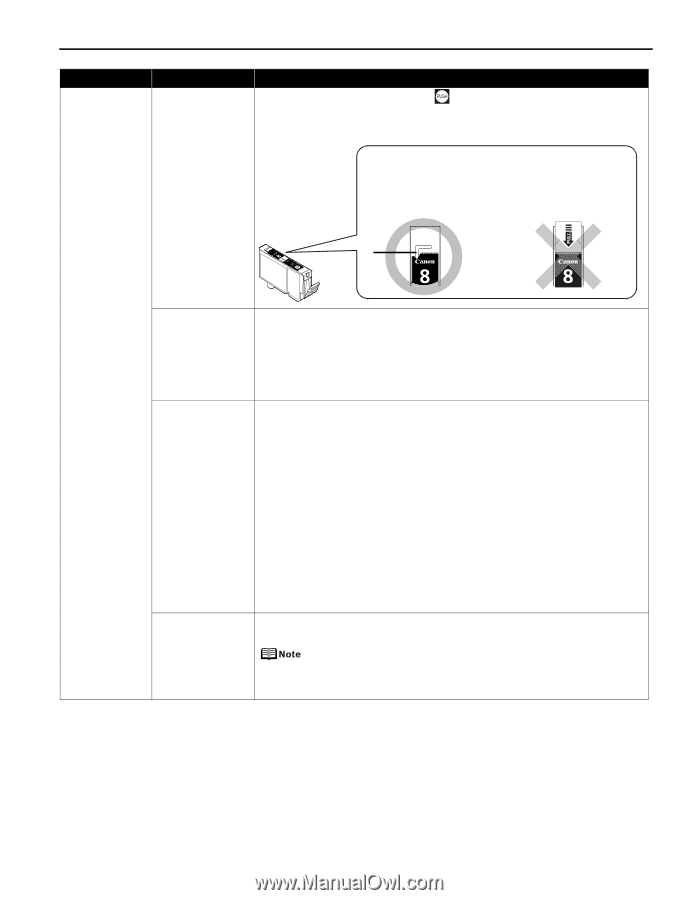
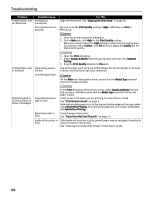
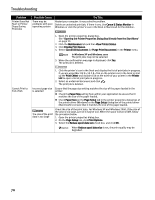
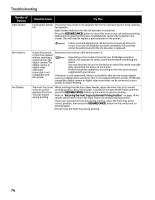
Troubleshooting Problem Printer Does Not Start or Printer Stops During Print Jobs Possible Cause Ink tank is not fully inserted Try This When the ink lamp is unlit, press the mark on the ink tank until it clicks into place. The ink lamp lights red when the ink tank is fully inserted. Make sure all of the orange tape is peeled off the ink tank as illustrated in Figure 1. If any orange parts are left like in Figure 2, remove all of the orange parts. (1) Correct * An L-shaped notch appears on the ink tank. (2) Incorrect There remains the orange tape. Peel off the tape completely along the perforation. * Incorrect page size is selected Press the RESUME/CANCEL button on the printer to clear the error. Then check the Page Size setting in the Page Setup tab (Windows) or the Page Setup dialog box (Macintosh) in the printer driver and load paper that is the same size as the setting and try printing again. If printing does not start even when the paper loaded in the printer is the same as the setting, set the printer driver not to detect the width of the paper. See "Error Regarding the Width of Paper" on page 78. Incorrect paper type and page size When using Fine Art Paper "Museum Etching", Fine Art Paper Premium Matte, or non-Canon genuine specialty paper, be sure to select the type of each media from Media Type and a paper size which says "Art XX [Margin 35 mm]" from Page Size. For more details on printer driver settings, refer to the appropriate section in "Printing Media" in the User's Guide. Check the settings with the following procedure and then try printing again. 1. Ensure that a paper size which says "Art XX [Margin 35 mm]" is selected in the application. If the paper size you want to use is not displayed, open the File menu of the application and select Print. Then ensure that the name of your printer is selected. 2. Ensure that the paper selected for Media Type in the Main tab (Windows) or the Print dialog box (Macintosh) in the printer driver matches the paper loaded in the printer. 3. Ensure that the Page Size setting in the Page Setup tab (Windows) or the Page Setup dialog box (Macintosh) in the printer driver is the same as the size set in step 1. Other than Lettersized paper is loaded when printing the nozzle check pattern or the head alignment patterns Press the RESUME/CANCEL button on the printer to clear the error, and load Lettersized plain paper in the Auto Sheet Feeder. Then try performing again. If an error occurs while performing Automatic Print Head Alignment, there could be a different cause. For details, see "Eleven flashes" in "Handling Error Messages" on page 73. 69
-
 1
1 -
2
-
3
-
4
-
5
-
6
-
7
-
8
-
9
-
10
-
11
-
12
-
13
-
14
-
15
-
16
-
17
-
18
-
19
-
20
-
21
-
22
-
23
-
24
-
25
-
26
-
27
-
28
-
29
-
30
-
31
-
32
-
33
-
34
-
35
-
36
-
37
-
38
-
39
-
40
-
41
-
42
-
43
-
44
-
45
-
46
-
47
-
48
-
49
-
50
-
51
-
52
-
53
-
54
-
55
-
56
-
57
-
58
-
59
-
60
-
61
-
62
-
63
-
64
-
65
-
66
-
67
-
 68
68 -
 69
69 -
 70
70 -
 71
71 -
 72
72 -
 73
73 -
 74
74 -
 75
75 -
 76
76 -
 77
77 -
 78
78 -
79
-
80
-
81
-
82
-
83
-
84
-
85
-
86
-
87
-
88
-
89
-
90
-
91
-
92
-
93
-
94
-
95
-
96
-
97
-
98
-
99
-
100
 |
 |