Casio EX-Z70 Owners Manual - Page 54
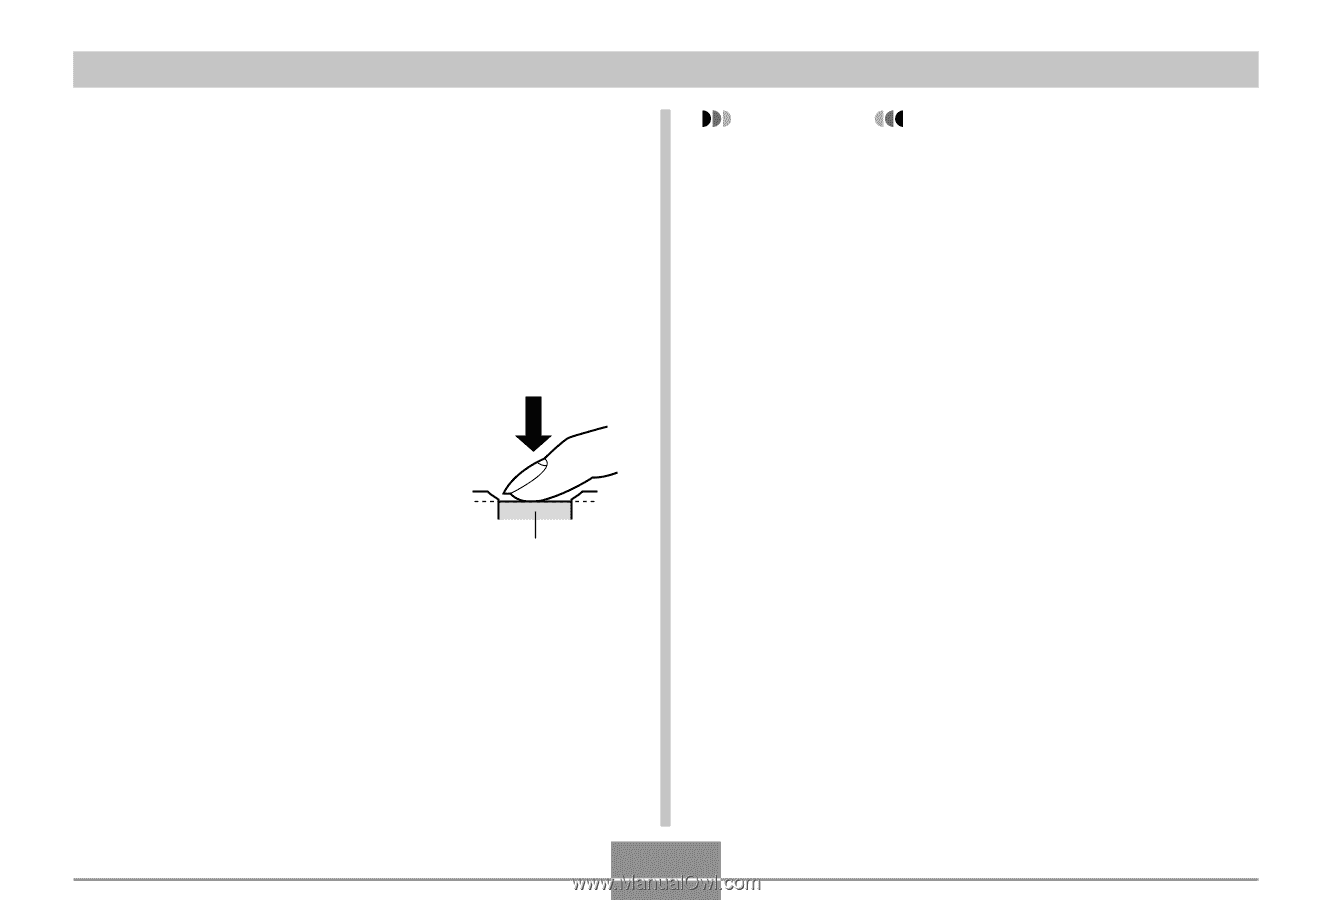
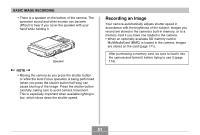
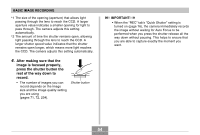
After making sure that the, image is focused properly, press the shutter button
 |
UPC - 079767622251
View all Casio EX-Z70 manuals
Add to My Manuals
Save this manual to your list of manuals |
Page 54 highlights
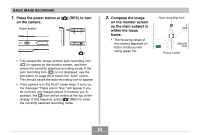
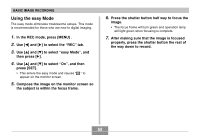
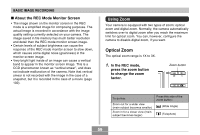
BASIC IMAGE RECORDING *1 The size of the opening (aperture) that allows light passing through the lens to reach the CCD. A larger aperture value indicates a smaller opening for light to pass through. The camera adjusts this setting automatically. *2 The amount of time the shutter remains open, allowing light passing through the lens to reach the CCD. A larger shutter speed value indicates that the shutter remains open longer, which means more light reaches the CCD. The camera adjusts this setting automatically. 4. After making sure that the image is focused properly, press the shutter button the rest of the way down to record. • The number of images you can record depends on the image size and the image quality setting you are using (pages 71, 72, 234). Shutter button IMPORTANT! • When the "REC" tab's "Quick Shutter" setting is turned on (page 76), the camera immediately records the image without waiting for Auto Focus to be performed when you press the shutter release all the way down without pausing. This helps to ensure that you are able to capture exactly the moment you want. 54
-
 1
1 -
2
-
3
-
4
-
5
-
6
-
7
-
8
-
9
-
10
-
11
-
12
-
13
-
14
-
15
-
16
-
17
-
18
-
19
-
20
-
21
-
22
-
23
-
24
-
25
-
26
-
27
-
28
-
29
-
30
-
31
-
32
-
33
-
34
-
35
-
36
-
37
-
38
-
39
-
40
-
41
-
42
-
43
-
44
-
45
-
46
-
47
-
48
-
 49
49 -
 50
50 -
 51
51 -
 52
52 -
 53
53 -
 54
54 -
 55
55 -
 56
56 -
 57
57 -
 58
58 -
 59
59 -
60
-
61
-
62
-
63
-
64
-
65
-
66
-
67
-
68
-
69
-
70
-
71
-
72
-
73
-
74
-
75
-
76
-
77
-
78
-
79
-
80
-
81
-
82
-
83
-
84
-
85
-
86
-
87
-
88
-
89
-
90
-
91
-
92
-
93
-
94
-
95
-
96
-
97
-
98
-
99
-
100
-
101
-
102
-
103
-
104
-
105
-
106
-
107
-
108
-
109
-
110
-
111
-
112
-
113
-
114
-
115
-
116
-
117
-
118
-
119
-
120
-
121
-
122
-
123
-
124
-
125
-
126
-
127
-
128
-
129
-
130
-
131
-
132
-
133
-
134
-
135
-
136
-
137
-
138
-
139
-
140
-
141
-
142
-
143
-
144
-
145
-
146
-
147
-
148
-
149
-
150
-
151
-
152
-
153
-
154
-
155
-
156
-
157
-
158
-
159
-
160
-
161
-
162
-
163
-
164
-
165
-
166
-
167
-
168
-
169
-
170
-
171
-
172
-
173
-
174
-
175
-
176
-
177
-
178
-
179
-
180
-
181
-
182
-
183
-
184
-
185
-
186
-
187
-
188
-
189
-
190
-
191
-
192
-
193
-
194
-
195
-
196
-
197
-
198
-
199
-
200
-
201
-
202
-
203
-
204
-
205
-
206
-
207
-
208
-
209
-
210
-
211
-
212
-
213
-
214
-
215
-
216
-
217
-
218
-
219
-
220
-
221
-
222
-
223
-
224
-
225
-
226
-
227
-
228
-
229
-
230
-
231
-
232
-
233
-
234
-
235
-
236
-
237
-
238
-
239
 |
 |