Dell Optiplex-620 User Guide - Page 80
CD/DVD Drive
 |
View all Dell Optiplex-620 manuals
Add to My Manuals
Save this manual to your list of manuals |
Page 80 highlights
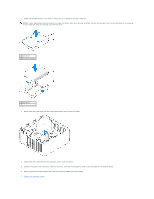
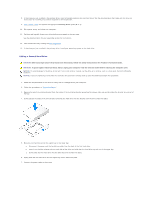
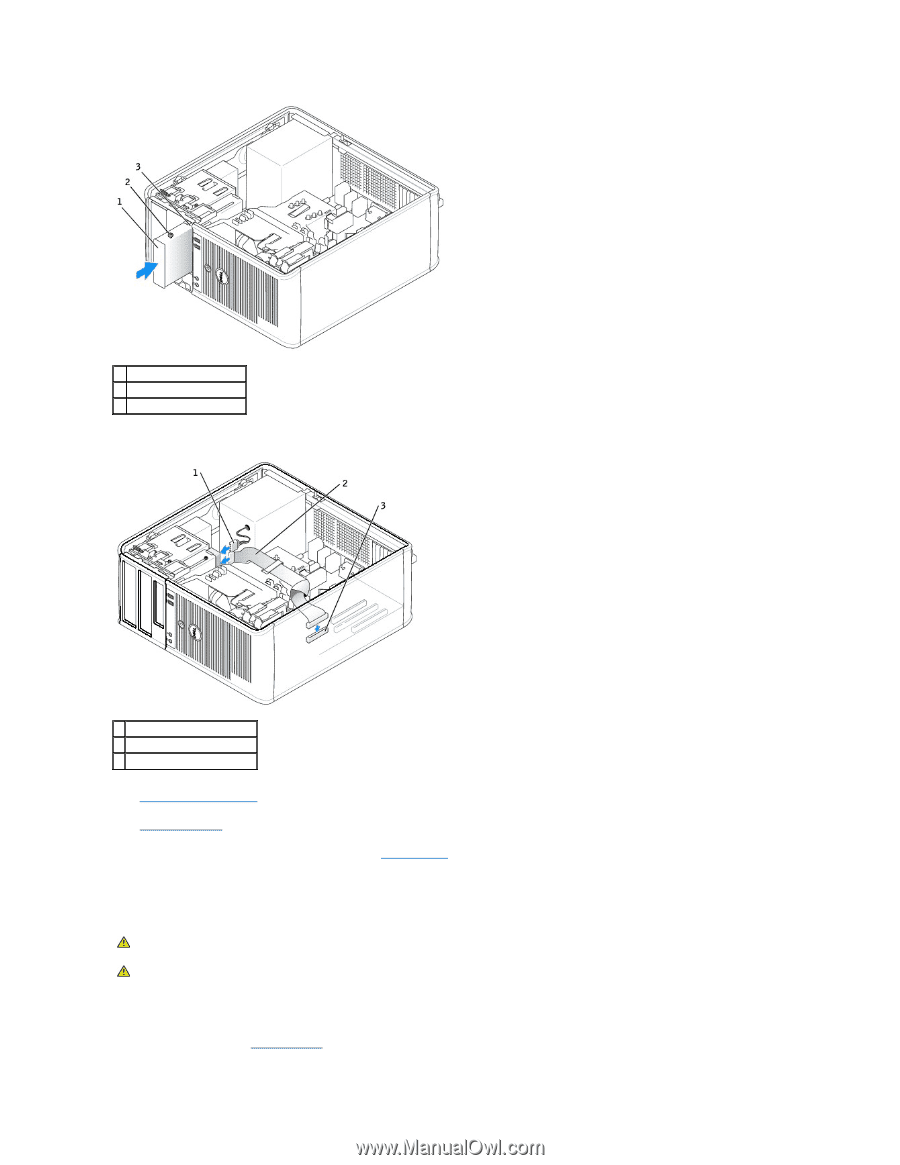
1 floppy drive 2 shoulder screws (4) 3 shoulder screw slots (2) 4. Attach the power and floppy-drive cables to the floppy drive. 1 power cable 2 floppy-drive cable 3 floppy-drive connector (DSKT) 5. Replace the computer cover. 6. Enter system setup and use the Diskette Drive option to enable your new floppy drive. 7. Verify that your computer works correctly by running the Dell Diagnostics. CD/DVD Drive CAUTION: Before you begin any of the procedures in this section, follow the safety instructions located in the Product Information Guide. CAUTION: To guard against electrical shock, always unplug your computer from the electrical outlet before replacing the cover. Removing a CD/DVD Drive 1. Follow the procedures in "Before You Begin."
-
 1
1 -
2
-
3
-
4
-
5
-
6
-
7
-
8
-
9
-
10
-
11
-
12
-
13
-
14
-
15
-
16
-
17
-
18
-
19
-
20
-
21
-
22
-
23
-
24
-
25
-
26
-
27
-
28
-
29
-
30
-
31
-
32
-
33
-
34
-
35
-
36
-
37
-
38
-
39
-
40
-
41
-
42
-
43
-
44
-
45
-
46
-
47
-
48
-
49
-
50
-
51
-
52
-
53
-
54
-
55
-
56
-
57
-
58
-
59
-
60
-
61
-
62
-
63
-
64
-
65
-
66
-
67
-
68
-
69
-
70
-
71
-
72
-
73
-
74
-
 75
75 -
 76
76 -
 77
77 -
 78
78 -
 79
79 -
 80
80 -
 81
81 -
 82
82 -
 83
83 -
 84
84 -
 85
85 -
86
-
87
-
88
-
89
-
90
-
91
-
92
-
93
-
94
-
95
-
96
-
97
-
98
-
99
-
100
-
101
-
102
-
103
-
104
-
105
-
106
-
107
-
108
-
109
-
110
-
111
-
112
-
113
-
114
-
115
-
116
-
117
-
118
-
119
-
120
-
121
-
122
-
123
-
124
-
125
-
126
-
127
-
128
-
129
-
130
-
131
-
132
-
133
-
134
-
135
-
136
-
137
-
138
-
139
-
140
-
141
-
142
-
143
-
144
-
145
-
146
-
147
-
148
-
149
-
150
-
151
-
152
-
153
-
154
-
155
-
156
-
157
-
158
-
159
-
160
-
161
-
162
-
163
-
164
-
165
-
166
-
167
-
168
-
169
-
170
-
171
-
172
-
173
-
174
-
175
-
176
-
177
-
178
-
179
-
180
-
181
-
182
-
183
-
184
-
185
-
186
-
187
-
188
-
189
-
190
-
191
-
192
-
193
-
194
-
195
-
196
-
197
-
198
-
199
-
200
-
201
-
202
-
203
-
204
-
205
-
206
-
207
-
208
-
209
-
210
-
211
-
212
-
213
-
214
-
215
-
216
-
217
-
218
-
219
-
220
-
221
 |
 |
4.
Attach the power and floppy-drive cables to the floppy drive.
5.
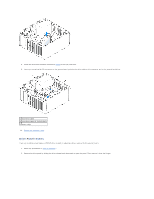
Replace the computer cover
.
6.
Enter system setup
and use the
Diskette Drive
option to enable your new floppy drive.
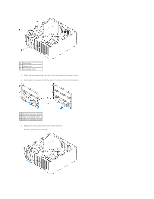
7.
Verify that your computer works correctly by running the
Dell Diagnostics
.
CD/DVD Drive
Removing a CD/DVD Drive
1.
Follow the procedures in "
Before You Begin
."
1
floppy drive
2
shoulder screws (4)
3
shoulder screw slots (2)
1
power cable
2
floppy-drive cable
3
floppy-drive connector (DSKT)
CAUTION:
Before you begin any of the procedures in this section, follow the safety instructions located in the
Product Information Guide
.
CAUTION:
To guard against electrical shock, always unplug your computer from the electrical outlet before replacing the cover.