Epson F6200 User Manual - Page 80
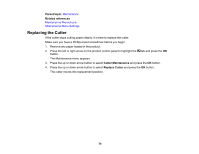
Maintenance, Consumables and Replacement Parts, Maintenance Menu Settings, Cutting Media
 |
View all Epson F6200 manuals
Add to My Manuals
Save this manual to your list of manuals |
Page 80 highlights
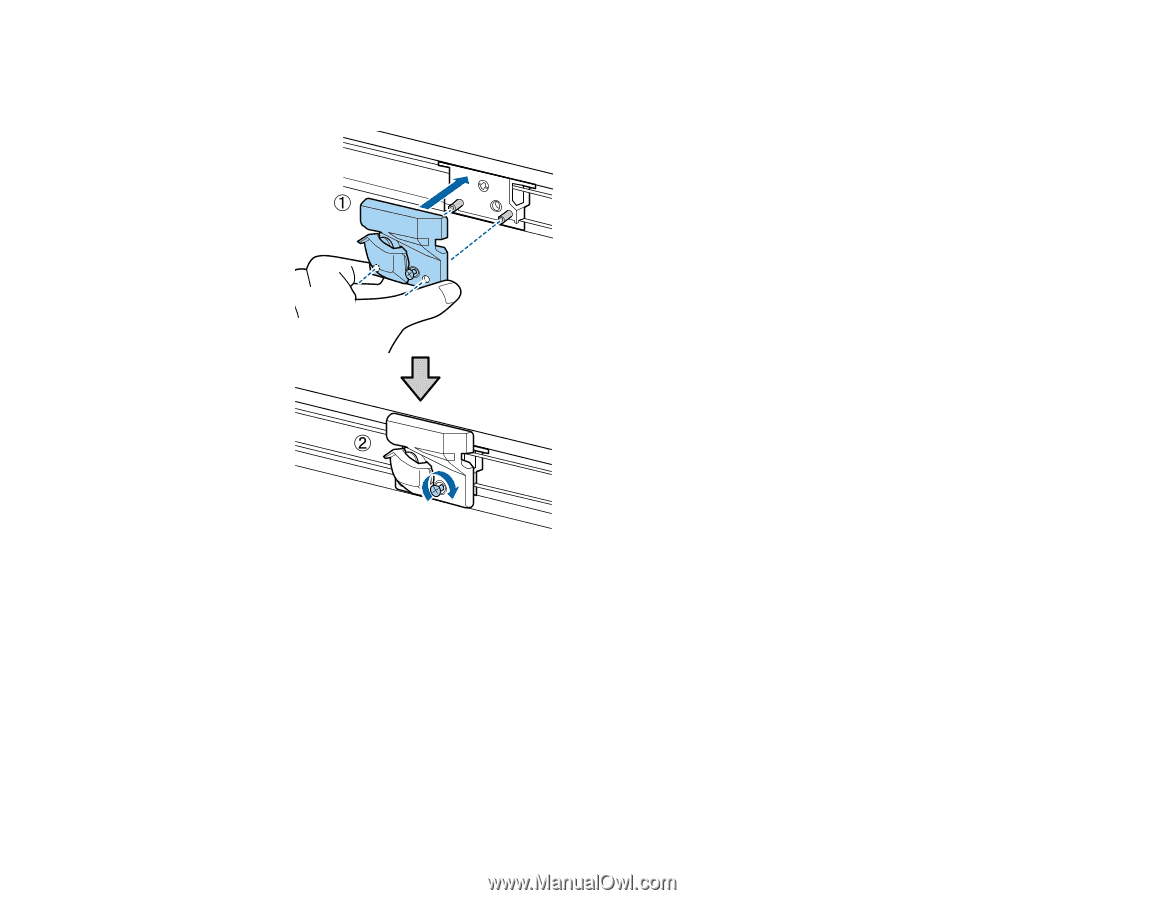
6. Align the holes in the new cutter with the pins on the product. Then fully tighten the screw to secure the cutter. Note: Tighten the cutter screw securely so the cutter does not shift position. 7. Press the OK button. The cutter returns to its original position and the product is ready to print. Parent topic: Maintenance Related references Consumables and Replacement Parts Maintenance Menu Settings Related tasks Cutting Media 80
-
 1
1 -
2
-
3
-
4
-
5
-
6
-
7
-
8
-
9
-
10
-
11
-
12
-
13
-
14
-
15
-
16
-
17
-
18
-
19
-
20
-
21
-
22
-
23
-
24
-
25
-
26
-
27
-
28
-
29
-
30
-
31
-
32
-
33
-
34
-
35
-
36
-
37
-
38
-
39
-
40
-
41
-
42
-
43
-
44
-
45
-
46
-
47
-
48
-
49
-
50
-
51
-
52
-
53
-
54
-
55
-
56
-
57
-
58
-
59
-
60
-
61
-
62
-
63
-
64
-
65
-
66
-
67
-
68
-
69
-
70
-
71
-
72
-
73
-
74
-
 75
75 -
 76
76 -
 77
77 -
 78
78 -
 79
79 -
 80
80 -
 81
81 -
 82
82 -
 83
83 -
 84
84 -
 85
85 -
86
-
87
-
88
-
89
-
90
-
91
-
92
-
93
-
94
-
95
-
96
-
97
-
98
-
99
-
100
-
101
-
102
-
103
-
104
-
105
-
106
-
107
-
108
-
109
-
110
-
111
-
112
 |
 |
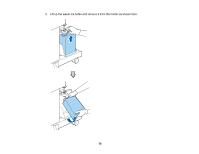
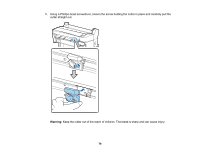
6.
Align the holes in the new cutter with the pins on the product. Then fully tighten the screw to secure
the cutter.
Note:
Tighten the cutter screw securely so the cutter does not shift position.
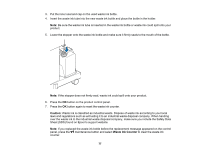
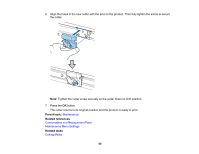
7.
Press the
OK
button.
The cutter returns to its original position and the product is ready to print.
Parent topic:
Maintenance
Related references
Consumables and Replacement Parts
Maintenance Menu Settings
Related tasks
Cutting Media
80