HP 1022 HP LaserJet 1022 Printer Series - Software Technical Reference - Page 139
Removing the HP Software Update utility
 |
UPC - 084716062002
View all HP 1022 manuals
Add to My Manuals
Save this manual to your list of manuals |
Page 139 highlights
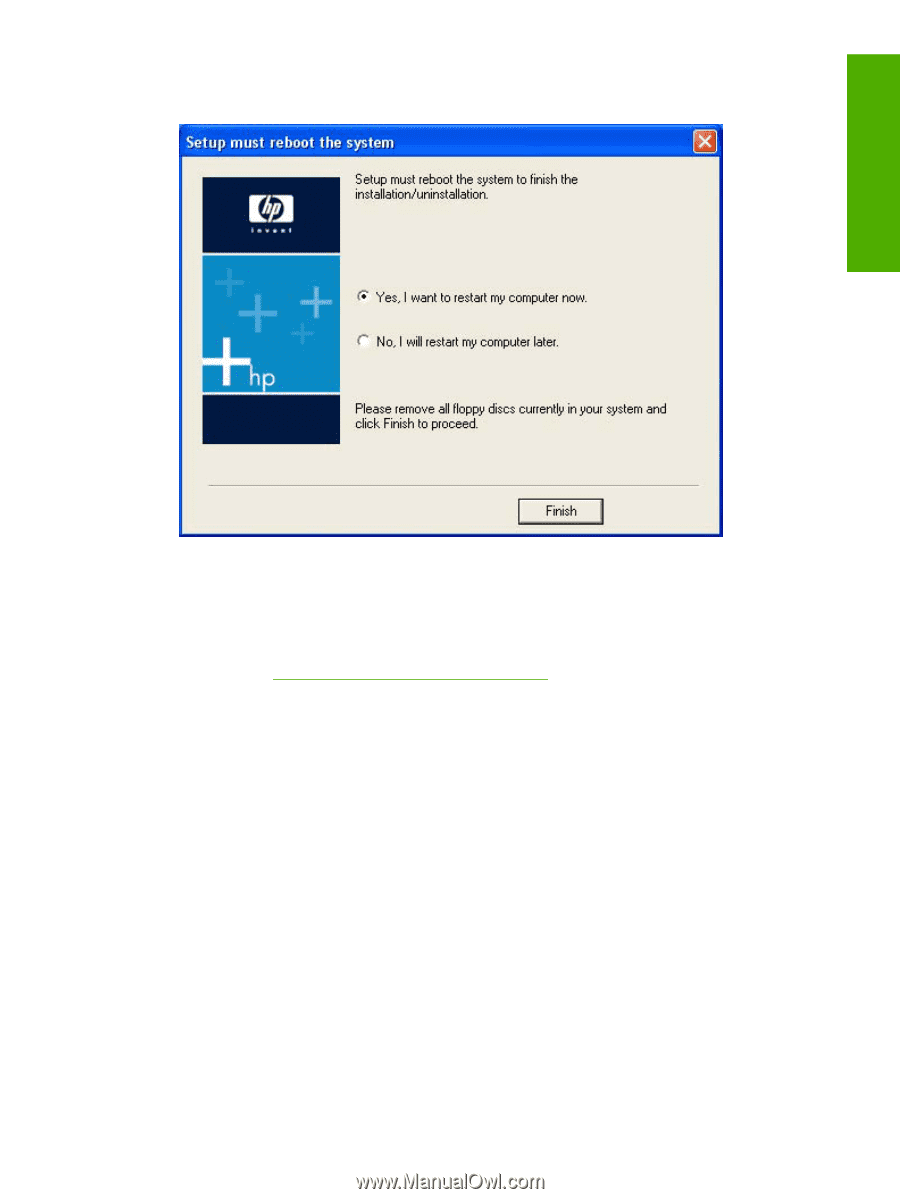
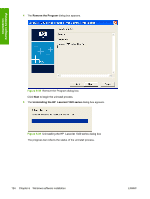
Windows software installation 6 The Restart dialog box appears. Figure 6-40 Restart dialog box Click Yes, I want to restart my computer now. to restart your computer and finish the uninstall process. This uninstall method does not automatically remove the HP Software Update utility. To remove the HP Software Update utility, click No, I will restart my computer later. here and then follow the instructions in the Removing the HP Software Update utility section. Removing the HP Software Update utility Follow these instructions to remove the HP Software Update utility from your computer. 1 For Windows 98 SE, Windows Me, or Windows 2000, click Start, click Settings, click Control Panel, and then double-click Add/Remove programs. For Windows XP, click Start, click Control Panel, and then double-click Add/Remove programs. 2 Click Change or Remove programs, click HP Software Update, and then click Remove. 3 The Remove the Program dialog box appears. Click Remove to begin the uninstall process. 4 The Uninstalling the HP LaserJet 1020 series dialog box appears. The progress bar reflects the status of the uninstall process. 5 When the uninstall process is completed, the Finish dialog box appears. Click Finish to continue. 6 The Restart dialog box appears. Click Yes to restart your computer and finish the uninstall process. ENWW Uninstall 125
-
 1
1 -
2
-
3
-
4
-
5
-
6
-
7
-
8
-
9
-
10
-
11
-
12
-
13
-
14
-
15
-
16
-
17
-
18
-
19
-
20
-
21
-
22
-
23
-
24
-
25
-
26
-
27
-
28
-
29
-
30
-
31
-
32
-
33
-
34
-
35
-
36
-
37
-
38
-
39
-
40
-
41
-
42
-
43
-
44
-
45
-
46
-
47
-
48
-
49
-
50
-
51
-
52
-
53
-
54
-
55
-
56
-
57
-
58
-
59
-
60
-
61
-
62
-
63
-
64
-
65
-
66
-
67
-
68
-
69
-
70
-
71
-
72
-
73
-
74
-
75
-
76
-
77
-
78
-
79
-
80
-
81
-
82
-
83
-
84
-
85
-
86
-
87
-
88
-
89
-
90
-
91
-
92
-
93
-
94
-
95
-
96
-
97
-
98
-
99
-
100
-
101
-
102
-
103
-
104
-
105
-
106
-
107
-
108
-
109
-
110
-
111
-
112
-
113
-
114
-
115
-
116
-
117
-
118
-
119
-
120
-
121
-
122
-
123
-
124
-
125
-
126
-
127
-
128
-
129
-
130
-
131
-
132
-
133
-
 134
134 -
 135
135 -
 136
136 -
 137
137 -
 138
138 -
 139
139 -
 140
140 -
 141
141 -
 142
142 -
 143
143 -
 144
144 -
145
-
146
 |
 |