HP DesignJet T830 User guide - Page 136
A strip stays on the output tray and generates jams
 |
View all HP DesignJet T830 manuals
Add to My Manuals
Save this manual to your list of manuals |
Page 136 highlights
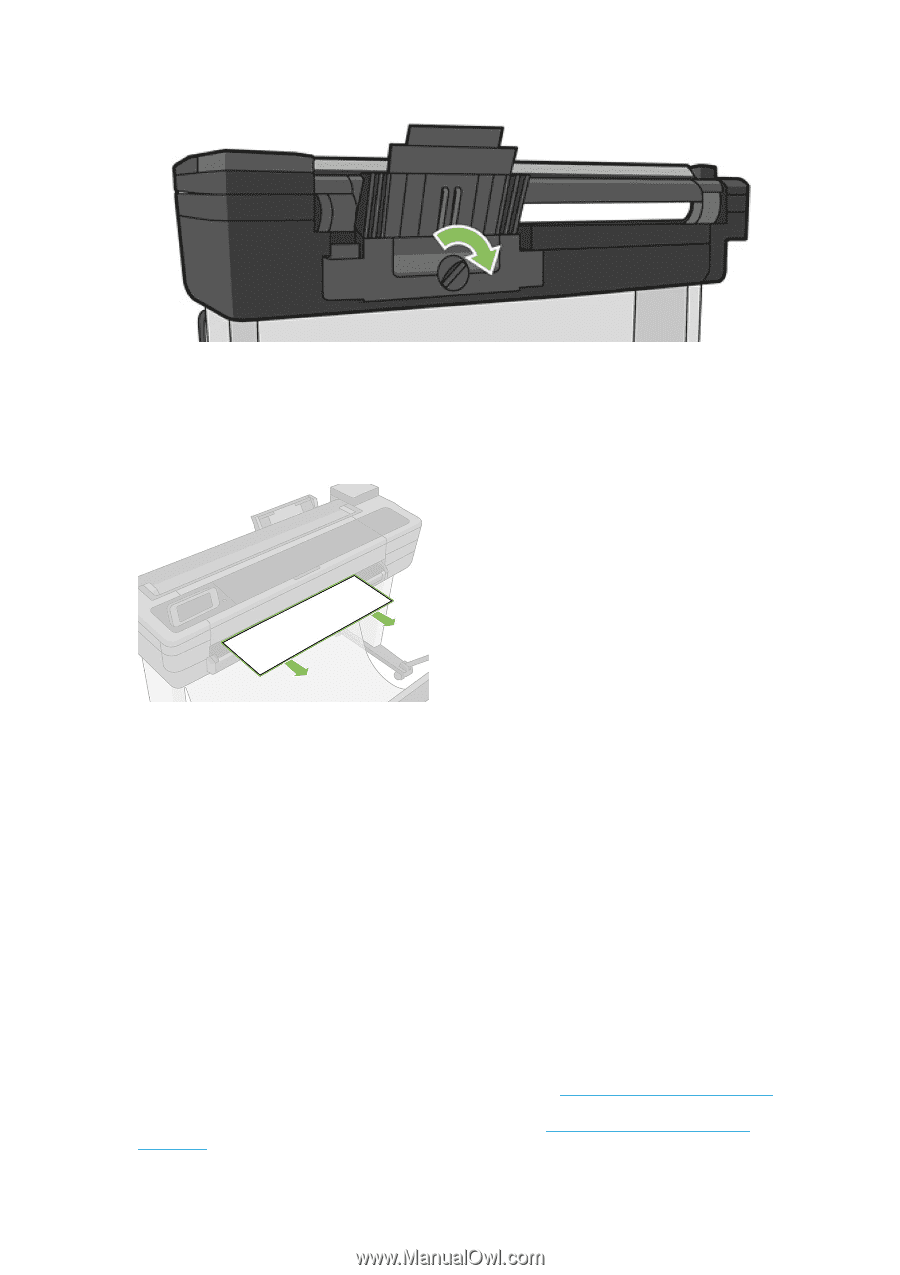
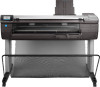
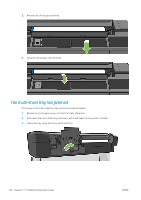
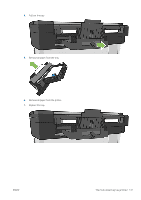
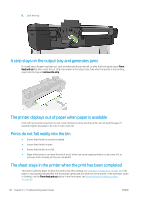
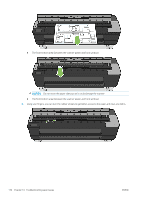
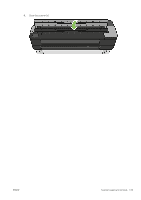
8. Lock the tray. A strip stays on the output tray and generates jams If a small piece of paper has been cut, such as before printing a new roll, or after the front panel option Form feed and cut has been used, the cut strip may remain in the output tray. Only when the printer is not printing, reach into the tray and remove the strip. The printer displays out of paper when paper is available If the roll has become loose from its core, it will not feed correctly and the printer will not load the paper. If possible, tighten the paper to its core or load a new roll. Prints do not fall neatly into the bin ● Ensure that the bin is correctly installed. ● Ensure that the bin is open. ● Ensure that the bin is not full. ● Paper often tends to curl near the end of a roll, which can cause output problems. Load a new roll, or remove prints manually as they are completed. The sheet stays in the printer when the print has been completed The printer holds the paper to allow the print to dry after printing, see Change the drying time on page 39. If the paper is only partially ejected after the drying time, gently pull the sheet out of the printer. If the automatic cutter is disabled, use the Form feed and cut option in the front panel, see Form feed with or without cutting on page 40. 132 Chapter 14 Troubleshooting paper issues ENWW
-
 1
1 -
2
-
3
-
4
-
5
-
6
-
7
-
8
-
9
-
10
-
11
-
12
-
13
-
14
-
15
-
16
-
17
-
18
-
19
-
20
-
21
-
22
-
23
-
24
-
25
-
26
-
27
-
28
-
29
-
30
-
31
-
32
-
33
-
34
-
35
-
36
-
37
-
38
-
39
-
40
-
41
-
42
-
43
-
44
-
45
-
46
-
47
-
48
-
49
-
50
-
51
-
52
-
53
-
54
-
55
-
56
-
57
-
58
-
59
-
60
-
61
-
62
-
63
-
64
-
65
-
66
-
67
-
68
-
69
-
70
-
71
-
72
-
73
-
74
-
75
-
76
-
77
-
78
-
79
-
80
-
81
-
82
-
83
-
84
-
85
-
86
-
87
-
88
-
89
-
90
-
91
-
92
-
93
-
94
-
95
-
96
-
97
-
98
-
99
-
100
-
101
-
102
-
103
-
104
-
105
-
106
-
107
-
108
-
109
-
110
-
111
-
112
-
113
-
114
-
115
-
116
-
117
-
118
-
119
-
120
-
121
-
122
-
123
-
124
-
125
-
126
-
127
-
128
-
129
-
130
-
 131
131 -
 132
132 -
 133
133 -
 134
134 -
 135
135 -
 136
136 -
 137
137 -
 138
138 -
 139
139 -
 140
140 -
 141
141 -
142
-
143
-
144
-
145
-
146
-
147
-
148
-
149
-
150
-
151
-
152
-
153
-
154
-
155
-
156
-
157
-
158
-
159
-
160
-
161
-
162
-
163
-
164
-
165
-
166
-
167
-
168
-
169
-
170
-
171
-
172
-
173
-
174
-
175
-
176
-
177
-
178
-
179
-
180
-
181
-
182
-
183
-
184
-
185
-
186
-
187
-
188
-
189
-
190
-
191
-
192
-
193
-
194
-
195
-
196
-
197
-
198
-
199
-
200
-
201
-
202
-
203
 |
 |