HP DesignJet T830 User guide - Page 64
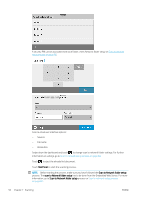
Scan to network setup process, Default from, Default display name, SMTP Server, SMTP Port
 |
View all HP DesignJet T830 manuals
Add to My Manuals
Save this manual to your list of manuals |
Page 64 highlights
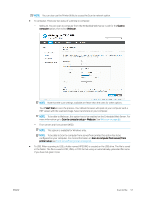
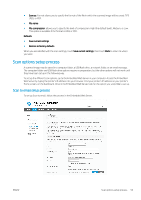
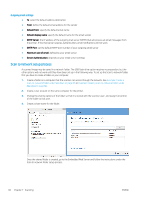
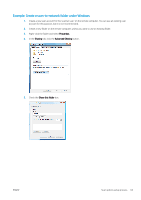
Outgoing email settings ● To: select the default address destination ● From: define the default email address for the sender ● Default from: specify the default email name ● Default display name: specify the default name for the email sender ● SMTP Server: the IP address of the outgoing mail server (SMTP) that will process all email messages from the printer. If the mail server requires authentication, email notifications will not work. ● SMTP Port: set the default SMTP port number of your outgoing email server ● Maximum size of email: defined by your email server ● Server Authentication: depends on your email server settings Scan to network setup process A scanned image may be saved in a network folder. The USB flash drive option requires no preparation, but the other options will not work until they have been set up in the following way. To set up the Scan to network folder, first you have to create a folder on your computer. 1. Create a folder on a computer that the scanner can access through the network. See Example: Create a scan-to-network folder under Windows on page 65 or Example: Create a scan-to-network folder under Mac OS X on page 66. 2. Create a user account on the same computer for the printer. 3. Change the sharing options of the folder so that it is shared with the 'scanner user', and assign full control of the folder to that user. 4. Create a share name for the folder. Once the shared folder is created, go to the Embedded Web Server and follow the instructions under the Scan to network folder setup process. 60 Chapter 7 Scanning ENWW
-
 1
1 -
2
-
3
-
4
-
5
-
6
-
7
-
8
-
9
-
10
-
11
-
12
-
13
-
14
-
15
-
16
-
17
-
18
-
19
-
20
-
21
-
22
-
23
-
24
-
25
-
26
-
27
-
28
-
29
-
30
-
31
-
32
-
33
-
34
-
35
-
36
-
37
-
38
-
39
-
40
-
41
-
42
-
43
-
44
-
45
-
46
-
47
-
48
-
49
-
50
-
51
-
52
-
53
-
54
-
55
-
56
-
57
-
58
-
 59
59 -
 60
60 -
 61
61 -
 62
62 -
 63
63 -
 64
64 -
 65
65 -
 66
66 -
 67
67 -
 68
68 -
 69
69 -
70
-
71
-
72
-
73
-
74
-
75
-
76
-
77
-
78
-
79
-
80
-
81
-
82
-
83
-
84
-
85
-
86
-
87
-
88
-
89
-
90
-
91
-
92
-
93
-
94
-
95
-
96
-
97
-
98
-
99
-
100
-
101
-
102
-
103
-
104
-
105
-
106
-
107
-
108
-
109
-
110
-
111
-
112
-
113
-
114
-
115
-
116
-
117
-
118
-
119
-
120
-
121
-
122
-
123
-
124
-
125
-
126
-
127
-
128
-
129
-
130
-
131
-
132
-
133
-
134
-
135
-
136
-
137
-
138
-
139
-
140
-
141
-
142
-
143
-
144
-
145
-
146
-
147
-
148
-
149
-
150
-
151
-
152
-
153
-
154
-
155
-
156
-
157
-
158
-
159
-
160
-
161
-
162
-
163
-
164
-
165
-
166
-
167
-
168
-
169
-
170
-
171
-
172
-
173
-
174
-
175
-
176
-
177
-
178
-
179
-
180
-
181
-
182
-
183
-
184
-
185
-
186
-
187
-
188
-
189
-
190
-
191
-
192
-
193
-
194
-
195
-
196
-
197
-
198
-
199
-
200
-
201
-
202
-
203
 |
 |
