HP DesignJet T830 User guide - Page 58
tab, then select where you would like to store, At the front panel
 |
View all HP DesignJet T830 manuals
Add to My Manuals
Save this manual to your list of manuals |
Page 58 highlights
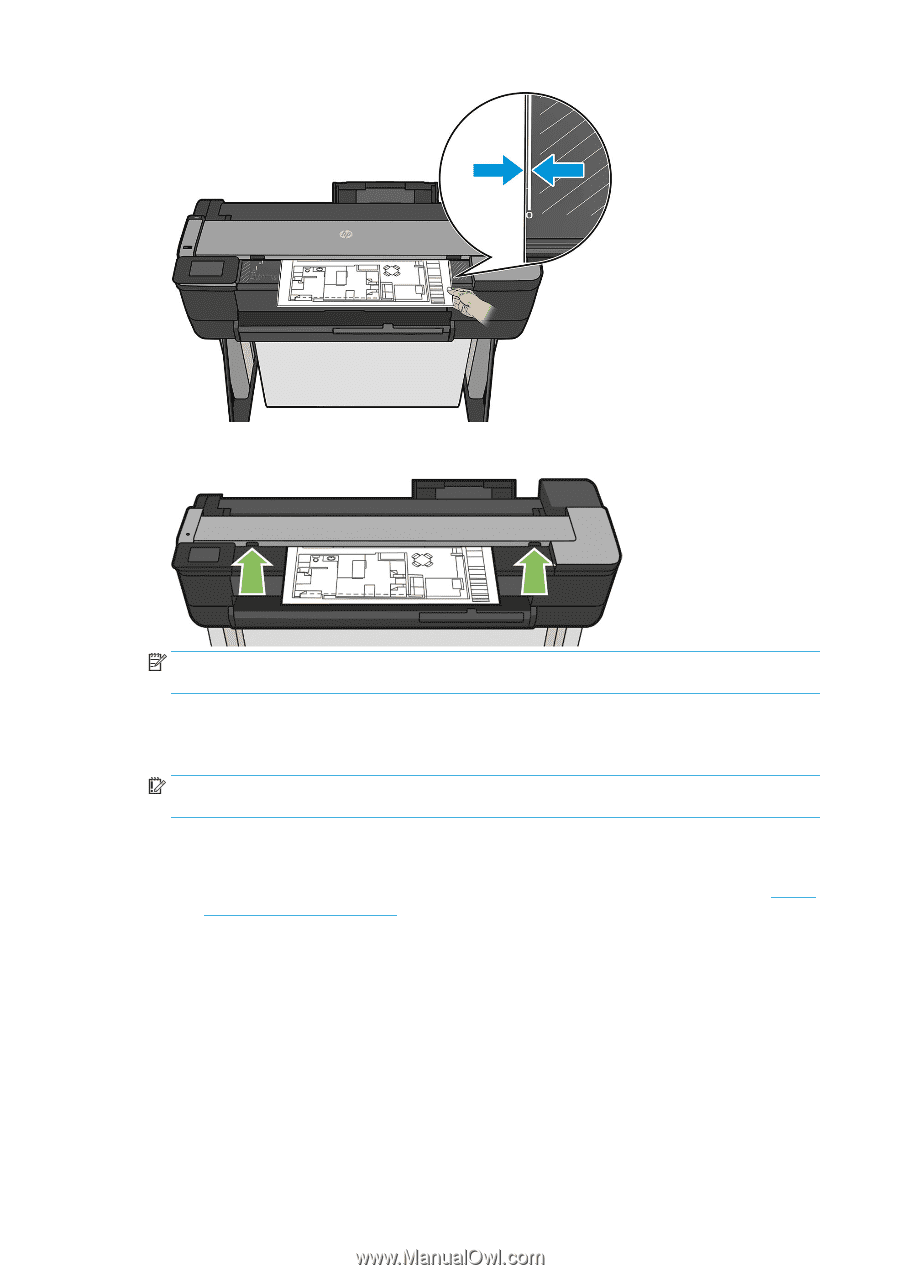
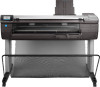
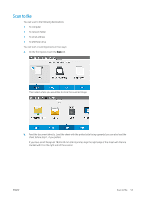
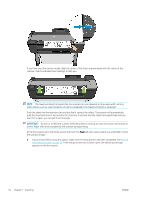
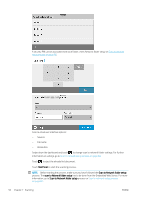
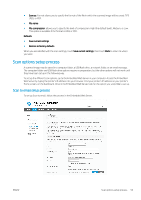
If you have any other printer model, align the center of the sheet approximately with the center of the scanner. Use the standard size markings to help you. NOTE: The maximum length of paper that the scanner can scan depends on the paper width, among other options such as scan resolution. An alert is displayed if the maximum length is exceeded. Push the sheet into the insertion slot until you feel it contact the rollers. The scanner will automatically grab the sheet and move it into position for scanning. If you feel that the sheet has loaded badly and you want to try again, you can pull it out manually. IMPORTANT: Do not try to feed the scanner while the printer is printing, as only one action can be done at a time. Paper will not be accepted by the scanner during printing. At the front panel, go to the home screen and touch the Scan tab, then select where you would like to store the scanned image: ● Into an email. Before using this option, make sure the setup process has been completed. See Scan to email setup process on page 59. If the setup process has not been done, the following message appears on the front panel: 54 Chapter 7 Scanning ENWW
-
 1
1 -
2
-
3
-
4
-
5
-
6
-
7
-
8
-
9
-
10
-
11
-
12
-
13
-
14
-
15
-
16
-
17
-
18
-
19
-
20
-
21
-
22
-
23
-
24
-
25
-
26
-
27
-
28
-
29
-
30
-
31
-
32
-
33
-
34
-
35
-
36
-
37
-
38
-
39
-
40
-
41
-
42
-
43
-
44
-
45
-
46
-
47
-
48
-
49
-
50
-
51
-
52
-
 53
53 -
 54
54 -
 55
55 -
 56
56 -
 57
57 -
 58
58 -
 59
59 -
 60
60 -
 61
61 -
 62
62 -
 63
63 -
64
-
65
-
66
-
67
-
68
-
69
-
70
-
71
-
72
-
73
-
74
-
75
-
76
-
77
-
78
-
79
-
80
-
81
-
82
-
83
-
84
-
85
-
86
-
87
-
88
-
89
-
90
-
91
-
92
-
93
-
94
-
95
-
96
-
97
-
98
-
99
-
100
-
101
-
102
-
103
-
104
-
105
-
106
-
107
-
108
-
109
-
110
-
111
-
112
-
113
-
114
-
115
-
116
-
117
-
118
-
119
-
120
-
121
-
122
-
123
-
124
-
125
-
126
-
127
-
128
-
129
-
130
-
131
-
132
-
133
-
134
-
135
-
136
-
137
-
138
-
139
-
140
-
141
-
142
-
143
-
144
-
145
-
146
-
147
-
148
-
149
-
150
-
151
-
152
-
153
-
154
-
155
-
156
-
157
-
158
-
159
-
160
-
161
-
162
-
163
-
164
-
165
-
166
-
167
-
168
-
169
-
170
-
171
-
172
-
173
-
174
-
175
-
176
-
177
-
178
-
179
-
180
-
181
-
182
-
183
-
184
-
185
-
186
-
187
-
188
-
189
-
190
-
191
-
192
-
193
-
194
-
195
-
196
-
197
-
198
-
199
-
200
-
201
-
202
-
203
 |
 |