HP Officejet J4000 User Guide - Page 154
Troubleshoot installation issues, Hardware installation suggestions
 |
View all HP Officejet J4000 manuals
Add to My Manuals
Save this manual to your list of manuals |
Page 154 highlights
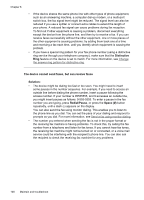
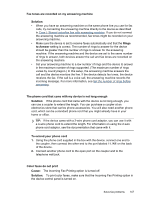
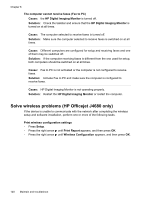
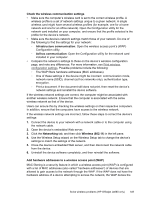
Chapter 8 device access to the network. If the WAP filters MAC addresses, then the device's MAC address must be added to the WAP's list of accepted MAC addresses. • Print the wireless configuration page. For more information, see Print wireless configuration settings. • Open the WAP's configuration utility, and add the device's hardware address to the list of accepted MAC addresses. Reset network configuration settings If the device is still unable to communicate with the network, reset the device's network settings. • Press Setup. Press an arrow button to move to Network, and then press OK. • Press an arrow button to move to Restore Network Defaults, and then press OK. • Print the wireless configuration page and verify that the network settings have been reset. For more information, see Print wireless configuration settings. By default, the network name (SSID) is "hpsetup" and the communication mode is "ad hoc." Troubleshoot installation issues If the following topics do not help, see Support and warranty for information about HP support. • Hardware installation suggestions • Software installation suggestions Hardware installation suggestions Check the device • Make sure that all packing tape and material have been removed from outside and inside the device. • Make sure that the device is loaded with paper. • Make sure that no lights are on or blinking except the Ready light, which should be on. If the Attention light is blinking, check for messages on the device control panel. Check the hardware connections • Make sure that any cords and cables that you are using are in good working order. • Make sure that the power cord is connected securely to both the device and to a working power outlet. • Make sure that the phone cord is connected to the 1-LINE port. Check the ink cartridges • Whenever you install a new ink cartridge, the device aligns the ink cartridges automatically. If the alignment fails, check to make sure the cartridges are installed correctly, and start the ink cartridge alignment. For more information, see Align the ink cartridges. • Make sure that all latches and covers are closed properly. 150 Maintain and troubleshoot
-
 1
1 -
2
-
3
-
4
-
5
-
6
-
7
-
8
-
9
-
10
-
11
-
12
-
13
-
14
-
15
-
16
-
17
-
18
-
19
-
20
-
21
-
22
-
23
-
24
-
25
-
26
-
27
-
28
-
29
-
30
-
31
-
32
-
33
-
34
-
35
-
36
-
37
-
38
-
39
-
40
-
41
-
42
-
43
-
44
-
45
-
46
-
47
-
48
-
49
-
50
-
51
-
52
-
53
-
54
-
55
-
56
-
57
-
58
-
59
-
60
-
61
-
62
-
63
-
64
-
65
-
66
-
67
-
68
-
69
-
70
-
71
-
72
-
73
-
74
-
75
-
76
-
77
-
78
-
79
-
80
-
81
-
82
-
83
-
84
-
85
-
86
-
87
-
88
-
89
-
90
-
91
-
92
-
93
-
94
-
95
-
96
-
97
-
98
-
99
-
100
-
101
-
102
-
103
-
104
-
105
-
106
-
107
-
108
-
109
-
110
-
111
-
112
-
113
-
114
-
115
-
116
-
117
-
118
-
119
-
120
-
121
-
122
-
123
-
124
-
125
-
126
-
127
-
128
-
129
-
130
-
131
-
132
-
133
-
134
-
135
-
136
-
137
-
138
-
139
-
140
-
141
-
142
-
143
-
144
-
145
-
146
-
147
-
148
-
 149
149 -
 150
150 -
 151
151 -
 152
152 -
 153
153 -
 154
154 -
 155
155 -
 156
156 -
 157
157 -
 158
158 -
 159
159 -
160
-
161
-
162
-
163
-
164
-
165
-
166
-
167
-
168
-
169
-
170
-
171
-
172
-
173
-
174
-
175
-
176
-
177
-
178
-
179
-
180
-
181
-
182
-
183
-
184
-
185
-
186
-
187
-
188
-
189
-
190
-
191
-
192
-
193
-
194
-
195
-
196
 |
 |