HP Pavilion a400 HP Pavilion Desktop PCs - (English) Users Guide 5990-6416 - Page 137
installing add-in cards
 |
View all HP Pavilion a400 manuals
Add to My Manuals
Save this manual to your list of manuals |
Page 137 highlights
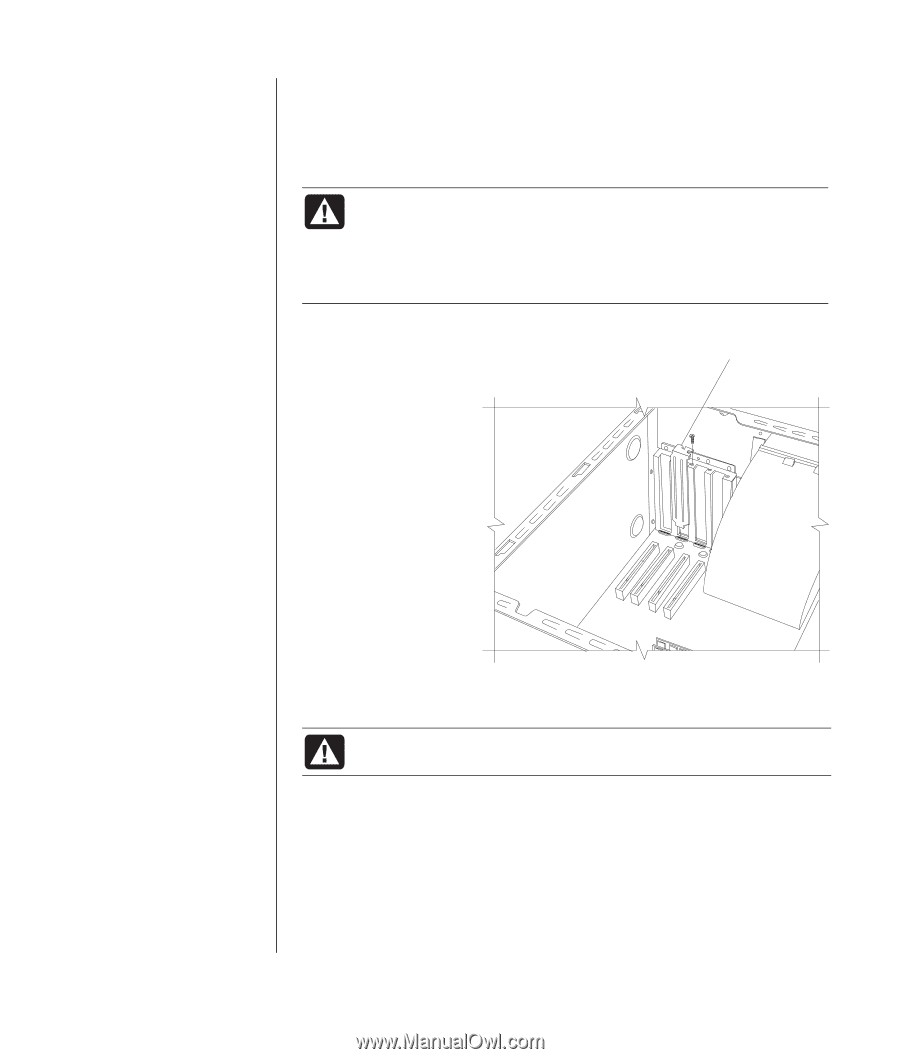
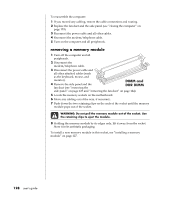
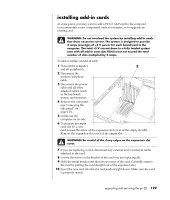
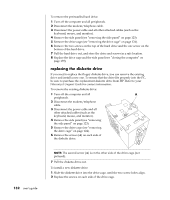
installing add-in cards At some point, you may want to add a PCI or AGP card to the computer to accommodate a new component, such as a scanner, or to upgrade an existing card. WARNING: Do not overload the system by installing add-in cards that draw excessive current. The system is designed to provide 2 amps (average) of +5 V power for each board/card in the computer. The total +5 V current draw in a fully loaded system (one with all add-in card slots filled) must not exceed the total number of slots multiplied by 2 amps. To add or replace an add-in card: 1 Turn off the computer E and all peripherals. 2 Disconnect the modem/telephone cable. 3 Disconnect the power cable and all other attached cables (such as the keyboard, mouse, and monitor). 4 Remove the side panel (see "removing the side panel" on page 123). 5 Gently lay the computer on its side. 6 To prepare an empty card slot for a new card, loosen the screw of the expansion slot cover of the empty slot (E). Remove the expansion slot cover of the empty slot. WARNING: Be careful of the sharp edges on the expansion slot cover. 7 If you are replacing a card, disconnect any external and/or internal cables attached to the card. 8 Loosen the screw on the bracket of the card you are replacing (F). 9 Hold the metal bracket and the far top corner of the card. Carefully remove the card by pulling the card straight out of the expansion slot. 10 Insert the new card into the slot and push straight down. Make sure the card is properly seated. upgrading and servicing the pc (2) 129
-
 1
1 -
2
-
3
-
4
-
5
-
6
-
7
-
8
-
9
-
10
-
11
-
12
-
13
-
14
-
15
-
16
-
17
-
18
-
19
-
20
-
21
-
22
-
23
-
24
-
25
-
26
-
27
-
28
-
29
-
30
-
31
-
32
-
33
-
34
-
35
-
36
-
37
-
38
-
39
-
40
-
41
-
42
-
43
-
44
-
45
-
46
-
47
-
48
-
49
-
50
-
51
-
52
-
53
-
54
-
55
-
56
-
57
-
58
-
59
-
60
-
61
-
62
-
63
-
64
-
65
-
66
-
67
-
68
-
69
-
70
-
71
-
72
-
73
-
74
-
75
-
76
-
77
-
78
-
79
-
80
-
81
-
82
-
83
-
84
-
85
-
86
-
87
-
88
-
89
-
90
-
91
-
92
-
93
-
94
-
95
-
96
-
97
-
98
-
99
-
100
-
101
-
102
-
103
-
104
-
105
-
106
-
107
-
108
-
109
-
110
-
111
-
112
-
113
-
114
-
115
-
116
-
117
-
118
-
119
-
120
-
121
-
122
-
123
-
124
-
125
-
126
-
127
-
128
-
129
-
130
-
131
-
 132
132 -
 133
133 -
 134
134 -
 135
135 -
 136
136 -
 137
137 -
 138
138 -
 139
139 -
 140
140 -
 141
141 -
 142
142 -
143
-
144
-
145
-
146
-
147
-
148
-
149
-
150
-
151
-
152
-
153
-
154
-
155
-
156
 |
 |