Lexmark 44J0000 User's Guide - Page 58
Cleaning, Printheads, Return, Ready, Menu>, Select.
 |
UPC - 734646207737
View all Lexmark 44J0000 manuals
Add to My Manuals
Save this manual to your list of manuals |
Page 58 highlights
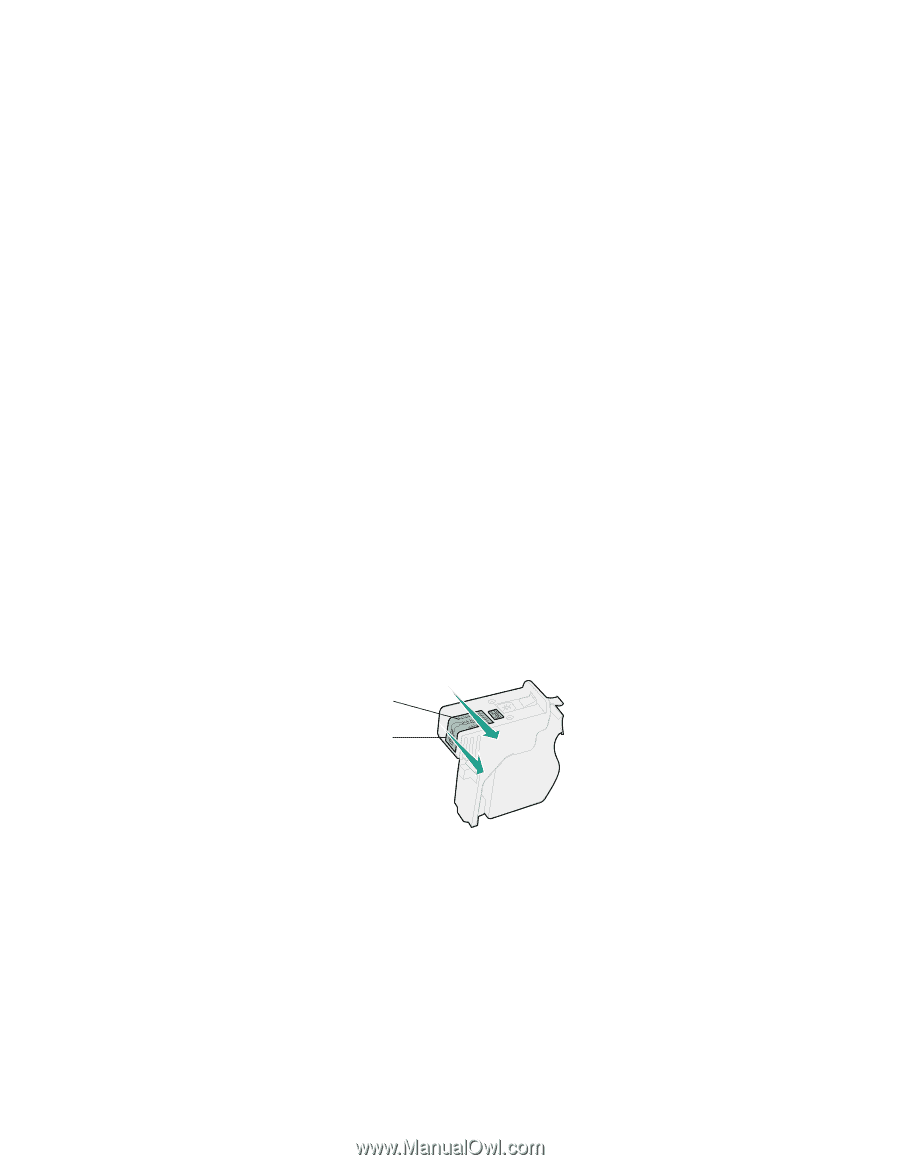
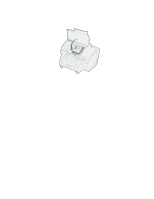
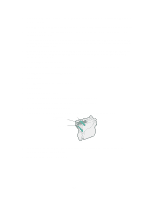
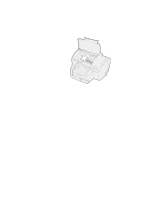
7 Once the Long Clean finishes, a test page prints four color bars with a corresponding number below each color. A Clean [1]?=Go/Stop message appears on the operator panel display for each color bar. 8 For each color bar, press the Stop button if the quality is satisfactory or the Go button if the quality is not improved. If you pressed Go for any of the color bars, the printer does another Long Clean. A Cleaning Printheads message appears on the display. After a few seconds the printer prints another test page with all four colors. 9 Because a Long Clean uses so much ink, we recommend not doing more than two. When the Clean [1]?=Go/Stop message appears on the operator panel display, press the Stop button for each color bar. 10 Press Return to go back to Ready. If the print quality is still unsatisfactory, try wiping the affected printhead to remove dried ink. 1 Press Menu> until the Utilities Menu appears. 2 Press Select. 3 Press Menu> until Change Printhead appears. 4 Press Select. 5 Open the printer front cover. The carrier moves to the load position at the center of the printer. 6 Lift the carrier handle to unlatch the printhead from the carrier. 7 Grip the printhead and pull it up and out. 8 Use a clean, lint-free, damp cloth to gently wipe across the copper contact area. Copper contact area Nozzles 9 To dissolve dried ink, hold the damp cloth against the printhead nozzles for about three seconds. Gently blot and wipe dry. 10 Allow the copper contact time to dry. 49
-
 1
1 -
2
-
3
-
4
-
5
-
6
-
7
-
8
-
9
-
10
-
11
-
12
-
13
-
14
-
15
-
16
-
17
-
18
-
19
-
20
-
21
-
22
-
23
-
24
-
25
-
26
-
27
-
28
-
29
-
30
-
31
-
32
-
33
-
34
-
35
-
36
-
37
-
38
-
39
-
40
-
41
-
42
-
43
-
44
-
45
-
46
-
47
-
48
-
49
-
50
-
51
-
52
-
 53
53 -
 54
54 -
 55
55 -
 56
56 -
 57
57 -
 58
58 -
 59
59 -
 60
60 -
 61
61 -
 62
62 -
 63
63 -
64
-
65
-
66
-
67
-
68
-
69
-
70
-
71
-
72
-
73
-
74
-
75
-
76
-
77
-
78
-
79
-
80
-
81
-
82
-
83
-
84
-
85
-
86
-
87
-
88
-
89
-
90
-
91
-
92
-
93
-
94
-
95
-
96
-
97
-
98
-
99
-
100
-
101
-
102
-
103
-
104
-
105
-
106
-
107
-
108
-
109
-
110
-
111
-
112
-
113
-
114
-
115
-
116
 |
 |