Nokia 6120 classic User Guide - Page 48
Camera, Video Manager help. - pc suite
 |
View all Nokia 6120 classic manuals
Add to My Manuals
Save this manual to your list of manuals |
Page 48 highlights
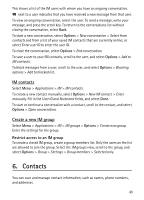
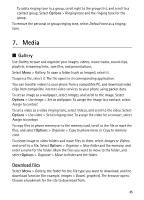
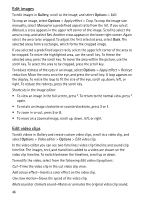
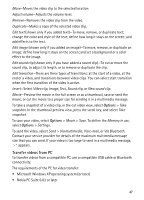
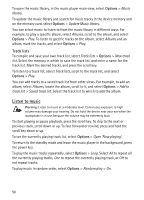
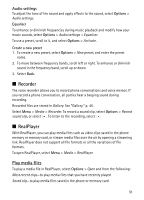
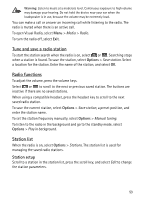
• Nokia Video Manager application (a add-on application to PC Suite) To transfer videos use Nokia Video Manager, connect the compatible USB cable or activate Bluetooth connection, and select PC Suite as the connection mode. To change the default USB connection mode, select Menu > Settings > Connectivity > USB > USB mode. Nokia Video Manager is optimized for transcoding and transferring video files. For information about transferring video with Nokia Video Manager, see the Nokia Video Manager help. ■ Camera To use the main camera, press the camera key, or select Menu > Media > Camera. To take a self portrait, select Options > Use secondary camera. To capture an image, press the camera key. The image is saved to Images in Gallery, and the image is displayed. To return to the viewfinder, select Back. To delete the image, press the clear key. To zoom in or out, scroll up or down. To capture images sequentially, select Options > Sequence mode > On. When you press the scroll key, the camera captures six images in short intervals and displays the images in a grid. To turn the flash on (available only in the main camera), select Options > Flash > On. If you select Automatic, flash is used automatically when necessary. Keep a safe distance when using the flash. Do not use the flash on people or animals at close range. Do not cover the flash while taking a picture. In dim lighting, to use night mode, select Options > Night mode > On. To use the self-timer, select Options > Self-timer and the time you want the camera to wait before capturing the image. Press the scroll key, and the timer starts. To adjust the white balance or color tone (available only in the main camera), select Options > Adjust > White balance or Colour tone. To record a video, select Options > Video mode, or scroll right. on the upper left of the display indicates the video mode. To start the recording, press the camera key or the scroll key. To stop the recording, press the camera key. 48
-
 1
1 -
2
-
3
-
4
-
5
-
6
-
7
-
8
-
9
-
10
-
11
-
12
-
13
-
14
-
15
-
16
-
17
-
18
-
19
-
20
-
21
-
22
-
23
-
24
-
25
-
26
-
27
-
28
-
29
-
30
-
31
-
32
-
33
-
34
-
35
-
36
-
37
-
38
-
39
-
40
-
41
-
42
-
 43
43 -
 44
44 -
 45
45 -
 46
46 -
 47
47 -
 48
48 -
 49
49 -
 50
50 -
 51
51 -
 52
52 -
 53
53 -
54
-
55
-
56
-
57
-
58
-
59
-
60
-
61
-
62
-
63
-
64
-
65
-
66
-
67
-
68
-
69
-
70
-
71
-
72
-
73
-
74
-
75
-
76
-
77
-
78
-
79
-
80
-
81
-
82
-
83
-
84
-
85
-
86
-
87
-
88
-
89
-
90
-
91
-
92
-
93
-
94
-
95
-
96
-
97
-
98
-
99
-
100
-
101
-
102
-
103
 |
 |