Nokia N80 Internet Edition Nokia N80ie User Guide in English - Page 22
Camera, Take pictures - difference
 |
View all Nokia N80 Internet Edition manuals
Add to My Manuals
Save this manual to your list of manuals |
Page 22 highlights
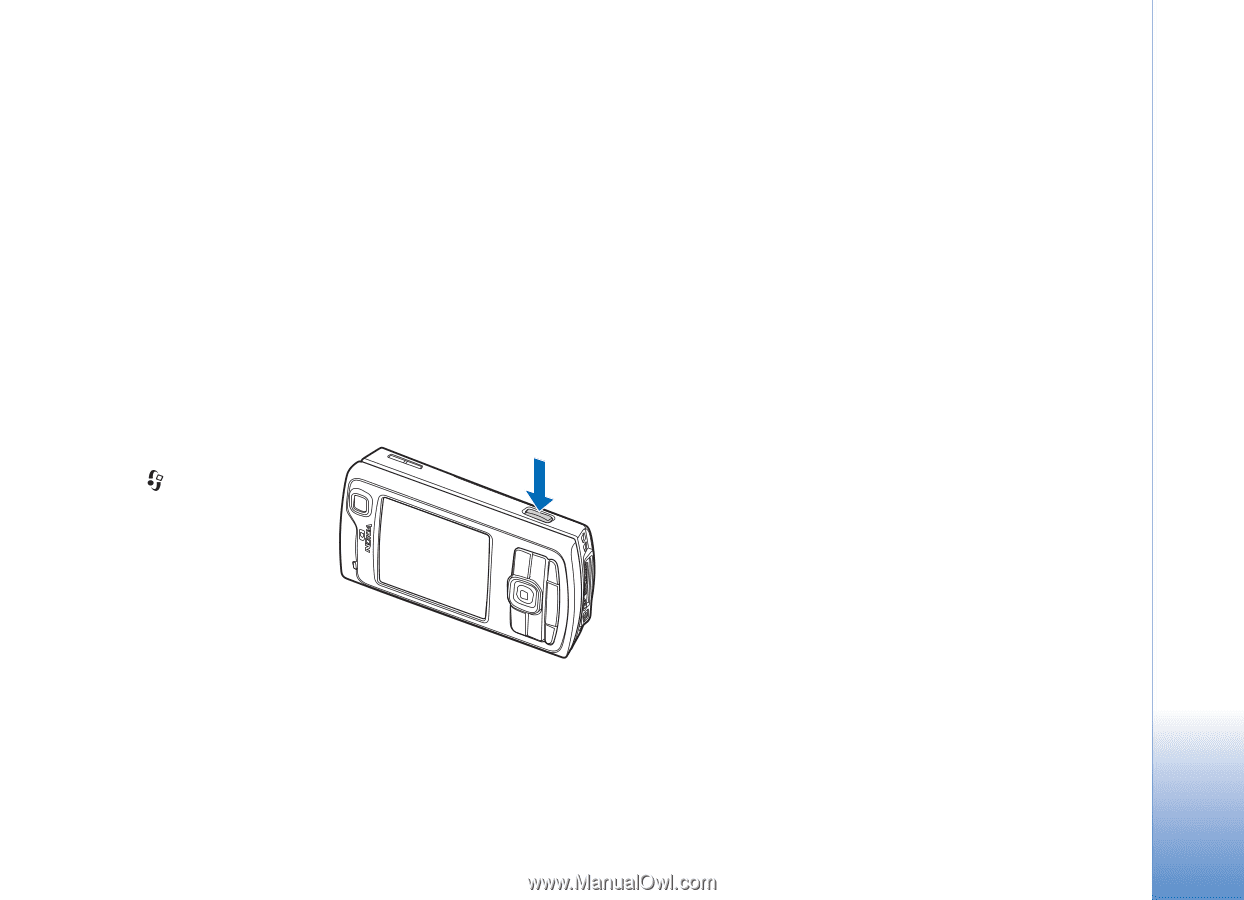
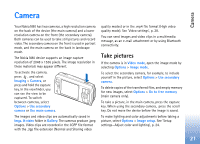
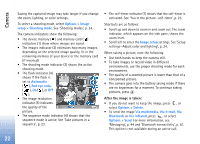
Camera Camera Your Nokia N80 has two cameras, a high resolution camera on the back of the device (the main camera) and a lower resolution camera on the front (the secondary camera). Both cameras can be used to take still pictures and record video. The secondary camera on the front is used in portrait mode, and the main camera on the back in landscape mode. The Nokia N80 device supports an image capture resolution of 2048 x 1536 pixels. The image resolution in these materials may appear different. To activate the camera, press , and select Imaging > Camera, or press and hold the capture key. In the viewfinder, you can see the view to be captured. To switch between cameras, select Options > Use secondary camera or Use main camera. The images and video clips are automatically saved in Imgs. & video folder in Gallery. The cameras produce .jpeg images. Video clips are recorded in the 3GPP file format with the .3gp file extension (Normal and Sharing video quality modes) or in the .mp4 file format (High video quality mode). See 'Video settings', p. 28. You can send images and video clips in a multimedia message, as an e-mail attachment or by using Bluetooth connectivity. Take pictures If the camera is in Video mode, open the image mode by selecting Options > Image mode. To select the secondary camera, for example, to include yourself in the picture, select Options > Use secondary camera. To delete copies of the transferred files, and empty memory for new images, select Options > Go to free memory (main camera only). To take a picture, in the main camera, press the capture key. When using the secondary camera, press the scroll key. Do not move the device before the image is saved. To make lighting and color adjustments before taking a picture, select Options > Image setup. See 'Setup settings-Adjust color and lighting', p. 24. 21
-
 1
1 -
2
-
3
-
4
-
5
-
6
-
7
-
8
-
9
-
10
-
11
-
12
-
13
-
14
-
15
-
16
-
 17
17 -
 18
18 -
 19
19 -
 20
20 -
 21
21 -
 22
22 -
 23
23 -
 24
24 -
 25
25 -
 26
26 -
 27
27 -
28
-
29
-
30
-
31
-
32
-
33
-
34
-
35
-
36
-
37
-
38
-
39
-
40
-
41
-
42
-
43
-
44
-
45
-
46
-
47
-
48
-
49
-
50
-
51
-
52
-
53
-
54
-
55
-
56
-
57
-
58
-
59
-
60
-
61
-
62
-
63
-
64
-
65
-
66
-
67
-
68
-
69
-
70
-
71
-
72
-
73
-
74
-
75
-
76
-
77
-
78
-
79
-
80
-
81
-
82
-
83
-
84
-
85
-
86
-
87
-
88
-
89
-
90
-
91
-
92
-
93
-
94
-
95
-
96
-
97
-
98
-
99
-
100
-
101
-
102
-
103
-
104
-
105
-
106
-
107
-
108
-
109
-
110
-
111
-
112
-
113
-
114
-
115
-
116
-
117
-
118
-
119
-
120
-
121
-
122
-
123
-
124
-
125
-
126
-
127
-
128
-
129
-
130
-
131
 |
 |