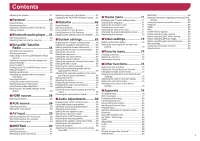
Pioneer AVIC-7200NEX Owner s Manual - Page 6
Protecting your product against, theft, Notes on using the LCD panel, Adjusting the LCD panel angle
 |
View all Pioneer AVIC-7200NEX manuals
Add to My Manuals
Save this manual to your list of manuals |
Page 6 highlights
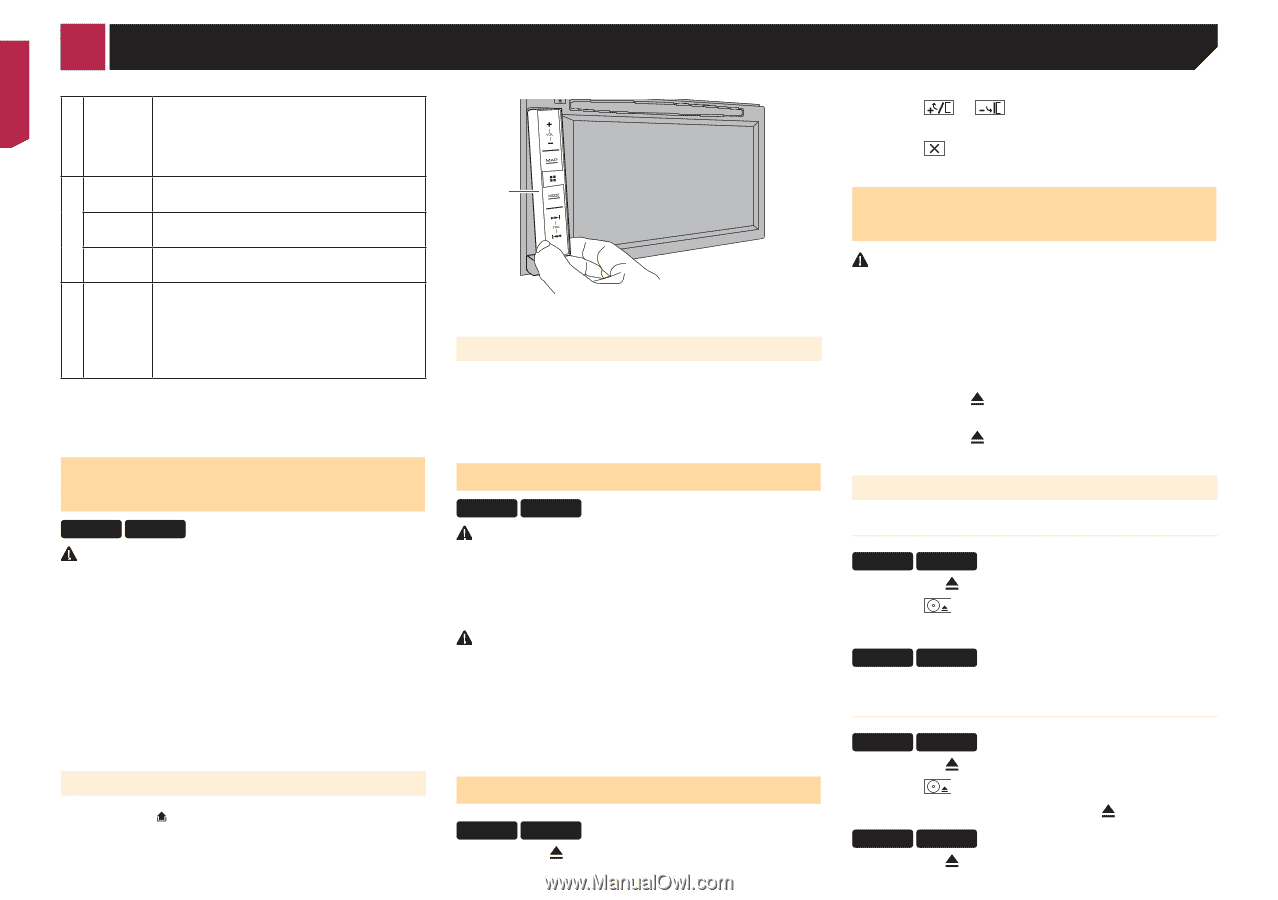
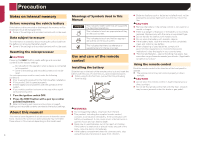
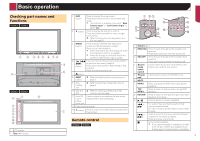
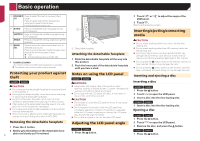
Basic operation 10 FOLDER/P. Press to select the next or previous title or CH folder. Press to recall radio station frequencies assigned to preset channel keys. Press to answer or end a call. 11 AUDIO Press to change the audio language during DVD playback. SUBTITLE Press to change the subtitle language during DVD playback. ANGLE Press to change the viewing angle during DVD playback. 12 BAND/ ESC Press to select the tuner band when tuner is selected as a source. Press to switch between media file types when playing the following types of data: Disc External storage device (USB, SD) p 7200NEX/5200NEX The remote control CD-R33 (sold separately) is available. For details, refer to the remote control manual. Protecting your product against theft 6200NEX 5200NEX CAUTION Do not expose the detachable faceplate to excessive shock or disassemble it. Never grip the buttons tightly or use force when removing or attaching the detachable faceplate. Keep the detachable faceplate out of reach of small children to prevent them from placing it in their mouths. After removing the detachable faceplate, keep it in a safe place so it is not scratched or damaged. Do not expose the detachable faceplate to direct sunlight and high temperatures. When removing or attaching the detachable faceplate, do so after turning off the ignition switch (ACC OFF). Removing the detachable faceplate 1 Press the button. 2 Gently grip the bottom of the detachable face- plate and slowly pull it outward. 6 1 1 Detachable faceplate Attaching the detachable faceplate 1 Slide the detachable faceplate all the way into this product. 2 Push the lower part of the detachable faceplate until you hear a click. Notes on using the LCD panel 8200NEX 7200NEX WARNING Keep hands and fingers clear of this product when opening, closing, or adjusting the LCD panel. Be especially cautious of children's hands and fingers. Do not use with the LCD panel left open. It may result in injury in the event of an accident. CAUTION Do not open or close the LCD panel by force. It may cause a malfunction. Do not operate this product until the LCD panel has completely opened or closed. If this product is operated while the LCD panel is opening or closing, the LCD panel may stop at that angle for safety. Do not place a glass or can on the open LCD panel. Adjusting the LCD panel angle 8200NEX 7200NEX 1 Press the button. 2 Touch or LCD panel. to adjust the angle of the 3 Touch . Returns to the previous screen. Inserting/ejecting/connecting media CAUTION Do not insert anything other than a disc into the disc- loading slot. Do not insert anything other than SD memory cards into the SD card slot. Ejecting an SD memory card during data transfer can damage the SD memory card. Be sure to eject the SD memory card by the procedure described in this manual. Do not press the button when an SD memory card is not fully inserted. Doing so may damage the card. Do not press the button before an SD memory card has been completely removed. Doing so may damage the card. Inserting and ejecting a disc Inserting a disc 8200NEX 7200NEX 1 Press the button. 2 Touch to open the LCD panel. 3 Insert a disc into the disc-loading slot. 6200NEX 5200NEX 1 Insert a disc into the disc-loading slot. Ejecting a disc 8200NEX 7200NEX 1 Press the button. 2 Touch to open the LCD panel. 3 Remove the disc, and press the button. 6200NEX 5200NEX 1 Press the button.
-
 1
1 -
 2
2 -
 3
3 -
 4
4 -
 5
5 -
 6
6 -
 7
7 -
 8
8 -
 9
9 -
 10
10 -
 11
11 -
 12
12 -
13
-
14
-
15
-
16
-
17
-
18
-
19
-
20
-
21
-
22
-
23
-
24
-
25
-
26
-
27
-
28
-
29
-
30
-
31
-
32
-
33
-
34
-
35
-
36
-
37
-
38
-
39
-
40
-
41
-
42
-
43
-
44
-
45
-
46
-
47
-
48
-
49
-
50
-
51
-
52
-
53
-
54
-
55
-
56
-
57
-
58
-
59
-
60
-
61
-
62
-
63
-
64
-
65
-
66
-
67
-
68
-
69
-
70
-
71
-
72
-
73
-
74
-
75
-
76
-
77
-
78
-
79
-
80
-
81
-
82
-
83
-
84
-
85
-
86
-
87
-
88
-
89
-
90
-
91
-
92
 |
 |