Samsung SGH-A157V User Manual At&t Wireless Sgh-a157v Pocket Ve English Us - Page 15
Powering On or Off the Phone, Low Battery Indicator - charger
 |
View all Samsung SGH-A157V manuals
Add to My Manuals
Save this manual to your list of manuals |
Page 15 highlights
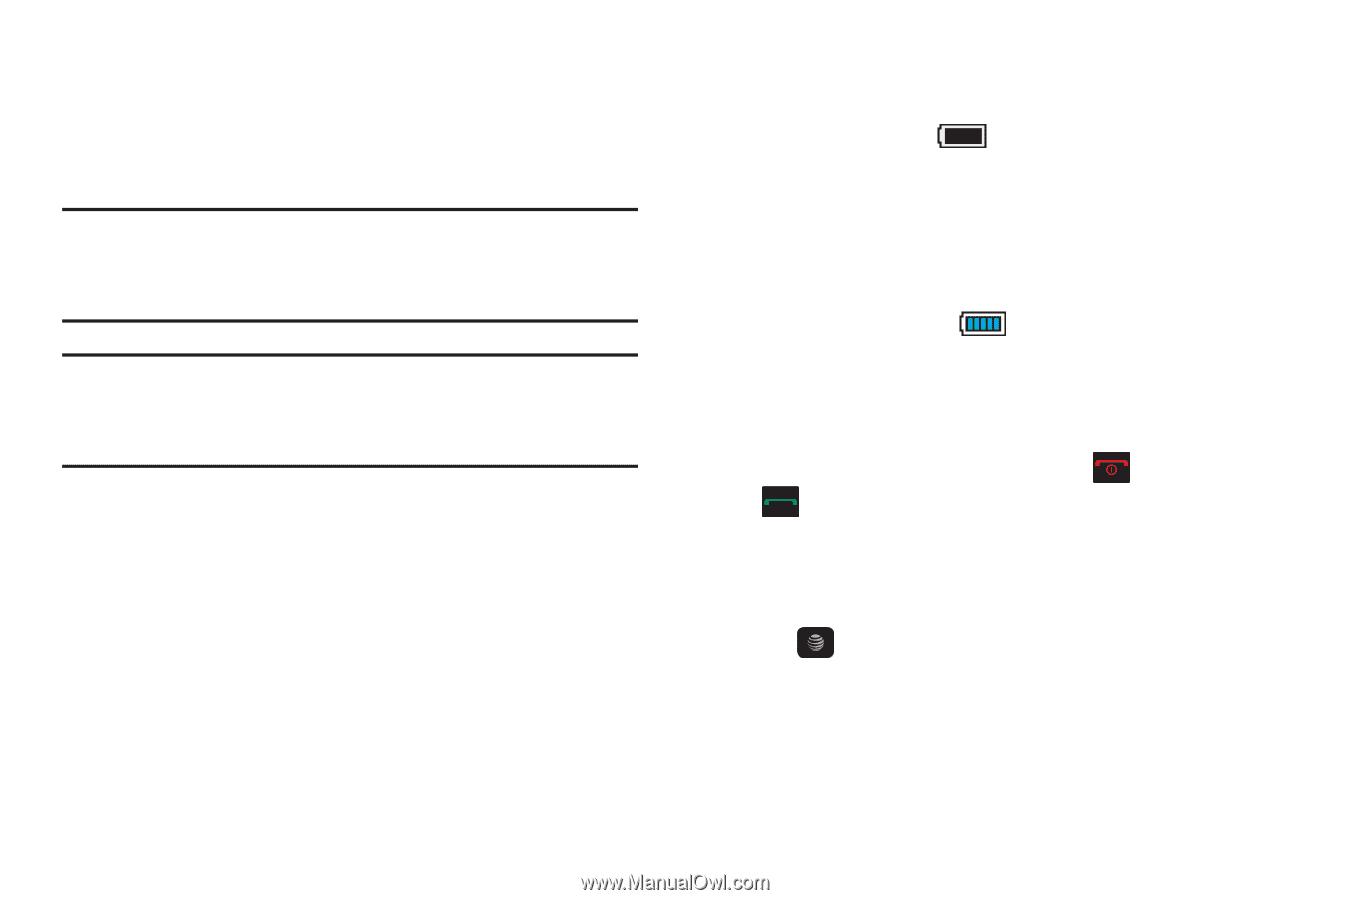
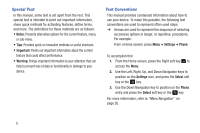
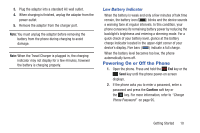
3. Plug the adaptor into a standard AC wall outlet. 4. When charging is finished, unplug the adaptor from the power outlet. 5. Remove the adaptor from the charger port. Note: You must unplug the adaptor before removing the battery from the phone during charging to avoid damage. Note: When the Travel Charger is plugged in, the charging indicator may not display for a few minutes, however the battery is charging properly. Low Battery Indicator When the battery is weak and only a few minutes of talk time remain, the battery icon ( ) blinks and the device sounds a warning tone at regular intervals. In this condition, your phone conserves its remaining battery power by reducing the backlight's brightness and entering a dimming mode. For a quick check of your battery level, glance at the battery charge indicator located in the upper-right corner of your device's display. Five bars ( ) indicate a full charge. When the battery level becomes too low, the phone automatically turns off. Powering On or Off the Phone 1. Open the phone. Press and hold the End key or the Send key until the phone power-on screen displays. 2. If the phone asks you to enter a password, enter a password and press the Confirm soft key or the key. For more information, refer to "Change Phone Password" on page 95. Getting Started 10
-
 1
1 -
2
-
3
-
4
-
5
-
6
-
7
-
8
-
9
-
 10
10 -
 11
11 -
 12
12 -
 13
13 -
 14
14 -
 15
15 -
 16
16 -
 17
17 -
 18
18 -
 19
19 -
 20
20 -
21
-
22
-
23
-
24
-
25
-
26
-
27
-
28
-
29
-
30
-
31
-
32
-
33
-
34
-
35
-
36
-
37
-
38
-
39
-
40
-
41
-
42
-
43
-
44
-
45
-
46
-
47
-
48
-
49
-
50
-
51
-
52
-
53
-
54
-
55
-
56
-
57
-
58
-
59
-
60
-
61
-
62
-
63
-
64
-
65
-
66
-
67
-
68
-
69
-
70
-
71
-
72
-
73
-
74
-
75
-
76
-
77
-
78
-
79
-
80
-
81
-
82
-
83
-
84
-
85
-
86
-
87
-
88
-
89
-
90
-
91
-
92
-
93
-
94
-
95
-
96
-
97
-
98
-
99
-
100
-
101
-
102
-
103
-
104
-
105
-
106
-
107
-
108
-
109
-
110
-
111
-
112
-
113
-
114
-
115
-
116
-
117
-
118
-
119
-
120
-
121
-
122
-
123
-
124
-
125
-
126
-
127
-
128
-
129
-
130
-
131
-
132
-
133
-
134
-
135
-
136
-
137
-
138
-
139
-
140
-
141
-
142
-
143
-
144
-
145
-
146
-
147
-
148
-
149
-
150
-
151
-
152
-
153
-
154
-
155
-
156
 |
 |