Sharp AR-BC260 AR-BC260 Operation Manual Suite - Page 157
Uninstalling Printer Drivers, And Printer Utilities - driver install monitor
 |
View all Sharp AR-BC260 manuals
Add to My Manuals
Save this manual to your list of manuals |
Page 157 highlights
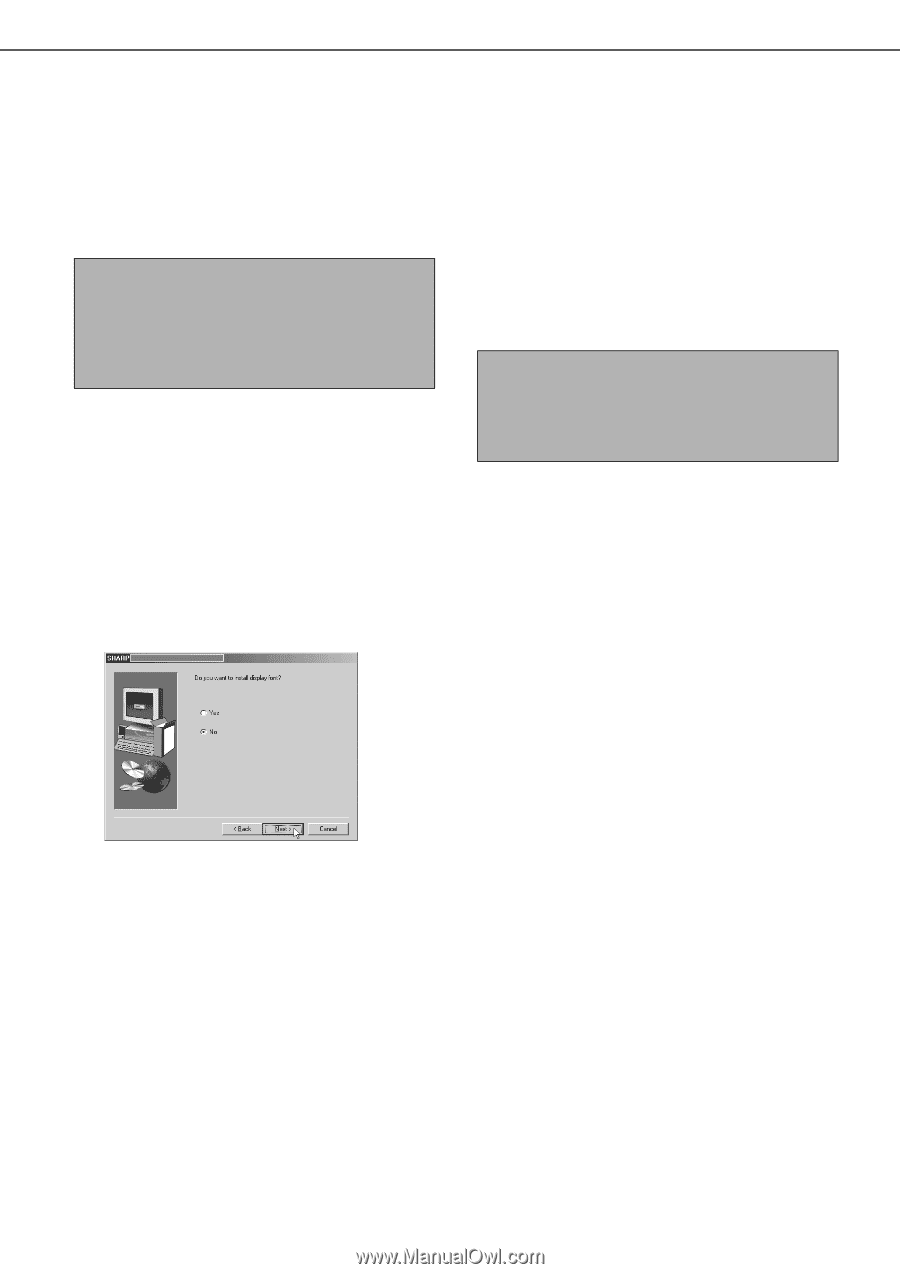
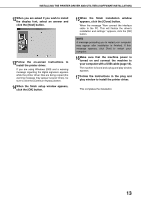
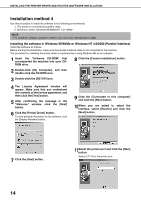
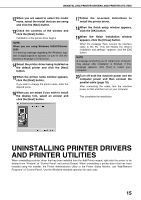
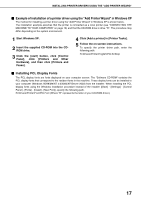
UNINSTALLING PRINTER DRIVERS AND PRINTER UTILITIES 12When you are asked to select the model name, select the model that you are using and click the [Next] button. 13Check the contents of the window and click the [Next] button. Installation of the printer driver begins. NOTE When you are using Windows 2000/XP/Server 2003 If a warning message regarding the Windows logo test or digital signature appears, be sure to click the [Continue Anyway] or [Yes] button. 14Select the printer driver being installed as the default printer and click the [Next] button. 15When the printer name window appears, click the [Next] button. If you wish to change the printer name, enter the desired name. 16When you are asked if you wish to install the display font, select an answer and click the [Next] button. 17Follow the on-screen instructions to install the printer driver. 18When the finish setup window appears, click the [OK] button. 19When the finish installation window appears, click the [Close] button. When the message "Now connect the interface cable to the PC. This will finalize the driver's installation and settings." appears, click the [OK] button. NOTE A message prompting you to restart your computer may appear after installation is finished. If this message appears, click [Yes] to restart your computer. 20Turn off both the machine power and the computer power and then connect the parallel cable (page 18). After connecting the cable, turn the machine power on first and then turn on your computer. This completes the installation. UNINSTALLING PRINTER DRIVERS AND PRINTER UTILITIES When uninstalling a printer driver that has been installed from the Add Printer wizard, right-click the printer to be deleted from "Printers" of "Control Panel" and select [Delete]. When uninstalling a printer driver that has been installed using the installer, the Printer Administration Utility or the Printer Status Monitor, use "Add/Remove Programs" of "Control Panel". Use the Windows standard operation for each case. 15
-
 1
1 -
2
-
3
-
4
-
5
-
6
-
7
-
8
-
9
-
10
-
11
-
12
-
13
-
14
-
15
-
16
-
17
-
18
-
19
-
20
-
21
-
22
-
23
-
24
-
25
-
26
-
27
-
28
-
29
-
30
-
31
-
32
-
33
-
34
-
35
-
36
-
37
-
38
-
39
-
40
-
41
-
42
-
43
-
44
-
45
-
46
-
47
-
48
-
49
-
50
-
51
-
52
-
53
-
54
-
55
-
56
-
57
-
58
-
59
-
60
-
61
-
62
-
63
-
64
-
65
-
66
-
67
-
68
-
69
-
70
-
71
-
72
-
73
-
74
-
75
-
76
-
77
-
78
-
79
-
80
-
81
-
82
-
83
-
84
-
85
-
86
-
87
-
88
-
89
-
90
-
91
-
92
-
93
-
94
-
95
-
96
-
97
-
98
-
99
-
100
-
101
-
102
-
103
-
104
-
105
-
106
-
107
-
108
-
109
-
110
-
111
-
112
-
113
-
114
-
115
-
116
-
117
-
118
-
119
-
120
-
121
-
122
-
123
-
124
-
125
-
126
-
127
-
128
-
129
-
130
-
131
-
132
-
133
-
134
-
135
-
136
-
137
-
138
-
139
-
140
-
141
-
142
-
143
-
144
-
145
-
146
-
147
-
148
-
149
-
150
-
151
-
 152
152 -
 153
153 -
 154
154 -
 155
155 -
 156
156 -
 157
157 -
 158
158 -
 159
159 -
 160
160 -
 161
161 -
 162
162 -
163
-
164
-
165
-
166
-
167
-
168
-
169
-
170
-
171
-
172
-
173
-
174
-
175
-
176
-
177
-
178
-
179
-
180
-
181
-
182
-
183
-
184
 |
 |