Sony LF-X11 User Manual - Page 78
Configuring Additional, Monitor Settings, PK1 Operating Instructions. To register a LF-X11 - location free
 |
View all Sony LF-X11 manuals
Add to My Manuals
Save this manual to your list of manuals |
Page 78 highlights
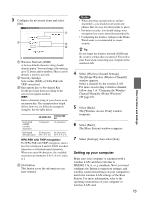
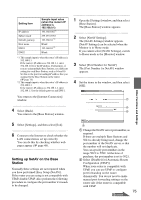
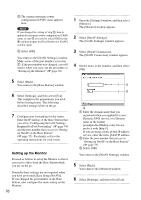
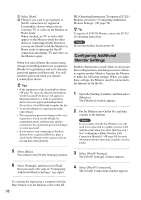
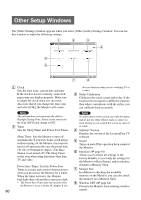
1 Select [Start]. 2 Check if you want to give priority to NetAV connections by registered LocationFree devices when you are watching TV or video on the Monitor in Home mode. When checked, no TV or video will appear on the Monitor while the other device is connecting NetAV. However, you can set [GetAV] with the Monitor in Home mode to interrupt the NetAV connection and display TV and video on the Monitor again. When you select [Start], the current status changes from [Registration not accepted] to [Ready for registration], and an 8-character password appears in [Password]. You will need this password when you register Location Free device. z Tips • If the registration of the LocationFree device (1 page 78) succeeds, then the information for the LocationFree device will appear in [Registered Devices]. If the LocationFree device does not appear in the [Registered Device] list, select [Refresh] to update the list. • To exit the [Ready for registration] mode, select [Stop]. • The registration password changes with every registration. If you exit the [Ready for registration] mode, and then start another registration, the registration password changes to a new password. • If you want to stop connecting to the Base Station from a registered Monitor, place a check by the Monitor in the registered device list and then select [Delete]. PK1 Operating Instructions. To register a LF-X11 Monitor, proceed to "Configuring Additional Monitor Settings" (1 page 78). z Tip To register a LF-X1/X5 Monitor, refer to the LF-X1/ X5 Operating Instructions. Note Do not turn the Base Station power off. Configuring Additional Monitor Settings Put Base Station into a mode where it can accept Device Registration, and then proceed as follows to register another Monitor. Operate the Monitor to make the following settings. When you make these settings, the Monitor must be connected to the Internet in On the Go. 1 Open the [Settings] window, and then select [Monitor]. The [Monitor] window appears. 2 Put the Monitor into On the Go, and then connect to the Internet. Note If you switch to On the Go-Wireless, you will need to be connected to a public wireless LAN until the point when you select [Start] in step 7. See "Configuring a Public Wireless LAN Connection Manually" (1 page 40) for more information about connecting via public wireless LANs. 5 Select [Back]. You return to the [NetAV Settings] window. 3 Select [NetAV Settings]. The [NetAV Settings] window appears. 6 Select [Settings], and then select [Exit]. Next proceed to the steps in "Configuring Additional Monitor Settings" (see right). 4 Select [NetAV Connection]. The [NetAV Connection] window appears. To continue by registering a computer with the Base Station over the Internet, refer to the LF- 78
-
 1
1 -
2
-
3
-
4
-
5
-
6
-
7
-
8
-
9
-
10
-
11
-
12
-
13
-
14
-
15
-
16
-
17
-
18
-
19
-
20
-
21
-
22
-
23
-
24
-
25
-
26
-
27
-
28
-
29
-
30
-
31
-
32
-
33
-
34
-
35
-
36
-
37
-
38
-
39
-
40
-
41
-
42
-
43
-
44
-
45
-
46
-
47
-
48
-
49
-
50
-
51
-
52
-
53
-
54
-
55
-
56
-
57
-
58
-
59
-
60
-
61
-
62
-
63
-
64
-
65
-
66
-
67
-
68
-
69
-
70
-
71
-
72
-
 73
73 -
 74
74 -
 75
75 -
 76
76 -
 77
77 -
 78
78 -
 79
79 -
 80
80 -
 81
81 -
 82
82 -
 83
83 -
84
-
85
-
86
-
87
-
88
-
89
-
90
-
91
-
92
-
93
-
94
-
95
-
96
 |
 |