Brother International MFC-7360N Software Users Manual - English - Page 51
Pre-Scanning to crop a portion you want to scan, PreScan, Start, Resolution, Scan Type, Brightness - scanner setup
 |
UPC - 012502627005
View all Brother International MFC-7360N manuals
Add to My Manuals
Save this manual to your list of manuals |
Page 51 highlights
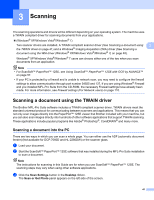
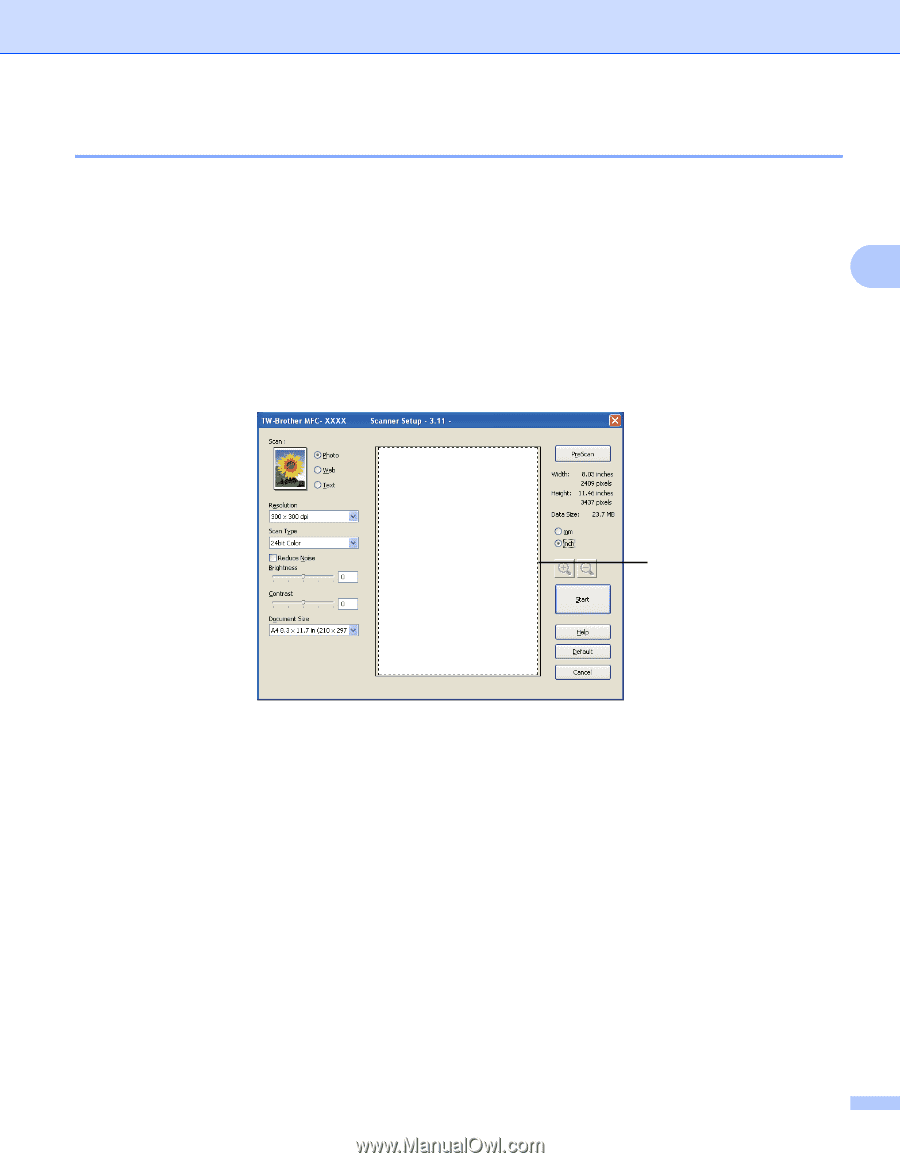
Scanning Pre-Scanning to crop a portion you want to scan 3 You can preview your image and crop unwanted portions before scanning by using the PreScan button. When you are satisfied with the preview, click the Start button in the Scanner Setup dialog box to scan the image. a Follow the steps from a to g of Scanning a document into the PC on page 41. 3 b Choose the settings for Scan (Image Type), Resolution, Scan Type, Brightness, Contrast and Document Size, as needed. c Click PreScan. The whole image is scanned into the PC and appears in the Scanning Area (1) of the Scanner Setup dialog box. 1 43
-
 1
1 -
2
-
3
-
4
-
5
-
6
-
7
-
8
-
9
-
10
-
11
-
12
-
13
-
14
-
15
-
16
-
17
-
18
-
19
-
20
-
21
-
22
-
23
-
24
-
25
-
26
-
27
-
28
-
29
-
30
-
31
-
32
-
33
-
34
-
35
-
36
-
37
-
38
-
39
-
40
-
41
-
42
-
43
-
44
-
45
-
 46
46 -
 47
47 -
 48
48 -
 49
49 -
 50
50 -
 51
51 -
 52
52 -
 53
53 -
 54
54 -
 55
55 -
 56
56 -
57
-
58
-
59
-
60
-
61
-
62
-
63
-
64
-
65
-
66
-
67
-
68
-
69
-
70
-
71
-
72
-
73
-
74
-
75
-
76
-
77
-
78
-
79
-
80
-
81
-
82
-
83
-
84
-
85
-
86
-
87
-
88
-
89
-
90
-
91
-
92
-
93
-
94
-
95
-
96
-
97
-
98
-
99
-
100
-
101
-
102
-
103
-
104
-
105
-
106
-
107
-
108
-
109
-
110
-
111
-
112
-
113
-
114
-
115
-
116
-
117
-
118
-
119
-
120
-
121
-
122
-
123
-
124
-
125
-
126
-
127
-
128
-
129
-
130
-
131
-
132
-
133
-
134
-
135
-
136
-
137
-
138
-
139
-
140
-
141
-
142
-
143
-
144
-
145
-
146
-
147
-
148
-
149
-
150
-
151
-
152
-
153
-
154
-
155
-
156
-
157
-
158
-
159
-
160
-
161
-
162
-
163
-
164
-
165
-
166
-
167
-
168
-
169
-
170
-
171
-
172
-
173
-
174
-
175
-
176
-
177
-
178
-
179
-
180
-
181
-
182
-
183
-
184
-
185
-
186
-
187
-
188
-
189
-
190
-
191
-
192
-
193
-
194
-
195
-
196
-
197
-
198
-
199
-
200
-
201
-
202
-
203
-
204
-
205
-
206
-
207
-
208
-
209
-
210
-
211
-
212
-
213
-
214
-
215
-
216
-
217
-
218
 |
 |
Scanning
43
3
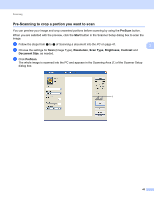
Pre-Scanning to crop a portion you want to scan
3
You can preview your image and crop unwanted portions before scanning by using the
PreScan
button.
When you are satisfied with the preview, click the
Start
button in the Scanner Setup dialog box to scan the
image.
a
Follow the steps from
a
to
g
of
Scanning a document into the PC
on page 41.
b
Choose the settings for
Scan
(Image Type),
Resolution
,
Scan Type
,
Brightness
,
Contrast
and
Document Size
, as needed.
c
Click
PreScan
.
The whole image is scanned into the PC and appears in the Scanning Area (1) of the Scanner Setup
dialog box.
1