Epson LX-80 User Manual - Page 118
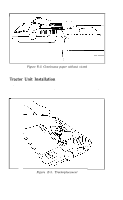
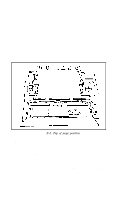
Tractor Unit Installation, to the right as shown in E-3.
 |
View all Epson LX-80 manuals
Add to My Manuals
Save this manual to your list of manuals |
Page 118 highlights
Figure E-2. Continuous paper without stand Tractor Unit Installation To install the removable tractor unit, first pull the friction lever toward the front of the printer. Then hold the tractor with the gears to the right as shown in Figure E-3. Figure E-3. Tractorplacement E-2
-
 1
1 -
2
-
3
-
4
-
5
-
6
-
7
-
8
-
9
-
10
-
11
-
12
-
13
-
14
-
15
-
16
-
17
-
18
-
19
-
20
-
21
-
22
-
23
-
24
-
25
-
26
-
27
-
28
-
29
-
30
-
31
-
32
-
33
-
34
-
35
-
36
-
37
-
38
-
39
-
40
-
41
-
42
-
43
-
44
-
45
-
46
-
47
-
48
-
49
-
50
-
51
-
52
-
53
-
54
-
55
-
56
-
57
-
58
-
59
-
60
-
61
-
62
-
63
-
64
-
65
-
66
-
67
-
68
-
69
-
70
-
71
-
72
-
73
-
74
-
75
-
76
-
77
-
78
-
79
-
80
-
81
-
82
-
83
-
84
-
85
-
86
-
87
-
88
-
89
-
90
-
91
-
92
-
93
-
94
-
95
-
96
-
97
-
98
-
99
-
100
-
101
-
102
-
103
-
104
-
105
-
106
-
107
-
108
-
109
-
110
-
111
-
112
-
 113
113 -
 114
114 -
 115
115 -
 116
116 -
 117
117 -
 118
118 -
 119
119 -
 120
120 -
 121
121 -
 122
122 -
 123
123 -
124
-
125
-
126
-
127
-
128
-
129
-
130
-
131
-
132
-
133
-
134
-
135
-
136
-
137
-
138
-
139
-
140
-
141
-
142
-
143
-
144
-
145
-
146
-
147
-
148
-
149
-
150
-
151
-
152
-
153
-
154
-
155
-
156
-
157
-
158
 |
 |
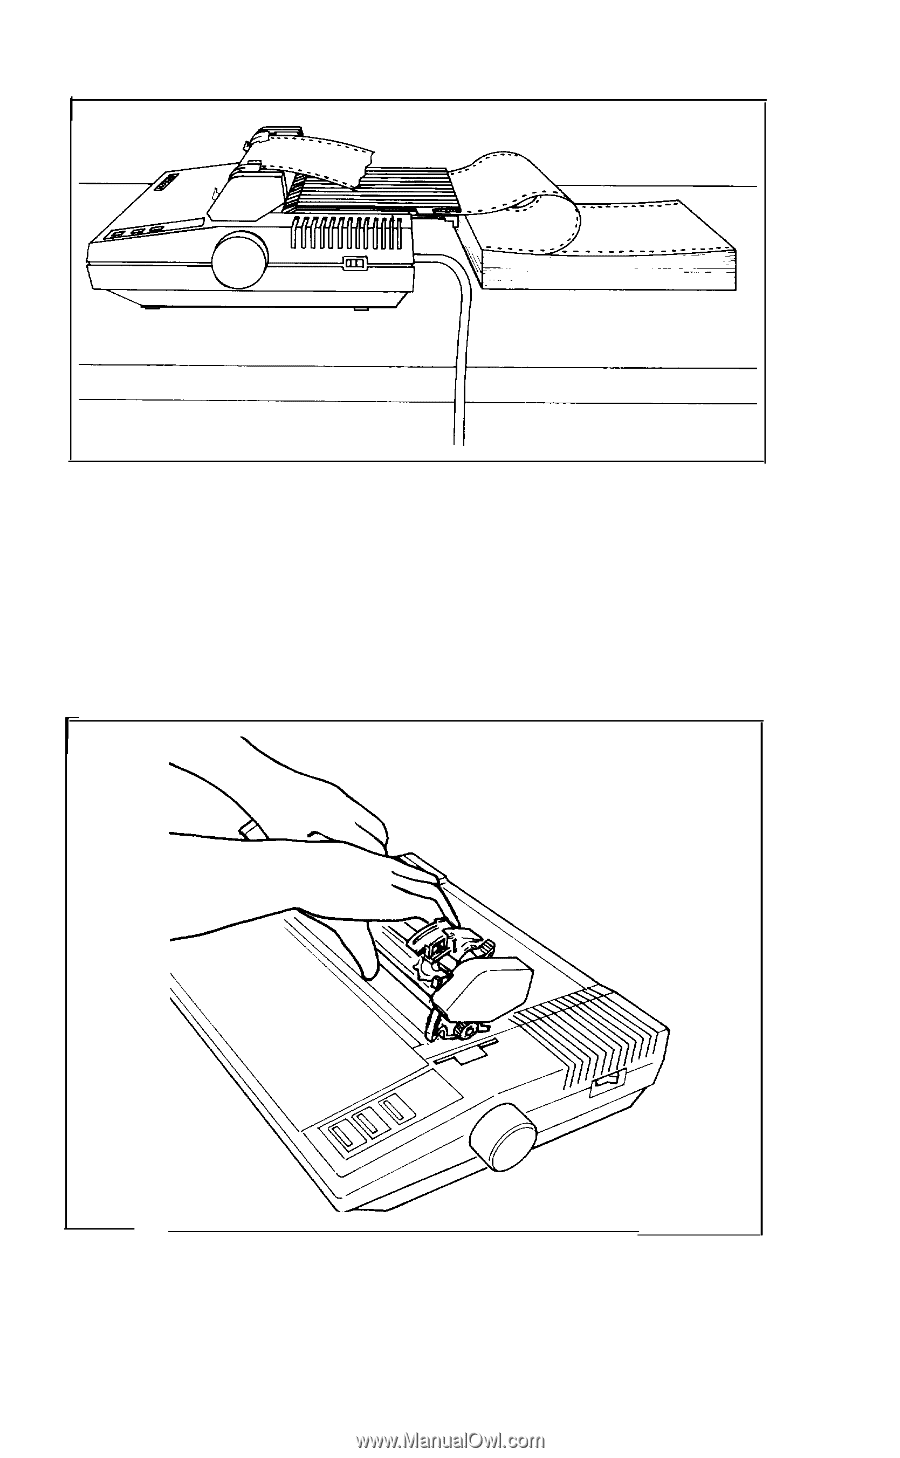
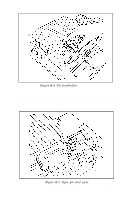
Figure E-2. Continuous paper without
stand
Tractor Unit Installation
To install the removable tractor unit, first pull the friction lever
toward the front of the printer. Then hold the tractor with the gears
to the right as shown in Figure E-3.
Figure E-3. Tractorplacement
E-2