Epson Stylus Pro 7600 - UltraChrome Ink User Manual - Page 149
The printer displays a message telling you to release the ink lever and, replacement cartridges
 |
View all Epson Stylus Pro 7600 - UltraChrome Ink manuals
Add to My Manuals
Save this manual to your list of manuals |
Page 149 highlights
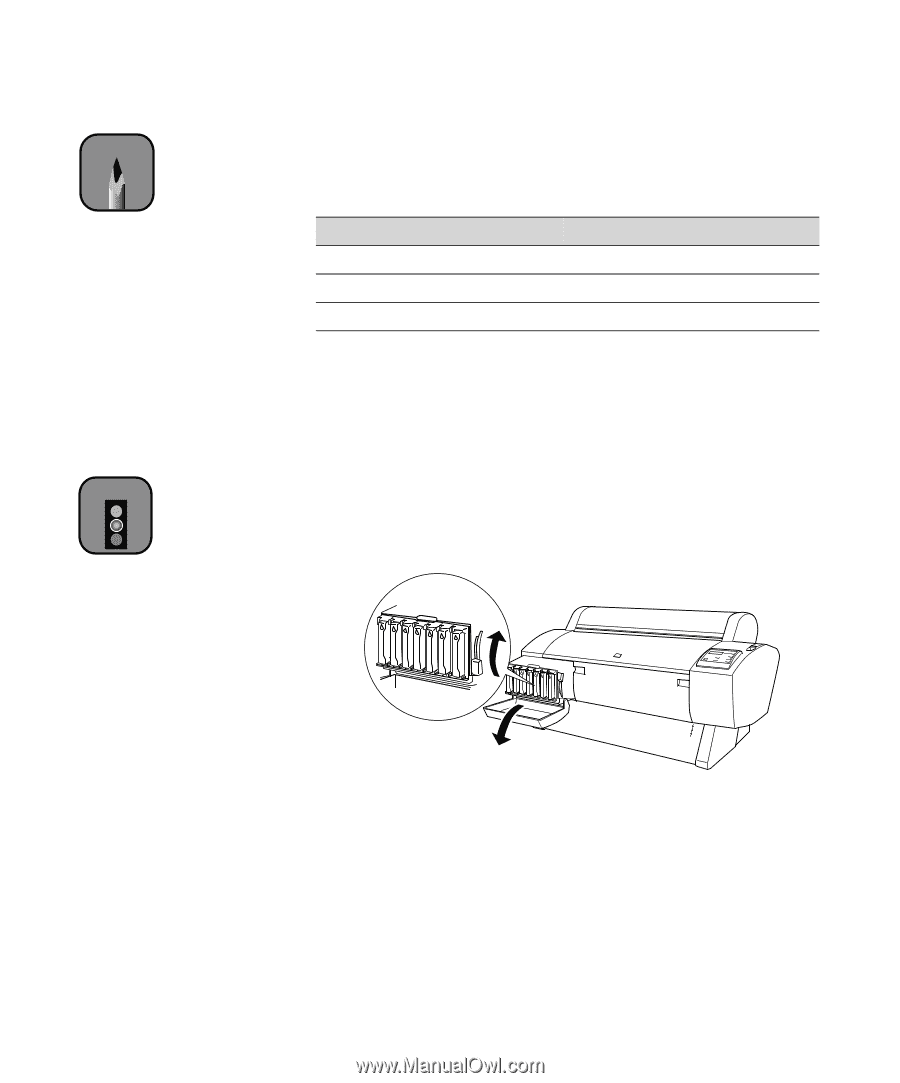
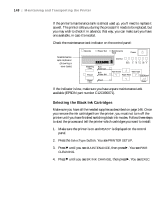
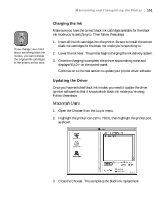
Maintaining and Transporting the Printer | 149 Note The display indicates which cartridges will be installed in the first and second ink slots (Matte Black, Light Black, or Photo Black). You may not need to replace both cartridges, depending on the mode you want to switch to. Caution Do not turn off the printer once the cartridges are removed. If a power failure occurs, turn the printer back on. You can resume the procedure at the point where it was interrupted. 5. Press Enter. You see SELECT INK SET. 6. Press u or d to select the correct option for the ink mode you want to switch to: Ink mode Matte Black Mode Dual Matte Black Mode Photo Black Mode Option displayed on printer #1 MAT: #2 LBK #1 MAT: #2 MAT #1 PBK: #2 LBK 7. Press ENTER. If you see the message NOT ENOUGH INK, lift the ink lever and remove any low or empty cartridges. (Check the Ink Out lights on the control panel to see which cartridges are low or empty.) Insert the replacement cartridge(s), then lower the ink lever. 8. The printer displays a message telling you to release the ink lever and remove the cartridges. Raise the lever and remove all the cartridges; do not re-insert them until instructed to do so. Be sure to set aside any black ink cartridges you won't be using, so that you don't accidentally re-insert them. 5-149
-
 1
1 -
2
-
3
-
4
-
5
-
6
-
7
-
8
-
9
-
10
-
11
-
12
-
13
-
14
-
15
-
16
-
17
-
18
-
19
-
20
-
21
-
22
-
23
-
24
-
25
-
26
-
27
-
28
-
29
-
30
-
31
-
32
-
33
-
34
-
35
-
36
-
37
-
38
-
39
-
40
-
41
-
42
-
43
-
44
-
45
-
46
-
47
-
48
-
49
-
50
-
51
-
52
-
53
-
54
-
55
-
56
-
57
-
58
-
59
-
60
-
61
-
62
-
63
-
64
-
65
-
66
-
67
-
68
-
69
-
70
-
71
-
72
-
73
-
74
-
75
-
76
-
77
-
78
-
79
-
80
-
81
-
82
-
83
-
84
-
85
-
86
-
87
-
88
-
89
-
90
-
91
-
92
-
93
-
94
-
95
-
96
-
97
-
98
-
99
-
100
-
101
-
102
-
103
-
104
-
105
-
106
-
107
-
108
-
109
-
110
-
111
-
112
-
113
-
114
-
115
-
116
-
117
-
118
-
119
-
120
-
121
-
122
-
123
-
124
-
125
-
126
-
127
-
128
-
129
-
130
-
131
-
132
-
133
-
134
-
135
-
136
-
137
-
138
-
139
-
140
-
141
-
142
-
143
-
 144
144 -
 145
145 -
 146
146 -
 147
147 -
 148
148 -
 149
149 -
 150
150 -
 151
151 -
 152
152 -
 153
153 -
 154
154 -
155
-
156
-
157
-
158
-
159
-
160
-
161
-
162
-
163
-
164
-
165
-
166
-
167
-
168
-
169
-
170
-
171
-
172
-
173
-
174
-
175
-
176
-
177
-
178
-
179
-
180
-
181
-
182
-
183
-
184
-
185
-
186
-
187
-
188
-
189
-
190
-
191
-
192
 |
 |