Epson Stylus Pro 7600 - UltraChrome Ink User Manual - Page 53
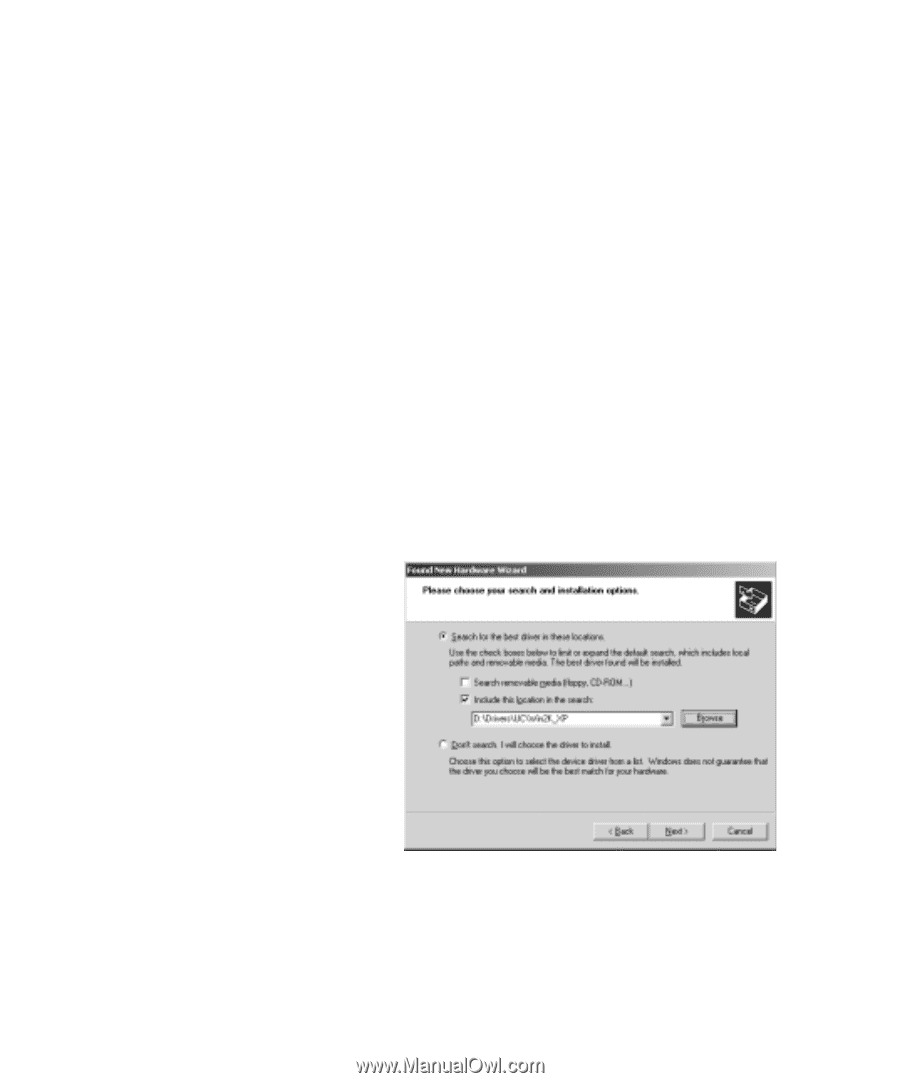
Windows 95 or NT, Windows 98, Me, or 2000, Once the Found New Hardware Wizard appears, click
 |
View all Epson Stylus Pro 7600 - UltraChrome Ink manuals
Add to My Manuals
Save this manual to your list of manuals |
Page 53 highlights
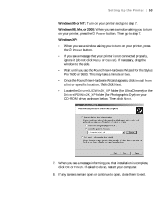
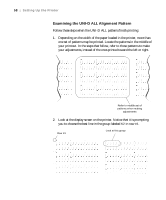
Setting Up the Printer | 53 Windows 95 or NT: Turn on your printer and go to step 7. Windows 98, Me, or 2000: When you see a window asking you to turn on your printer, press the P Power button. Then go to step 7. Windows XP: • When you see a window asking you to turn on your printer, press the P Power button. • If you see a message that your printer is not connected properly, ignore it (do not click Retry or Cancel). If necessary, drag the window to the side. • Wait until you see the Found New Hardware Wizard for the Stylus Pro 7600 or 9600. This may take a minute or two. • Once the Found New Hardware Wizard appears, click Install from a list or specific location, then click Next. • Locate the Drivers\UC\Win2K_XP folder (for UltraChrome) or the Drivers\PD\Win2K_XP folder (for Photographic Dye) on your CD-ROM drive, as shown below. Then click Next. 7. When you see a message informing you that installation is complete, click OK or Finish. If asked to do so, restart your computer. 8. If any screens remain open or continue to open, close them to exit. 1-53
-
 1
1 -
2
-
3
-
4
-
5
-
6
-
7
-
8
-
9
-
10
-
11
-
12
-
13
-
14
-
15
-
16
-
17
-
18
-
19
-
20
-
21
-
22
-
23
-
24
-
25
-
26
-
27
-
28
-
29
-
30
-
31
-
32
-
33
-
34
-
35
-
36
-
37
-
38
-
39
-
40
-
41
-
42
-
43
-
44
-
45
-
46
-
47
-
 48
48 -
 49
49 -
 50
50 -
 51
51 -
 52
52 -
 53
53 -
 54
54 -
 55
55 -
 56
56 -
 57
57 -
 58
58 -
59
-
60
-
61
-
62
-
63
-
64
-
65
-
66
-
67
-
68
-
69
-
70
-
71
-
72
-
73
-
74
-
75
-
76
-
77
-
78
-
79
-
80
-
81
-
82
-
83
-
84
-
85
-
86
-
87
-
88
-
89
-
90
-
91
-
92
-
93
-
94
-
95
-
96
-
97
-
98
-
99
-
100
-
101
-
102
-
103
-
104
-
105
-
106
-
107
-
108
-
109
-
110
-
111
-
112
-
113
-
114
-
115
-
116
-
117
-
118
-
119
-
120
-
121
-
122
-
123
-
124
-
125
-
126
-
127
-
128
-
129
-
130
-
131
-
132
-
133
-
134
-
135
-
136
-
137
-
138
-
139
-
140
-
141
-
142
-
143
-
144
-
145
-
146
-
147
-
148
-
149
-
150
-
151
-
152
-
153
-
154
-
155
-
156
-
157
-
158
-
159
-
160
-
161
-
162
-
163
-
164
-
165
-
166
-
167
-
168
-
169
-
170
-
171
-
172
-
173
-
174
-
175
-
176
-
177
-
178
-
179
-
180
-
181
-
182
-
183
-
184
-
185
-
186
-
187
-
188
-
189
-
190
-
191
-
192
 |
 |