HP Scitex LX600 HP Designjet L65500 Printer and HP Scitex LX Printer Family - - Page 41
Purge the ink system
 |
View all HP Scitex LX600 manuals
Add to My Manuals
Save this manual to your list of manuals |
Page 41 highlights
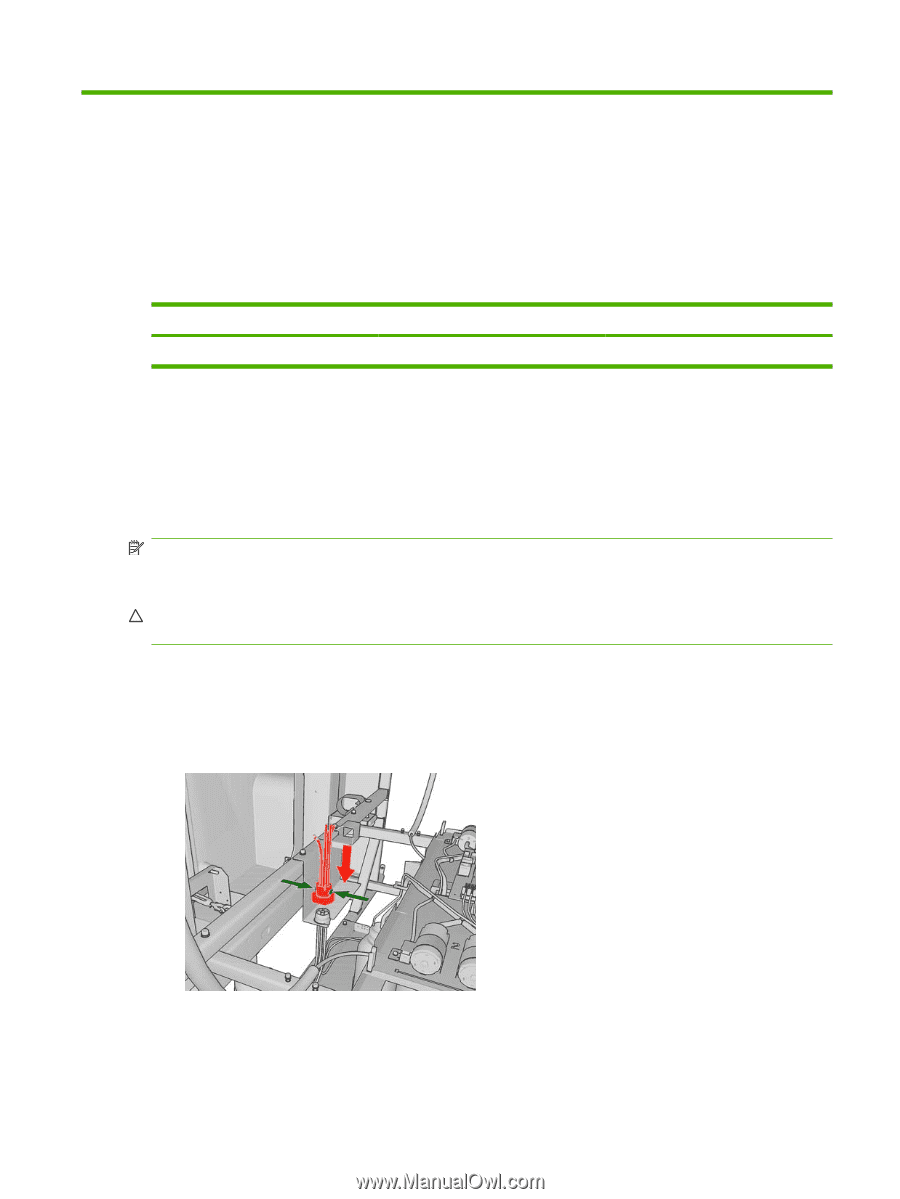
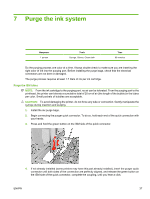
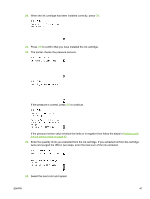
7 Purge the ink system Manpower 1 person Tools Syringe, Gloves, Clean cloth Time 60 minutes Do the purging process one color at a time. Always double check to make sure you are inserting the right color of ink into the purging port. Before installing the purge bags, check that the electrical connectors are not bent or damaged. The purge process requires at least 1.7 liters of ink per ink cartridge. Purge the ISM tubes NOTE: From the ink cartridge to the purging port, no air can be tolerated. From the purging port to the printhead, the printer can tolerate a cumulative total of 20 cm of air (the length of the bubble) in the tubes per color. Small pockets of bubbles are acceptable. CAUTION: To avoid damaging the printer, do not force any tube or connection. Gently manipulate the syringe during insertion and purging. 1. Install the six purge bags. 2. Begin connecting the purger quick connector. To do so, hold each end of the quick connection with your hands. 3. Press and hold the green button on the ISM side of the quick connector. 4. If not already installed (some printers may have this part already installed), insert the purger quick connector until both sides of the connection are perfectly aligned, and release the green button on the ISM side of the quick connector, complete the coupling, until you hear a click. ENWW 37
-
 1
1 -
2
-
3
-
4
-
5
-
6
-
7
-
8
-
9
-
10
-
11
-
12
-
13
-
14
-
15
-
16
-
17
-
18
-
19
-
20
-
21
-
22
-
23
-
24
-
25
-
26
-
27
-
28
-
29
-
30
-
31
-
32
-
33
-
34
-
35
-
 36
36 -
 37
37 -
 38
38 -
 39
39 -
 40
40 -
 41
41 -
 42
42 -
 43
43 -
 44
44 -
 45
45 -
 46
46 -
47
-
48
-
49
-
50
-
51
-
52
-
53
-
54
-
55
-
56
-
57
-
58
-
59
-
60
-
61
-
62
-
63
-
64
-
65
-
66
-
67
-
68
-
69
-
70
-
71
-
72
-
73
-
74
-
75
-
76
-
77
-
78
-
79
-
80
-
81
-
82
-
83
-
84
-
85
-
86
 |
 |