JVC GY-DV300U 108 pg. instruction manual on the GY-DV300U Pro-DV Camcorder (PD - Page 58
Basic Recording Operation cont
 |
View all JVC GY-DV300U manuals
Add to My Manuals
Save this manual to your list of manuals |
Page 58 highlights
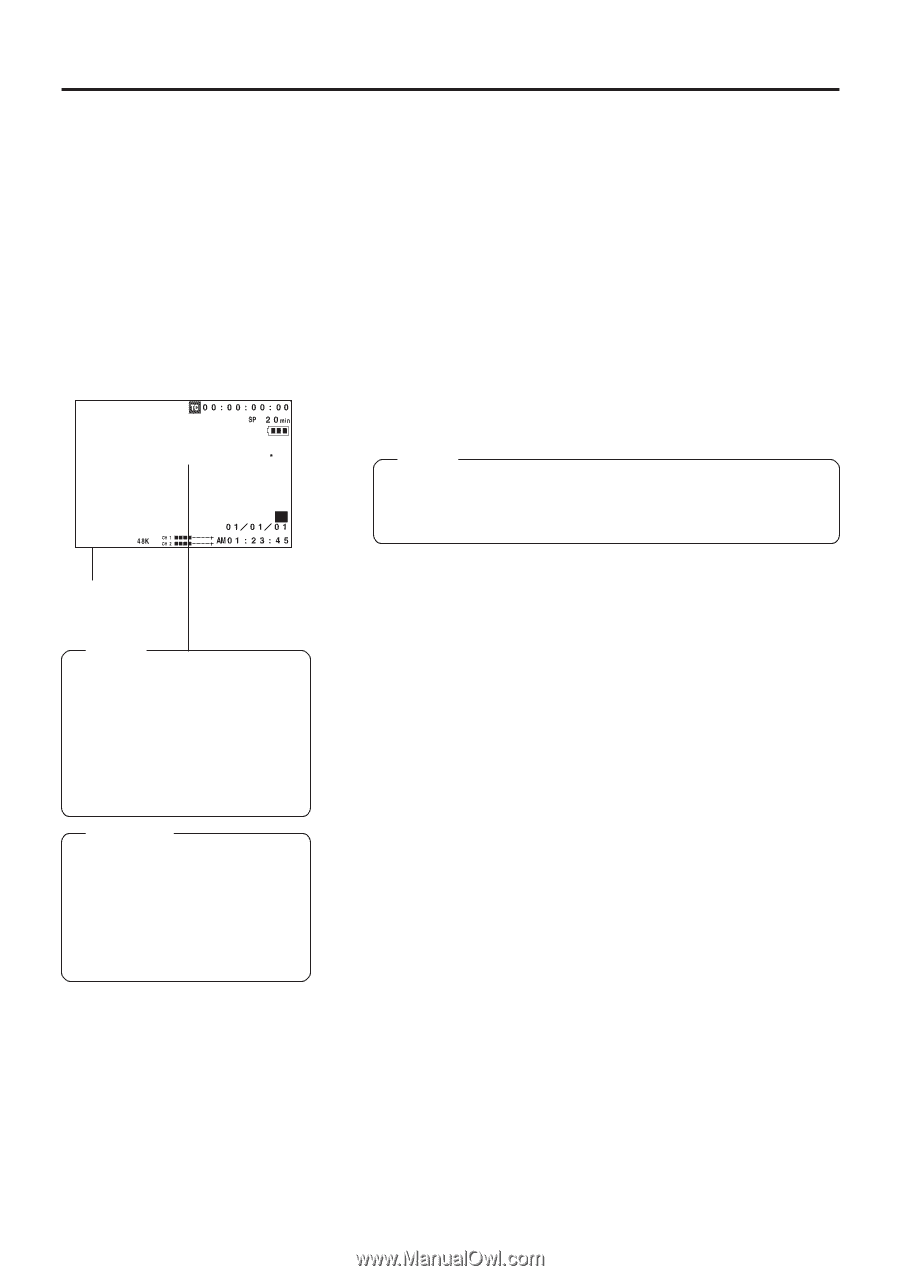
SHOOTING Basic Recording Operation (cont'd) ● ZOOM lever A ZOOM lever is provided in two positions: one on the top section of the unit, and the other on top of the handle. Both can be used for zooming. ● REC START/STOP button A REC START/STOP button is provided in two positions: one on the rear section of the unit, and the other on top of the handle. Both can be used for operation. TAPE NEAR END A R EC VTR mode indication Memo: ● When remaining time for recording is less than about 3 minutes, TAPE NEAR END is displayed on the LCD screen and the viewfinder screen and the TALLY lamp blinks slowly. CAUTION: ● Noiseless transitions between scenes cannot be guaranteed if the POWER switch is set to "OFF" or the battery is removed during a recording. 4. Point the camera at the subject and determine the angle of view with the ZOOM lever. Adjusting the focus ● When the FOCUS switch is set to "AUTO", the auto-focus function will be operating and focusing is performed automatically. ● When the FOCUS switch is set to "MANUAL", the FOCUS ring should be turned to adjust the focus. ( See page 63.) 5. Press the REC START/STOP button. Recording starts. ● Once recording has started, REC is indicated as the VTR mode on the LCD screen and the viewfinder screen and the TALLY lamp lights up. Memo: Whether the TALLY lamp should light during recording is selected with the TALLY item on the SYSTEM [2/2] menu screen. 6. To stop recording, press the REC START/STOP button. The unit rewinds the tape about 2 seconds before it enters the recording-standby mode. The VTR mode indication changes to STBY and the TALLY lamp goes out. 7. To restart recording press the REC START/STOP button. 8. To end the recording, enter the recording-standby mode and perform the following operations as required. When it is required to unload the videocassette: Slide the EJECT switch. When the power should be turned off: Set the POWER switch to OFF. 58
-
 1
1 -
2
-
3
-
4
-
5
-
6
-
7
-
8
-
9
-
10
-
11
-
12
-
13
-
14
-
15
-
16
-
17
-
18
-
19
-
20
-
21
-
22
-
23
-
24
-
25
-
26
-
27
-
28
-
29
-
30
-
31
-
32
-
33
-
34
-
35
-
36
-
37
-
38
-
39
-
40
-
41
-
42
-
43
-
44
-
45
-
46
-
47
-
48
-
49
-
50
-
51
-
52
-
 53
53 -
 54
54 -
 55
55 -
 56
56 -
 57
57 -
 58
58 -
 59
59 -
 60
60 -
 61
61 -
 62
62 -
 63
63 -
64
-
65
-
66
-
67
-
68
-
69
-
70
-
71
-
72
-
73
-
74
-
75
-
76
-
77
-
78
-
79
-
80
-
81
-
82
-
83
-
84
-
85
-
86
-
87
-
88
-
89
-
90
-
91
-
92
-
93
-
94
-
95
-
96
-
97
-
98
-
99
-
100
-
101
-
102
-
103
-
104
-
105
-
106
-
107
-
108
 |
 |