Ricoh 3300D Network Guide - Page 83
snmp, msh> smb protocol
 |
UPC - 026649062278
View all Ricoh 3300D manuals
Add to My Manuals
Save this manual to your list of manuals |
Page 83 highlights
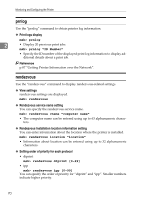
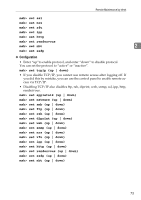
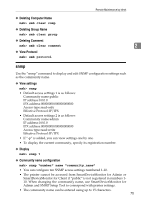
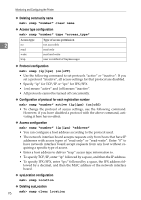
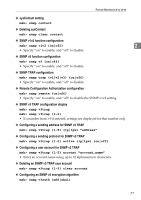
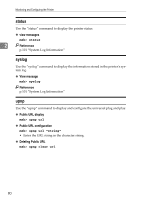
❖ Deleting Computer Name msh> smb clear comp ❖ Deleting Group Name msh> smb clear group ❖ Deleting Comment msh> smb clear comment ❖ View Protocol msh> smb protocol Remote Maintenance by telnet 2 snmp Use the "snmp" command to display and edit SNMP configuration settings such as the community name. ❖ View settings msh> snmp • Default access settings 1 is as follows: Community name:public IP address:0.0.0.0 IPX address:00000000:000000000000 Access type:read-only Effective Protocol:IP/IPX • Default access settings 2 is as follows: Community name:admin IP address:0.0.0.0 IPX address:00000000:000000000000 Access type:read-write Effective Protocol:IP/IPX • If "-p" is added, you can view settings one by one. • To display the current community, specify its registration number. ❖ Display msh> snmp ? ❖ Community name configuration msh> snmp "number" name "community_name" • You can configure ten SNMP access settings numbered 1-10. • The printer cannot be accessed from SmartDeviceMonitor for Admin or SmartDeviceMonitor for Client if "public" is not registered in numbers 110. When changing the community name, use SmartDeviceMonitor for Admin and SNMP Setup Tool to correspond with printer settings. • The community name can be entered using up to 15 characters. 75
-
 1
1 -
2
-
3
-
4
-
5
-
6
-
7
-
8
-
9
-
10
-
11
-
12
-
13
-
14
-
15
-
16
-
17
-
18
-
19
-
20
-
21
-
22
-
23
-
24
-
25
-
26
-
27
-
28
-
29
-
30
-
31
-
32
-
33
-
34
-
35
-
36
-
37
-
38
-
39
-
40
-
41
-
42
-
43
-
44
-
45
-
46
-
47
-
48
-
49
-
50
-
51
-
52
-
53
-
54
-
55
-
56
-
57
-
58
-
59
-
60
-
61
-
62
-
63
-
64
-
65
-
66
-
67
-
68
-
69
-
70
-
71
-
72
-
73
-
74
-
75
-
76
-
77
-
 78
78 -
 79
79 -
 80
80 -
 81
81 -
 82
82 -
 83
83 -
 84
84 -
 85
85 -
 86
86 -
 87
87 -
 88
88 -
89
-
90
-
91
-
92
-
93
-
94
-
95
-
96
-
97
-
98
-
99
-
100
-
101
-
102
-
103
-
104
-
105
-
106
-
107
-
108
-
109
-
110
-
111
-
112
-
113
-
114
-
115
-
116
-
117
-
118
-
119
-
120
-
121
-
122
-
123
-
124
-
125
-
126
-
127
-
128
-
129
-
130
-
131
-
132
-
133
-
134
 |
 |
