Brother International Laura Ashley Innov-ís NX2000 Users Manual - English - Page 77
Free-motion Quilting, Free-motion Quilting Using Free-motion, Quilting Foot C
 |
View all Brother International Laura Ashley Innov-ís NX2000 manuals
Add to My Manuals
Save this manual to your list of manuals |
Page 77 highlights
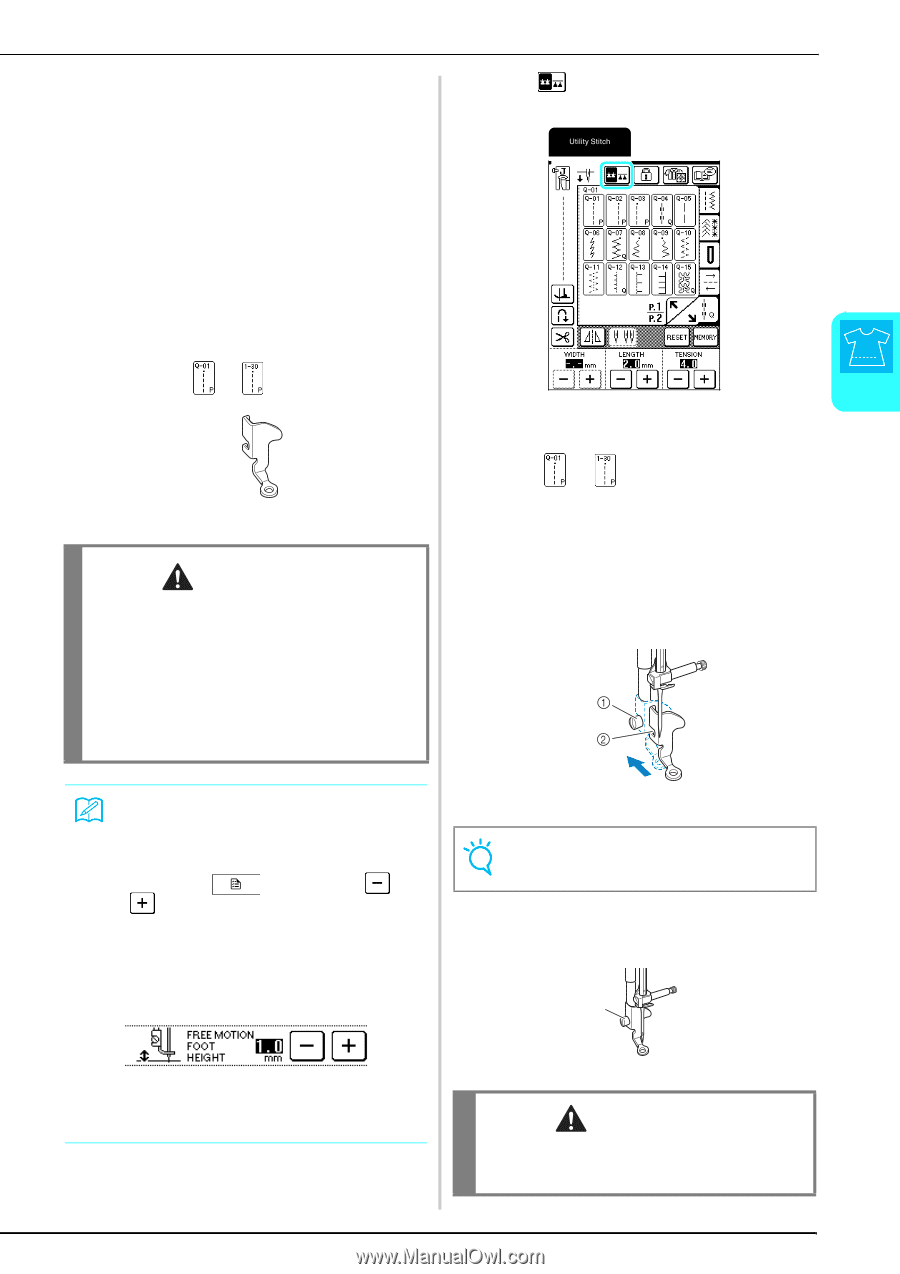
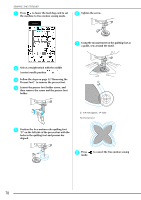
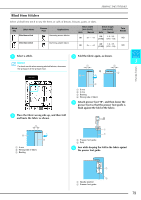
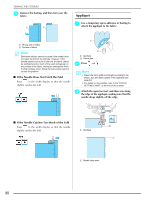
SEWING THE STITCHES ■ Free-motion Quilting For free-motion quilting, use free-motion quilting foot "C" and free-motion open toe quilting foot "O" depending on the stitch that is selected, and set the machine to free-motion sewing mode. In this mode, the feed dogs are automatically lowered so the fabric can be moved freely, and the presser foot is raised to the necessary height for free-motion sewing. ■ Free-motion Quilting Using Free-motion Quilting Foot "C" The free-motion quilting foot "C" is used for free- motion sewing using a straight stitch. Be sure to select a straight stitch with the middle (center) a Press to lower the feed dogs and to set the machine to free-motion sewing mode. needle position or . 3 → The feed dogs are lowered, and the quilting foot is raised to the necessary height for free-motion sewing. Utility Stitches Free-motion quilting foot "C" b Select or . → When stitch Q-01 or 1-30 is selected, free-motion quilting foot "C" is indicated in the upper-left corner of the screen. CAUTION • With free-motion quilting, control the feeding speed of the fabric to match the sewing speed. If the fabric is moved faster than the sewing speed, the needle may break or other damage may result. • When using free-motion quilting foot "C", be sure to select one of the patterns with a center needle position (Q-01 or 1-30). Using any other stitch may result in the needle striking the quilting foot, causing damage or injuries. c Remove the presser foot holder (see page 72). d Attach free-motion foot "C" at the front with the presser foot holder screw aligned with the notch in the quilting foot. Memo • When starting to sew, the internal sensor detects the thickness of the fabric, and the quilting foot is raised to the height specified in the machine settings screen. Press , and then press or to change the value beside "FREE MOTION FOOT HEIGHT" on P. 2 of machine settings screen (see page 20). Increase the height that the quilting foot is raised, for example, when sewing puffy or thick fabrics, decrease for better control of thin fabrics. a Presser foot holder screw b Notch Note Make sure that the quilting foot is not slanted. e Hold the quilting foot in place with your right hand, and then tighten the presser foot holder screw using the screwdriver in your left hand. a • In order to sew with a balanced tension, it may be necessary to adjust the upper thread tension (see page 43). Test with a sample piece of quilting fabric. a Presser foot holder screw CAUTION • Be sure to securely tighten the screws with the screwdriver. Otherwise, the needle may touch the quilting foot, causing it to bend or break. 75
-
 1
1 -
2
-
3
-
4
-
5
-
6
-
7
-
8
-
9
-
10
-
11
-
12
-
13
-
14
-
15
-
16
-
17
-
18
-
19
-
20
-
21
-
22
-
23
-
24
-
25
-
26
-
27
-
28
-
29
-
30
-
31
-
32
-
33
-
34
-
35
-
36
-
37
-
38
-
39
-
40
-
41
-
42
-
43
-
44
-
45
-
46
-
47
-
48
-
49
-
50
-
51
-
52
-
53
-
54
-
55
-
56
-
57
-
58
-
59
-
60
-
61
-
62
-
63
-
64
-
65
-
66
-
67
-
68
-
69
-
70
-
71
-
 72
72 -
 73
73 -
 74
74 -
 75
75 -
 76
76 -
 77
77 -
 78
78 -
 79
79 -
 80
80 -
 81
81 -
 82
82 -
83
-
84
-
85
-
86
-
87
-
88
-
89
-
90
-
91
-
92
-
93
-
94
-
95
-
96
-
97
-
98
-
99
-
100
-
101
-
102
-
103
-
104
-
105
-
106
-
107
-
108
-
109
-
110
-
111
-
112
-
113
-
114
-
115
-
116
-
117
-
118
-
119
-
120
-
121
-
122
-
123
-
124
-
125
-
126
-
127
-
128
-
129
-
130
-
131
-
132
-
133
-
134
-
135
-
136
-
137
-
138
-
139
-
140
-
141
-
142
-
143
-
144
-
145
-
146
-
147
-
148
-
149
-
150
-
151
-
152
-
153
-
154
-
155
-
156
-
157
-
158
-
159
-
160
-
161
-
162
-
163
-
164
 |
 |