Brother International Laura Ashley Innov-ís NX2000 Users Manual - English - Page 99
Zipper Insertion
 |
View all Brother International Laura Ashley Innov-ís NX2000 manuals
Add to My Manuals
Save this manual to your list of manuals |
Page 99 highlights
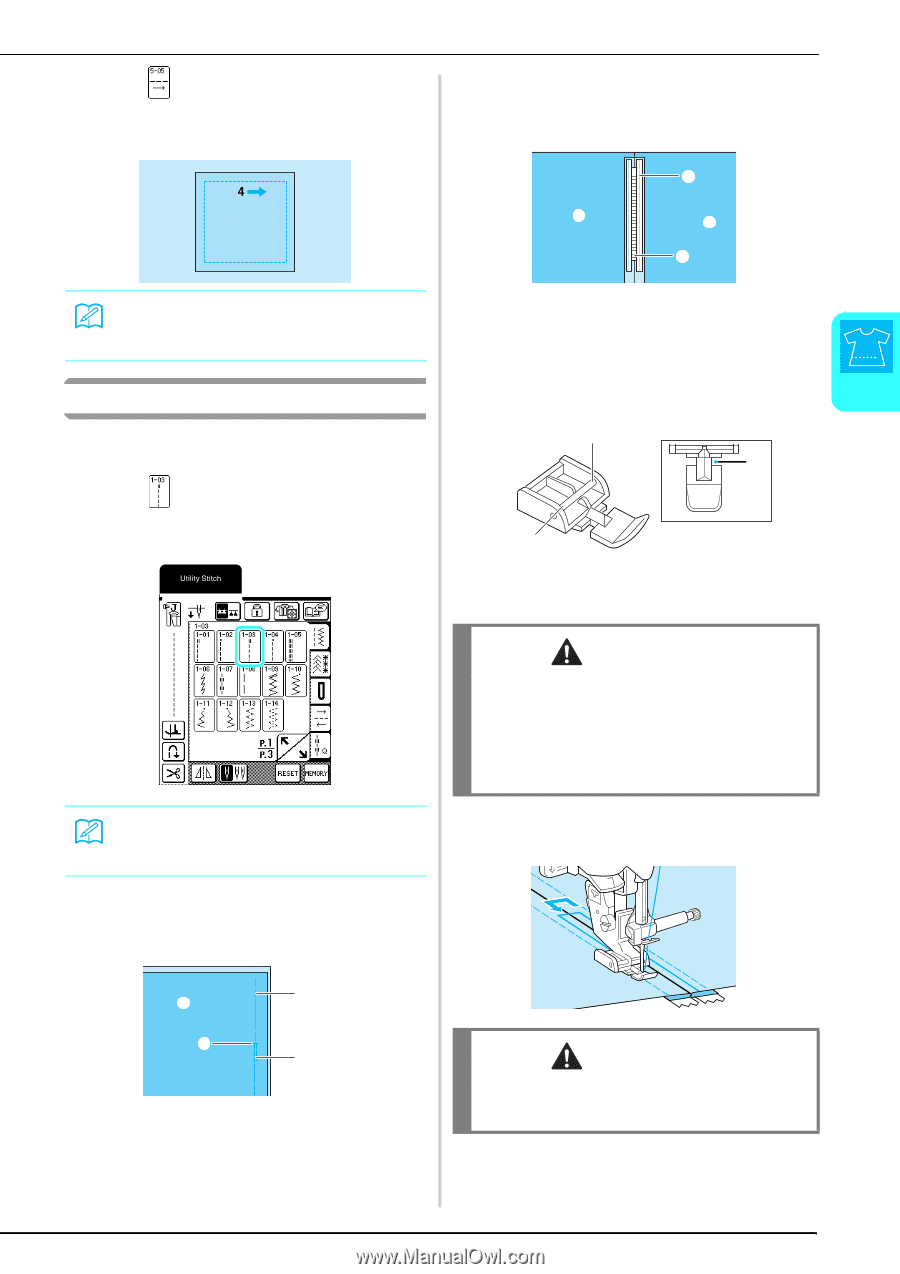
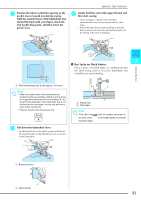
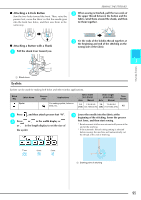
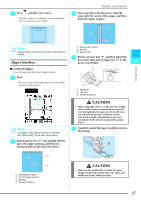
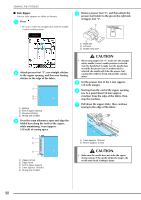
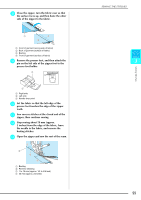
g Press , and then sew seam 4. * The fabric will move sideways, so guide the fabric with your hands to sew straight. SEWING THE STITCHES c Press open the seam allowance, align the seam with the center of the zipper, and then baste the zipper in place. b a a c Memo a Wrong side of fabric b Basting Zigzag stitches can also be used with multi-directional c Zipper teeth sewing. Zipper Insertion d Remove presser foot "J", and then attach the pin on the right side of zipper foot "I" to the presser foot holder. 3 Utility Stitches ■ Centered Zipper Use for bags and other such applications. a c a Press . * Be sure to select the straight stitch with the middle (center) needle position. b a Right side b Left side c Needle drop point Memo For details on the stitches, refer to the "STITCH SETTING CHART" at the end of this manual. b Attach presser foot "J", sew straight stitches up to the zipper opening, and then sew basting stitches to the top of the fabric. CAUTION • When using zipper foot "I", make sure the straight stitch, middle (center) needle position is selected. Turn the handwheel to make sure the needle does not strike the presser foot. If another stitch is selected, the needle will strike the presser foot, causing the needle to break and possibly causing injury. e Topstitch around the zipper, and then remove the basting. c a b d a Wrong side of fabric b End of zipper opening c Basting d Reverse stitching CAUTION • Make sure the needle does not strike the zipper during sewing. If the needle strikes the zipper, the needle may break, leading to injury. 97
-
 1
1 -
2
-
3
-
4
-
5
-
6
-
7
-
8
-
9
-
10
-
11
-
12
-
13
-
14
-
15
-
16
-
17
-
18
-
19
-
20
-
21
-
22
-
23
-
24
-
25
-
26
-
27
-
28
-
29
-
30
-
31
-
32
-
33
-
34
-
35
-
36
-
37
-
38
-
39
-
40
-
41
-
42
-
43
-
44
-
45
-
46
-
47
-
48
-
49
-
50
-
51
-
52
-
53
-
54
-
55
-
56
-
57
-
58
-
59
-
60
-
61
-
62
-
63
-
64
-
65
-
66
-
67
-
68
-
69
-
70
-
71
-
72
-
73
-
74
-
75
-
76
-
77
-
78
-
79
-
80
-
81
-
82
-
83
-
84
-
85
-
86
-
87
-
88
-
89
-
90
-
91
-
92
-
93
-
 94
94 -
 95
95 -
 96
96 -
 97
97 -
 98
98 -
 99
99 -
 100
100 -
 101
101 -
 102
102 -
 103
103 -
 104
104 -
105
-
106
-
107
-
108
-
109
-
110
-
111
-
112
-
113
-
114
-
115
-
116
-
117
-
118
-
119
-
120
-
121
-
122
-
123
-
124
-
125
-
126
-
127
-
128
-
129
-
130
-
131
-
132
-
133
-
134
-
135
-
136
-
137
-
138
-
139
-
140
-
141
-
142
-
143
-
144
-
145
-
146
-
147
-
148
-
149
-
150
-
151
-
152
-
153
-
154
-
155
-
156
-
157
-
158
-
159
-
160
-
161
-
162
-
163
-
164
 |
 |