Canon EOS C500 Instruction Manual - Page 80
Using the Focus Assistance Functions, To adjust the peaking gain on an external monitor, LCD/VF Setup]
 |
View all Canon EOS C500 manuals
Add to My Manuals
Save this manual to your list of manuals |
Page 80 highlights
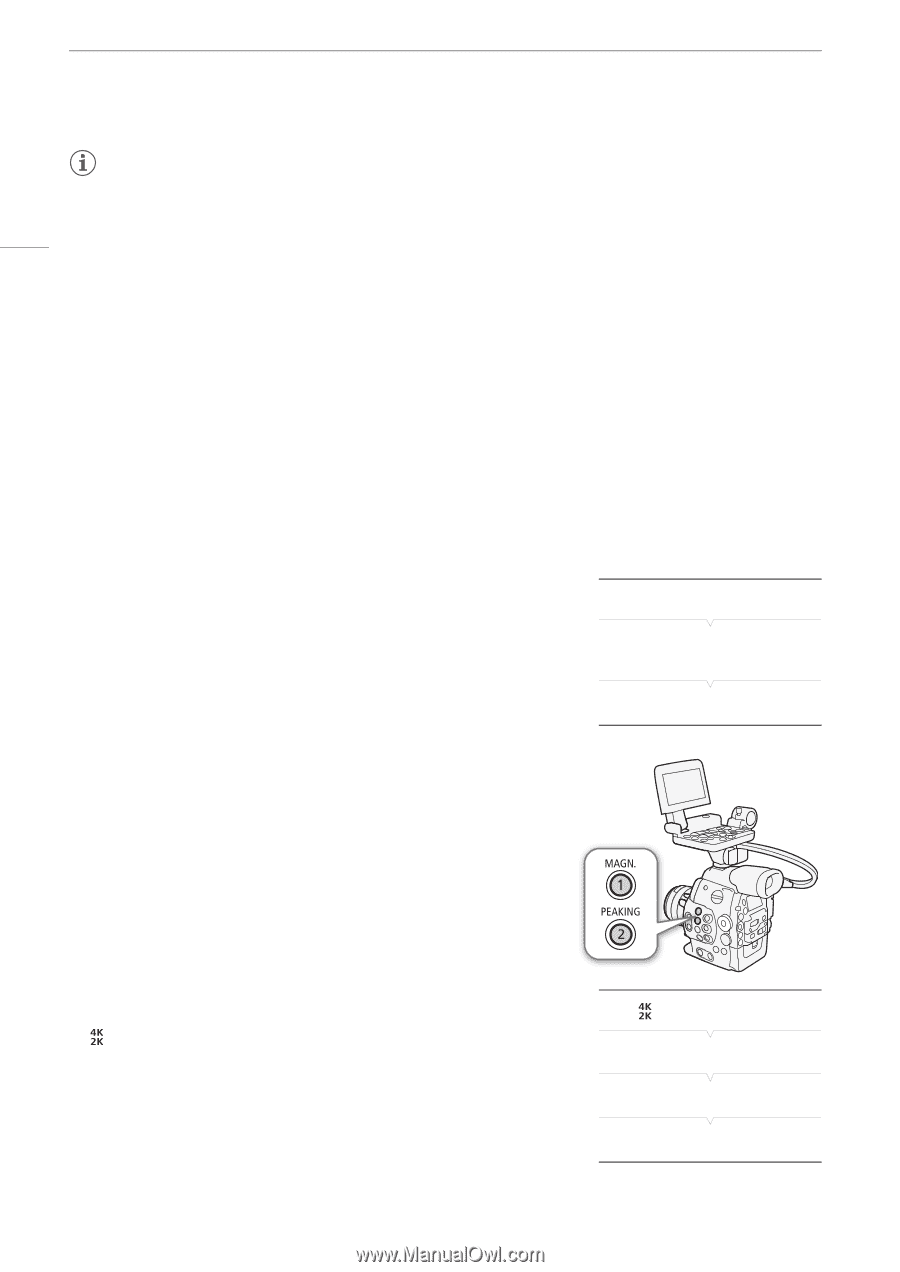
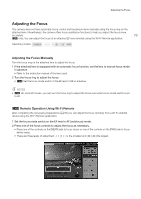
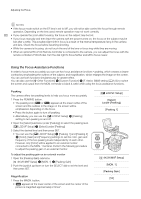
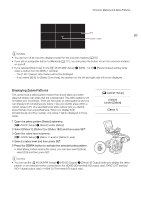
Adjusting the Focus NOTES • If the focus mode switch on the EF lens is set to MF, you will not be able control the focus through remote operation. Depending on the lens used, remote operation may not work correctly. 80 • If you operate the zoom after focusing, the focus on the subject may be lost. • If you focus manually and then leave the camera with the power turned on, the focus on the subject may be lost after a while. This possible slight shift in focus is a result of the internal temperature rising in the camera and lens. Check the focus before resuming shooting. • While the camera is focusing, do not touch the end of the lens or focus ring while they are moving. • When an optional RC-V100 Remote Controller is connected to the camera, you can adjust the focus with the remote controller's FOCUS dial. Turn the dial right to focus farther and left to focus nearer. Using the Focus Assistance Functions In order to focus more accurately, you can use two focus assistance functions - peaking, which creates a clearer contrast by emphasizing the outlines of the subject, and magnification, which enlarges the image on the screen. You can use both functions simultaneously for greater effect. You can also use the [w Other Functions] > [Custom Function] > [F. Assist. B&W] setting (A 123) to switch the screen and output from the MON. terminals to black & white while using the focus assistance functions. Peaking The camera offers two peaking levels to help you focus more accurately. 1 Press the PEAKING button. • The peaking icon (J or K) appears at the lower center of the screen and the outlines in the image on the screen will be emphasized, depending on the focus. • Press the button again to turn off peaking. • Alternatively, you can use the [£ LCD/VF Setup] > [Peaking] setting to turn peaking on and off. 2 Open the [Select] submenu (under [Peaking]) to select the peaking level. [£ LCD/VF Setup] > [Select] (under [Peaking]) 3 Select the desired level and then press SET. • You can use the [£ LCD/VF Setup] > [Peaking 1] and [Peaking 2] > [Color], [Gain] and [Frequency] settings to set the color, gain and frequency of the two peaking levels independently of each other. However, only [Color] will be applied to an external monitor connected to the MON. 1 terminal. Perform the following procedure to adjust the peaking gain on an external monitor. To adjust the peaking gain on an external monitor 1 Open the [Peaking Gain] submenu. [ 4K/2K/MXF Setup] > [MON. 1] > [Peaking Gain] 2 Push the joystick up/down or turn the SELECT dial to set the level and then press SET. Magnification 1 Press the MAGN. button. • ^ appears at the lower center of the screen and the center of the picture is magnified approximately 2 times*. [£ LCD/VF Setup] [Select] (under [Peaking]) [Peaking 1] [ 4K/2K/MXF Setup] [MON. 1] [Peaking Gain] [10]
-
 1
1 -
2
-
3
-
4
-
5
-
6
-
7
-
8
-
9
-
10
-
11
-
12
-
13
-
14
-
15
-
16
-
17
-
18
-
19
-
20
-
21
-
22
-
23
-
24
-
25
-
26
-
27
-
28
-
29
-
30
-
31
-
32
-
33
-
34
-
35
-
36
-
37
-
38
-
39
-
40
-
41
-
42
-
43
-
44
-
45
-
46
-
47
-
48
-
49
-
50
-
51
-
52
-
53
-
54
-
55
-
56
-
57
-
58
-
59
-
60
-
61
-
62
-
63
-
64
-
65
-
66
-
67
-
68
-
69
-
70
-
71
-
72
-
73
-
74
-
 75
75 -
 76
76 -
 77
77 -
 78
78 -
 79
79 -
 80
80 -
 81
81 -
 82
82 -
 83
83 -
 84
84 -
 85
85 -
86
-
87
-
88
-
89
-
90
-
91
-
92
-
93
-
94
-
95
-
96
-
97
-
98
-
99
-
100
-
101
-
102
-
103
-
104
-
105
-
106
-
107
-
108
-
109
-
110
-
111
-
112
-
113
-
114
-
115
-
116
-
117
-
118
-
119
-
120
-
121
-
122
-
123
-
124
-
125
-
126
-
127
-
128
-
129
-
130
-
131
-
132
-
133
-
134
-
135
-
136
-
137
-
138
-
139
-
140
-
141
-
142
-
143
-
144
-
145
-
146
-
147
-
148
-
149
-
150
-
151
-
152
-
153
-
154
-
155
-
156
-
157
-
158
-
159
-
160
-
161
-
162
-
163
-
164
-
165
-
166
-
167
-
168
-
169
-
170
-
171
-
172
-
173
-
174
-
175
-
176
-
177
-
178
-
179
-
180
-
181
-
182
-
183
-
184
-
185
-
186
-
187
-
188
-
189
-
190
-
191
-
192
-
193
-
194
-
195
-
196
-
197
-
198
-
199
-
200
-
201
-
202
-
203
-
204
-
205
-
206
-
207
-
208
-
209
-
210
-
211
-
212
 |
 |