Epson PowerLite 84 User's Guide - Page 65
Adjusting Signal Settings - projector manual
 |
View all Epson PowerLite 84 manuals
Add to My Manuals
Save this manual to your list of manuals |
Page 65 highlights
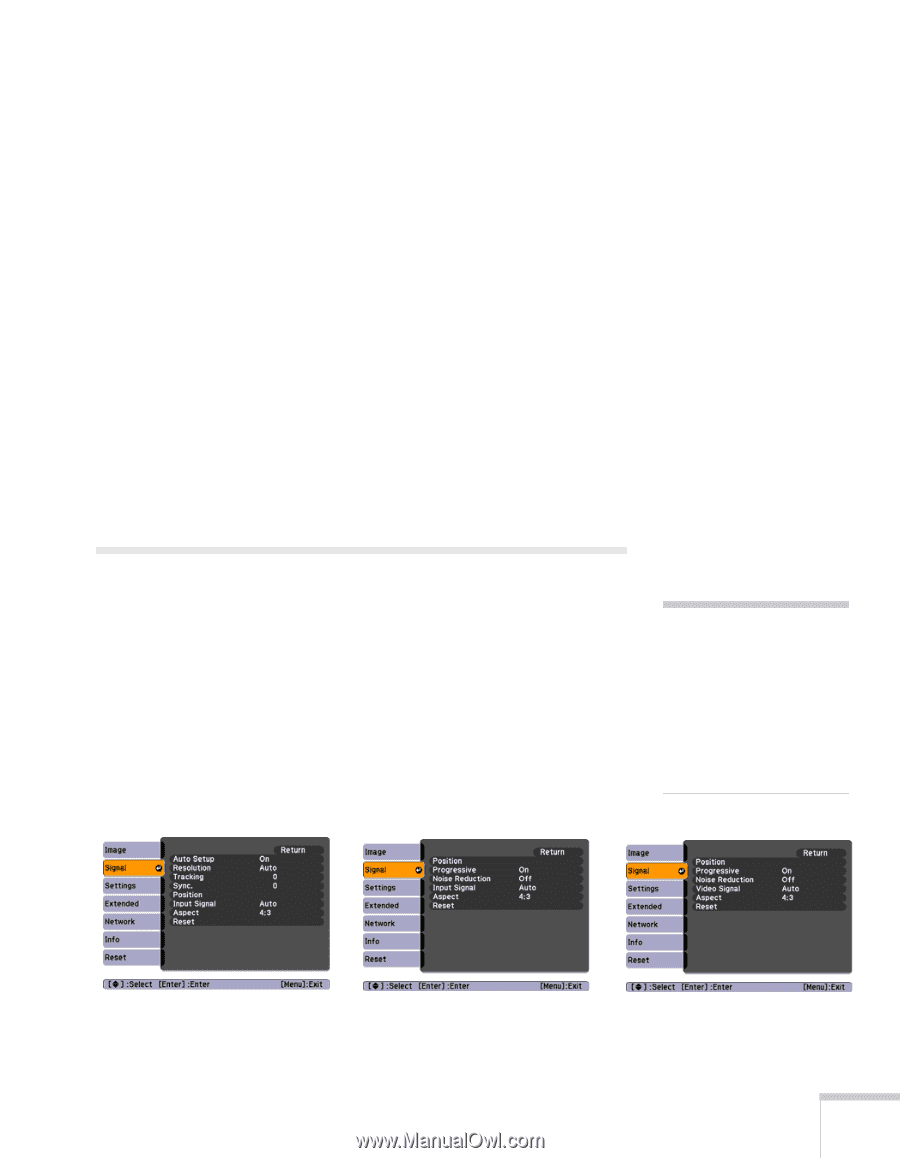
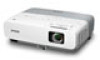
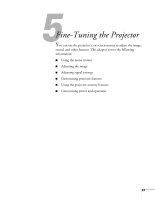
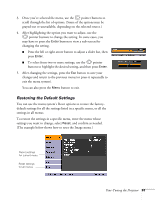
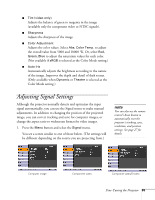
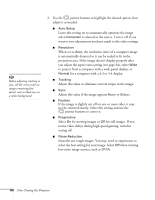
■ Tint (video only) Adjusts the balance of green to magenta in the image (available only for component video or NTSC signals). ■ Sharpness Adjusts the sharpness of the image. ■ Color Adjustment Adjusts the color values. Select Abs. Color Temp. to adjust the overall value from 5000 and 10000 °K. Or, select Red, Green, Blue to adjust the saturation values for each color. (Not available if sRGB is selected as the Color Mode setting.) ■ Auto Iris Automatically adjusts the brightness according to the nature of the image. Improves the depth and detail of dark scenes. (Only available when Dynamic or Theatre is selected as the Color Mode setting.) Adjusting Signal Settings Although the projector normally detects and optimizes the input signal automatically, you can use the Signal menu to make manual adjustments. In addition to changing the position of the projected image, you can correct tracking and sync for computer images, or change the aspect ratio to widescreen format for video images. 1. Press the Menu button and select the Signal menu. You see a screen similar to one of those below. (The settings will be different depending on the source you are projecting from.) note You can also use the remote control's Auto button to automatically reset the projector's tracking, sync, resolution, and position settings. See page 27 for details. Computer image Component video Composite video/S-video Fine-Tuning the Projector 65
-
 1
1 -
2
-
3
-
4
-
5
-
6
-
7
-
8
-
9
-
10
-
11
-
12
-
13
-
14
-
15
-
16
-
17
-
18
-
19
-
20
-
21
-
22
-
23
-
24
-
25
-
26
-
27
-
28
-
29
-
30
-
31
-
32
-
33
-
34
-
35
-
36
-
37
-
38
-
39
-
40
-
41
-
42
-
43
-
44
-
45
-
46
-
47
-
48
-
49
-
50
-
51
-
52
-
53
-
54
-
55
-
56
-
57
-
58
-
59
-
 60
60 -
 61
61 -
 62
62 -
 63
63 -
 64
64 -
 65
65 -
 66
66 -
 67
67 -
 68
68 -
 69
69 -
 70
70 -
71
-
72
-
73
-
74
-
75
-
76
-
77
-
78
-
79
-
80
-
81
-
82
-
83
-
84
-
85
-
86
-
87
-
88
-
89
-
90
-
91
-
92
-
93
-
94
-
95
-
96
-
97
-
98
-
99
-
100
-
101
-
102
-
103
-
104
-
105
-
106
-
107
-
108
-
109
-
110
-
111
-
112
-
113
-
114
-
115
-
116
-
117
-
118
-
119
-
120
-
121
-
122
-
123
 |
 |