HP NetServer AA 4000 HP Netserver AA Solution Installation Guide v4.0 SP1 - Page 32
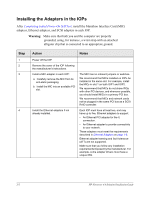
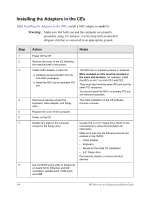
Installing the Adapters in the CEs, Warning
 |
View all HP NetServer AA 4000 manuals
Add to My Manuals
Save this manual to your list of manuals |
Page 32 highlights
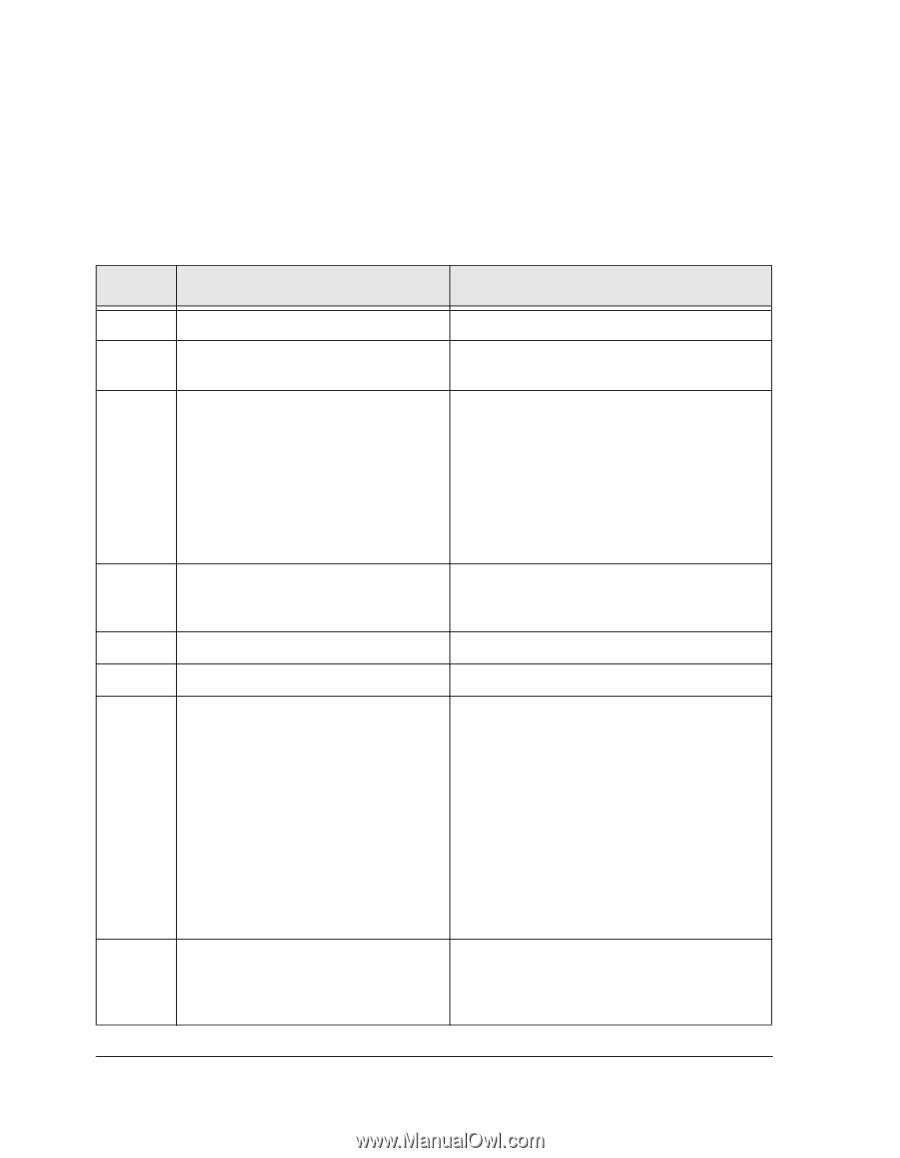
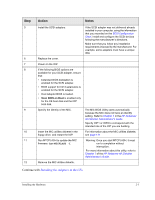
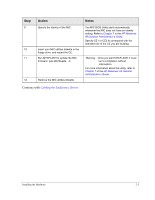
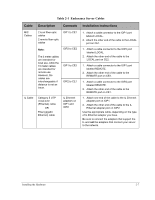
Installing the Adapters in the CEs After Installing the Adapters in the IOPs, install a MIC adapter in each CE. Warning: Make sure that both you and the computer are properly grounded, using, for instance, a wrist strap with an attached alligator clip that is connected to an appropriate ground. Step 1 2 3 4 5 6 7 8 Action Notes Power off the CE. Remove the cover of the CE following the manufacturer's instructions. Install a MIC adapter in each CE: a. Carefully remove the MIC from its anti-static packaging. b. Install the MIC into an available PCI slot. Remove all devices except the keyboard, video adapter, and floppy drive. Replace the cover of the computer. Power on the CE. Disable any disks in the computer except for the floppy drive. Use the BIOS setup utility to disable all on-board SCSI, Ethernet, and IDE controllers, parallel ports, COM ports, and USB. The MIC has no onboard jumpers or switches. MICs installed on CEs must be installed in the same slot location. For example, install the MICs in slot 1 on both CE1 and CE2. They must also have the same IRQ and use the same PCI resources. You should install the MIC in a primary PCI bus slot whenever possible. The initial installation of the CE software requires a mouse. Usually this is a 3.5'' floppy drive. Refer to the manufacturer's setup documentation for information. Make sure that only the following devices are enabled in the CMOS: • Video adapter • Keyboard • Mouse for the initial CE installation • 3.5'' floppy drive Permanently disable or remove all other devices. 2-4 HP Netserver AA Solution Installation Guide
-
 1
1 -
2
-
3
-
4
-
5
-
6
-
7
-
8
-
9
-
10
-
11
-
12
-
13
-
14
-
15
-
16
-
17
-
18
-
19
-
20
-
21
-
22
-
23
-
24
-
25
-
26
-
 27
27 -
 28
28 -
 29
29 -
 30
30 -
 31
31 -
 32
32 -
 33
33 -
 34
34 -
 35
35 -
 36
36 -
 37
37 -
38
-
39
-
40
-
41
-
42
-
43
-
44
-
45
-
46
-
47
-
48
-
49
-
50
-
51
-
52
-
53
-
54
-
55
-
56
-
57
-
58
-
59
-
60
-
61
-
62
-
63
-
64
-
65
-
66
-
67
-
68
-
69
-
70
-
71
-
72
-
73
-
74
-
75
-
76
-
77
-
78
-
79
-
80
-
81
-
82
 |
 |