HP rp3440 HP Integrity and HP 9000 iLO MP Operations Guide, Fifth Edition - Page 113
Defining Client IP Address or DNS Name Access, Setting Lights-Out Management Device Rights
 |
View all HP rp3440 manuals
Add to My Manuals
Save this manual to your list of manuals |
Page 113 highlights
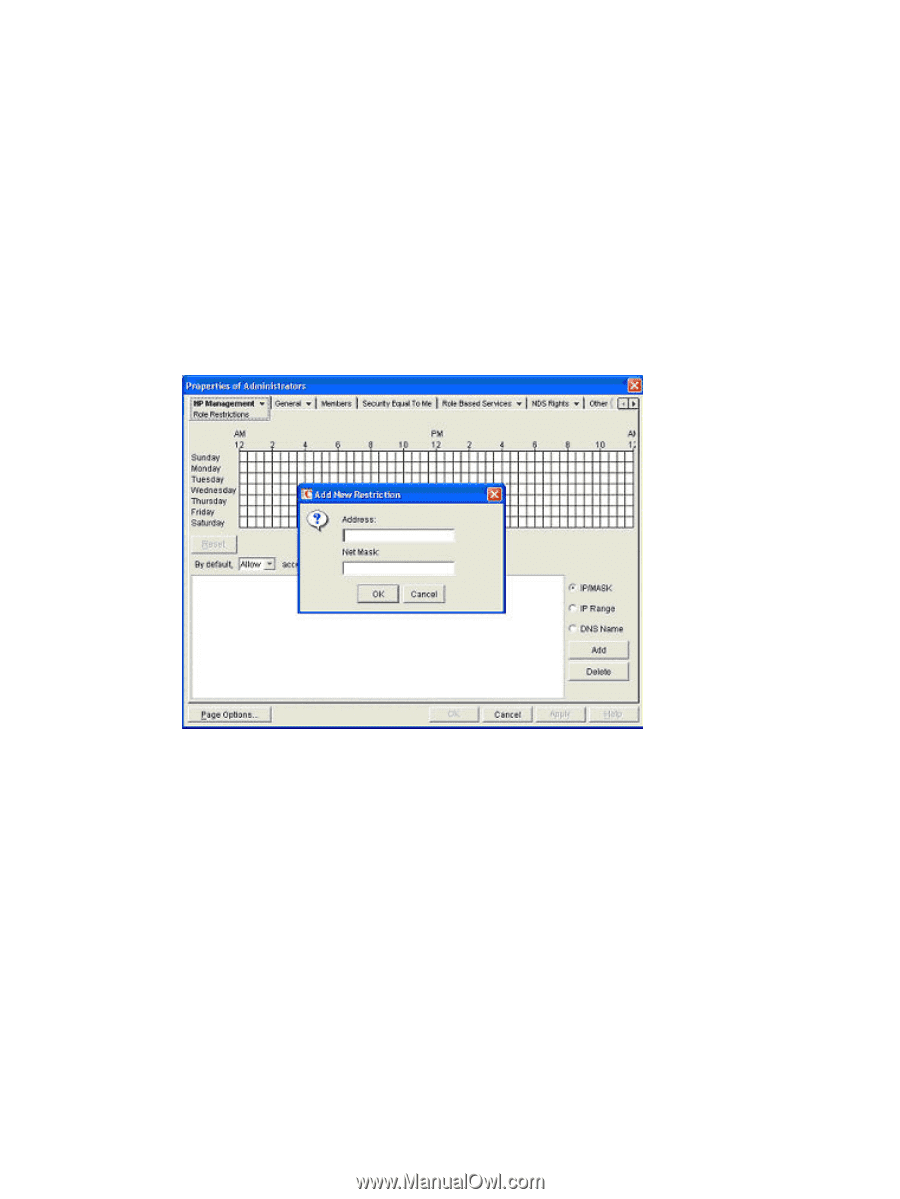
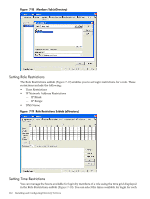
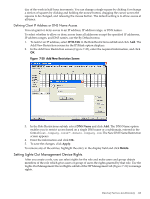
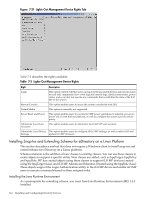
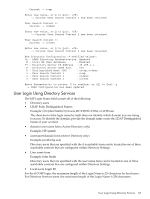
day of the week in half-hour increments. You can change a single square by clicking it or change a section of squares by clicking and holding the mouse button, dragging the cursor across the squares to be changed, and releasing the mouse button. The default setting is to allow access at all times. Defining Client IP Address or DNS Name Access You can grant or deny access to an IP address, IP address range, or DNS names. To select whether to allow or deny access from all addresses except the specified IP addresses, IP address ranges, and DNS names, use the By Default menu. 1. To restrict an IP address, select IP/MASK in the Role Restrictions subtab and click Add. The Add New Restriction screen for the IP/Mask option displays. 2. In the Add New Restriction screen (Figure 7-20), enter the required information, and click OK. Figure 7-20 Add New Restriction Screen 3. In the Role Restrictions subtab, select DNS Name and click Add. The DNS Name option enables you to restrict access based on a single DNS name or a subdomain, entered in the form of host.company.com or *.domain.company.com. The New DNS Name Restriction screen appears. 4. Enter the information and click OK. 5. To save the changes, click Apply. To remove any of the entries, highlight the entry in the display field and click Delete. Setting Lights-Out Management Device Rights After you create a role, you can select rights for the role and make users and group objects members of the role which gives users or group of users the rights granted by that role. Use the Lights Out Management Device Rights subtab of the HP Management tab (Figure 7-21) to manage rights. Directory Services for eDirectory 113
-
 1
1 -
2
-
3
-
4
-
5
-
6
-
7
-
8
-
9
-
10
-
11
-
12
-
13
-
14
-
15
-
16
-
17
-
18
-
19
-
20
-
21
-
22
-
23
-
24
-
25
-
26
-
27
-
28
-
29
-
30
-
31
-
32
-
33
-
34
-
35
-
36
-
37
-
38
-
39
-
40
-
41
-
42
-
43
-
44
-
45
-
46
-
47
-
48
-
49
-
50
-
51
-
52
-
53
-
54
-
55
-
56
-
57
-
58
-
59
-
60
-
61
-
62
-
63
-
64
-
65
-
66
-
67
-
68
-
69
-
70
-
71
-
72
-
73
-
74
-
75
-
76
-
77
-
78
-
79
-
80
-
81
-
82
-
83
-
84
-
85
-
86
-
87
-
88
-
89
-
90
-
91
-
92
-
93
-
94
-
95
-
96
-
97
-
98
-
99
-
100
-
101
-
102
-
103
-
104
-
105
-
106
-
107
-
 108
108 -
 109
109 -
 110
110 -
 111
111 -
 112
112 -
 113
113 -
 114
114 -
 115
115 -
 116
116 -
 117
117 -
 118
118 -
119
-
120
-
121
-
122
-
123
-
124
-
125
-
126
-
127
-
128
-
129
-
130
-
131
-
132
-
133
-
134
-
135
-
136
-
137
-
138
-
139
-
140
 |
 |