Lexmark X644E User's Guide - Page 39
Faxing, Sending a fax
 |
UPC - 734646093156
View all Lexmark X644E manuals
Add to My Manuals
Save this manual to your list of manuals |
Page 39 highlights
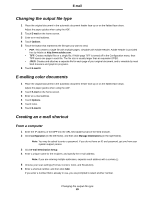
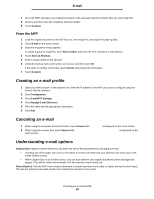
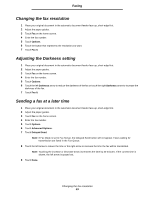
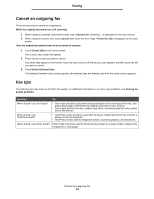
4 Faxing Note: Faxing is not supported on all models. The fax function lets you scan items and fax them to one or more recipients directly from the MFP. When you touch Fax, it opens the fax destination screen. You enter the fax number and touch Fax It to send your fax. You can also change the fax settings to fit your personal needs. During initial MFP setup, you may be required to configure the MFP for faxing. For additional information, see Fax setup. The following fax topics are available in this and other chapters. Sending a fax Using fax destination shortcuts Using the address book Sending faxes from a computer Creating shortcuts Understanding fax options Changing the fax resolution Adjusting the Darkness setting Sending a fax at a later time Cancel an outgoing fax Fax tips Fax setup Solving fax quality problems Viewing a fax log Sending a fax There are two ways to send a fax: enter the number using a numeric keypad or use a shortcut number. Use the instructions below to send a fax using the keypad, or see Using fax destination shortcuts to fax your documents using a shortcut. 1 Place your original document in the automatic document feeder face-up, short-edge first. 2 Adjust the paper guides. 3 Touch Fax on the home screen. 4 Enter the fax number using the numbers on the touch screen or keypad. Add recipients by touching next and then entering the recipient's telephone number or shortcut number, or search the address book. Note: To place a two-second dialing pause within a fax number, use the Dial Pause button. The dial pause will appear as a comma in the Fax to: box. Use this feature if you need to dial an outside line first. 5 Touch Fax It. Faxing 39
-
 1
1 -
2
-
3
-
4
-
5
-
6
-
7
-
8
-
9
-
10
-
11
-
12
-
13
-
14
-
15
-
16
-
17
-
18
-
19
-
20
-
21
-
22
-
23
-
24
-
25
-
26
-
27
-
28
-
29
-
30
-
31
-
32
-
33
-
 34
34 -
 35
35 -
 36
36 -
 37
37 -
 38
38 -
 39
39 -
 40
40 -
 41
41 -
 42
42 -
 43
43 -
 44
44 -
45
-
46
-
47
-
48
-
49
-
50
-
51
-
52
-
53
-
54
-
55
-
56
-
57
-
58
-
59
-
60
-
61
-
62
-
63
-
64
-
65
-
66
-
67
-
68
-
69
-
70
-
71
-
72
-
73
-
74
-
75
-
76
-
77
-
78
-
79
-
80
-
81
-
82
-
83
-
84
-
85
-
86
-
87
-
88
-
89
-
90
-
91
-
92
-
93
-
94
-
95
-
96
-
97
-
98
-
99
-
100
-
101
-
102
-
103
-
104
-
105
-
106
-
107
-
108
-
109
-
110
-
111
-
112
-
113
-
114
-
115
-
116
-
117
-
118
-
119
-
120
-
121
-
122
-
123
-
124
-
125
-
126
-
127
-
128
-
129
-
130
-
131
-
132
-
133
-
134
-
135
-
136
-
137
-
138
-
139
-
140
-
141
-
142
-
143
-
144
-
145
-
146
-
147
-
148
 |
 |
