Toshiba Satellite E305 PSE30C-00E00C Users Manual Canada; English - Page 104
Restoring the pre-installed software from your created Recovery, Media, Recovery Media Creator, Start
 |
View all Toshiba Satellite E305 PSE30C-00E00C manuals
Add to My Manuals
Save this manual to your list of manuals |
Page 104 highlights
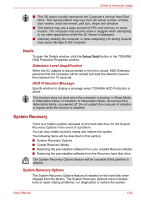
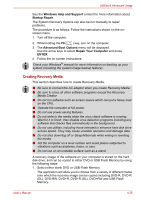
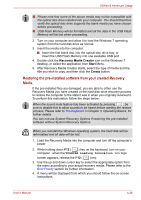
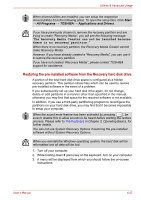
Utilities & Advanced Usage ■ Please note that some of the above media may not be compatible with the optical disc drive installed into your computer. You should therefore verify the optical disc drive supports the blank media you have chosen before proceeding. ■ USB Flash Memory will be formatted and all the data in the USB Flash Memory will be lost when proceeding. 2. Turn on your computer and allow it to load the Windows 7 operating system from the hard disk drive as normal. 3. Insert the media into the computer. ■ Insert the first blank disc into the optical disc drive tray, or Insert the USB Flash Memory into one available USB port 4. Double click the Recovery Media Creator icon on the Windows 7 desktop, or select the application from Start Menu. 5. After Recovery Media Creator starts, select the type of media and the title you wish to copy, and then click the Create button. Restoring the pre-installed software from your created Recovery Media If the pre-installed files are damaged, you are able to either use the Recovery Media you have created or the hard disk drive recovery process to restore the computer to the state it was in when you originally received it. To perform this restoration, follow the steps below: When the sound mute feature has been activated by pressing , be F12 sure to disable this to allow sounds to be heard before starting the restore process. Please refer to The Keyboard in Chapter 3, Operating Basics, for further details. You can not use System Recovery Options if restoring the pre-installed software without System Recovery Options. When you reinstall the Windows operating system, the hard disk will be reformatted and all data will be lost. 1. Load the Recovery Media into the computer and turn off the computer's power. 2. While holding down F12 ( ) key on the keyboard, turn on your F12 computer - when the TOSHIBA Leading Innovation >>> logo screen appears, release the F12 ( ) key. F12 3. Use the up and down cursor key to select the appropriate option from the menu according to your actual recovery media. Please refer to the Boot Priority section for further information. 4. A menu will be displayed from which you should follow the on-screen instructions. User's Manual 4-26
-
 1
1 -
2
-
3
-
4
-
5
-
6
-
7
-
8
-
9
-
10
-
11
-
12
-
13
-
14
-
15
-
16
-
17
-
18
-
19
-
20
-
21
-
22
-
23
-
24
-
25
-
26
-
27
-
28
-
29
-
30
-
31
-
32
-
33
-
34
-
35
-
36
-
37
-
38
-
39
-
40
-
41
-
42
-
43
-
44
-
45
-
46
-
47
-
48
-
49
-
50
-
51
-
52
-
53
-
54
-
55
-
56
-
57
-
58
-
59
-
60
-
61
-
62
-
63
-
64
-
65
-
66
-
67
-
68
-
69
-
70
-
71
-
72
-
73
-
74
-
75
-
76
-
77
-
78
-
79
-
80
-
81
-
82
-
83
-
84
-
85
-
86
-
87
-
88
-
89
-
90
-
91
-
92
-
93
-
94
-
95
-
96
-
97
-
98
-
 99
99 -
 100
100 -
 101
101 -
 102
102 -
 103
103 -
 104
104 -
 105
105 -
 106
106 -
 107
107 -
 108
108 -
 109
109 -
110
-
111
-
112
-
113
-
114
-
115
-
116
-
117
-
118
-
119
-
120
-
121
-
122
-
123
-
124
-
125
-
126
-
127
-
128
-
129
-
130
-
131
-
132
-
133
-
134
-
135
-
136
-
137
-
138
-
139
-
140
-
141
-
142
-
143
-
144
-
145
-
146
-
147
-
148
-
149
-
150
-
151
-
152
-
153
-
154
-
155
-
156
 |
 |