Brother International MFC-J6710DW Advanced Users Manual - English - Page 64
Trimming, DPOF printing - printing problems
 |
UPC - 012502626633
View all Brother International MFC-J6710DW manuals
Add to My Manuals
Save this manual to your list of manuals |
Page 64 highlights
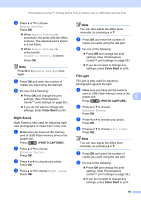
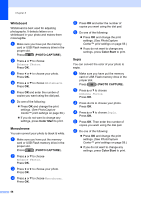
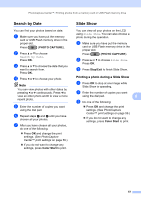
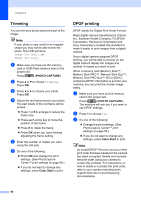
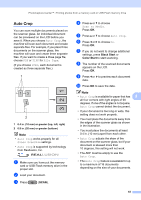
Chapter 8 Trimming 8 You can trim your photo and print a part of the image. Note If your photo is very small or an irregular shape you may not be able to trim the photo. The LCD will show Image Too Small. or Image Too Long. a Make sure you have put the memory card or USB Flash memory drive in the proper slot. Press (PHOTO CAPTURE). b Press a or b to choose Trimming. Press OK. c Press d or c to choose your photo. Press OK. d Adjust the red frame around your photo. The part inside of the red frame will be printed. Press l or # to enlarge or reduce the frame size. Press each arrow key to move the position of the frame. Press 0 to rotate the frame. Press OK when you have finished adjusting the frame setting. e Enter the number of copies you want using the dial pad. f Do one of the following: Press OK and change the print settings. (See PhotoCapture Center™ print settings on page 59.) If you do not want to change any settings, press Color Start to print. DPOF printing 8 DPOF stands for Digital Print Order Format. Major digital camera manufacturers (Canon Inc., Eastman Kodak Company, FUJIFILM Corporation, Panasonic Corporation and Sony Corporation) created this standard to make it easier to print images from a digital camera. If your digital camera supports DPOF printing, you will be able to choose on the digital camera display the images and number of copies you want to print. When a memory card (Memory Stick™, Memory Stick PRO™, Memory Stick Duo™, Memory Stick PRO Duo™ SD or SDHC) containing DPOF information is put into your machine, you can print the chosen image easily. a Make sure you have put the memory card in the proper slot. Press (PHOTO CAPTURE). The machine will ask you if you want to use DPOF settings. b Press 1 to choose Yes. c Do one of the following: Change the print settings. (See PhotoCapture Center™ print settings on page 59.) If you do not want to change any settings, press Color Start to print. Note An Invalid DPOF File error can occur if the print order that was created on the camera has been corrupted. Delete and recreate the print order using your camera to correct this problem. For instructions on how to delete or recreate the print order, refer to your camera manufacturer's support Web site or accompanying documentation. 58
-
 1
1 -
2
-
3
-
4
-
5
-
6
-
7
-
8
-
9
-
10
-
11
-
12
-
13
-
14
-
15
-
16
-
17
-
18
-
19
-
20
-
21
-
22
-
23
-
24
-
25
-
26
-
27
-
28
-
29
-
30
-
31
-
32
-
33
-
34
-
35
-
36
-
37
-
38
-
39
-
40
-
41
-
42
-
43
-
44
-
45
-
46
-
47
-
48
-
49
-
50
-
51
-
52
-
53
-
54
-
55
-
56
-
57
-
58
-
 59
59 -
 60
60 -
 61
61 -
 62
62 -
 63
63 -
 64
64 -
 65
65 -
 66
66 -
 67
67 -
 68
68 -
 69
69 -
70
-
71
-
72
-
73
-
74
-
75
-
76
-
77
-
78
-
79
-
80
-
81
-
82
-
83
-
84
-
85
-
86
-
87
-
88
-
89
 |
 |