Canon VIXIA HF R400 Instruction Manual - Page 114
To check that the software was installed correctly, First-time connection to a computer running
 |
View all Canon VIXIA HF R400 manuals
Add to My Manuals
Save this manual to your list of manuals |
Page 114 highlights
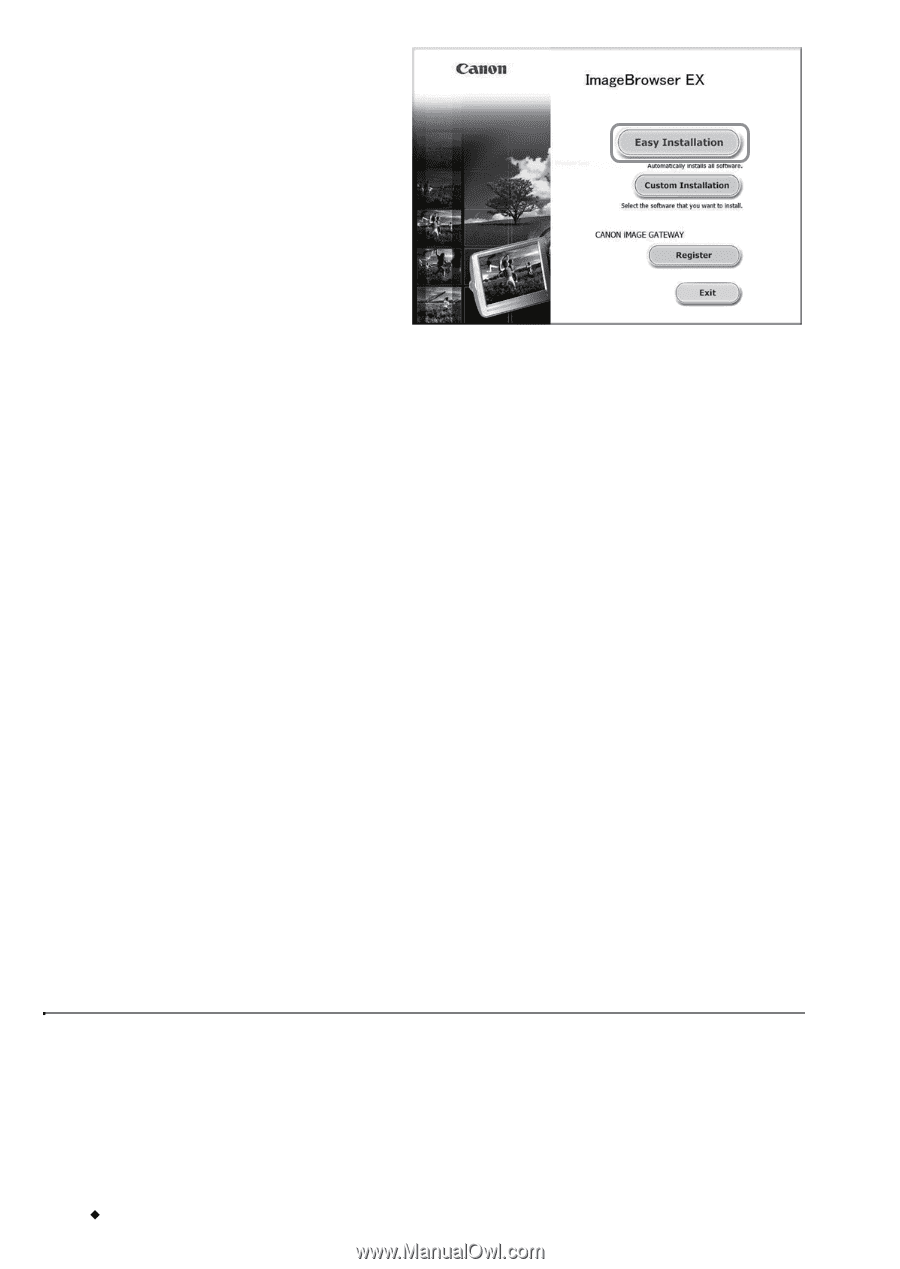
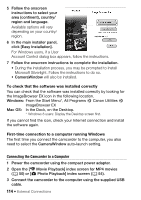
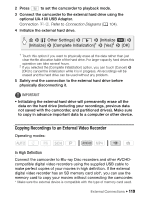
5 Follow the onscreen instructions to select your area (continent), country/ region and language. Available options will vary depending on your country/ region. 6 In the main installer panel, click [Easy Installation]. For Windows users, if a User Account Control dialog box appears, follow the instructions. 7 Follow the onscreen instructions to complete the installation. • During the installation process, you may be prompted to install Microsoft Silverlight. Follow the instructions to do so. • CameraWindow will also be installed. To check that the software was installed correctly You can check that the software was installed correctly by looking for the ImageBrowser EX icon in the following location. Windows: From the Start Menu*, All Programs > Canon Utilities > ImageBrowser EX Mac OS: In the Dock, on the Desktop. * Windows 8 users: Display the Desktop screen first. If you cannot find the icon, check your Internet connection and install the software again. First-time connection to a computer running Windows The first time you connect the camcorder to the computer, you also need to select the CameraWindow auto-launch setting. Connecting the Camcorder to a Computer 1 Power the camcorder using the compact power adapter. 2 Open the [y Movie Playback] index screen for MP4 movies (A 50) or [} Photo Playback] index screen (A 54). 3 Connect the camcorder to the computer using the supplied USB cable. 114 Š External Connections
-
 1
1 -
2
-
3
-
4
-
5
-
6
-
7
-
8
-
9
-
10
-
11
-
12
-
13
-
14
-
15
-
16
-
17
-
18
-
19
-
20
-
21
-
22
-
23
-
24
-
25
-
26
-
27
-
28
-
29
-
30
-
31
-
32
-
33
-
34
-
35
-
36
-
37
-
38
-
39
-
40
-
41
-
42
-
43
-
44
-
45
-
46
-
47
-
48
-
49
-
50
-
51
-
52
-
53
-
54
-
55
-
56
-
57
-
58
-
59
-
60
-
61
-
62
-
63
-
64
-
65
-
66
-
67
-
68
-
69
-
70
-
71
-
72
-
73
-
74
-
75
-
76
-
77
-
78
-
79
-
80
-
81
-
82
-
83
-
84
-
85
-
86
-
87
-
88
-
89
-
90
-
91
-
92
-
93
-
94
-
95
-
96
-
97
-
98
-
99
-
100
-
101
-
102
-
103
-
104
-
105
-
106
-
107
-
108
-
 109
109 -
 110
110 -
 111
111 -
 112
112 -
 113
113 -
 114
114 -
 115
115 -
 116
116 -
 117
117 -
 118
118 -
 119
119 -
120
-
121
-
122
-
123
-
124
-
125
-
126
-
127
-
128
-
129
-
130
-
131
-
132
-
133
-
134
-
135
-
136
-
137
-
138
-
139
-
140
-
141
-
142
-
143
-
144
-
145
-
146
-
147
-
148
-
149
-
150
-
151
-
152
-
153
-
154
-
155
-
156
-
157
-
158
-
159
-
160
-
161
-
162
-
163
-
164
-
165
-
166
-
167
-
168
-
169
-
170
-
171
-
172
-
173
-
174
-
175
-
176
-
177
-
178
-
179
-
180
-
181
-
182
-
183
-
184
-
185
-
186
-
187
-
188
-
189
-
190
-
191
-
192
-
193
-
194
-
195
-
196
 |
 |