Compaq ProLiant 1000 User Guide: Online Storage Controller Recovery Option - Page 46
Planning and Installing the Online Storage Controller
 |
View all Compaq ProLiant 1000 manuals
Add to My Manuals
Save this manual to your list of manuals |
Page 46 highlights
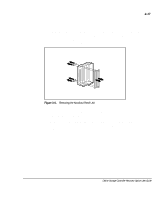
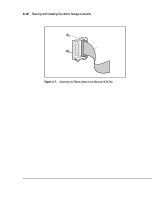
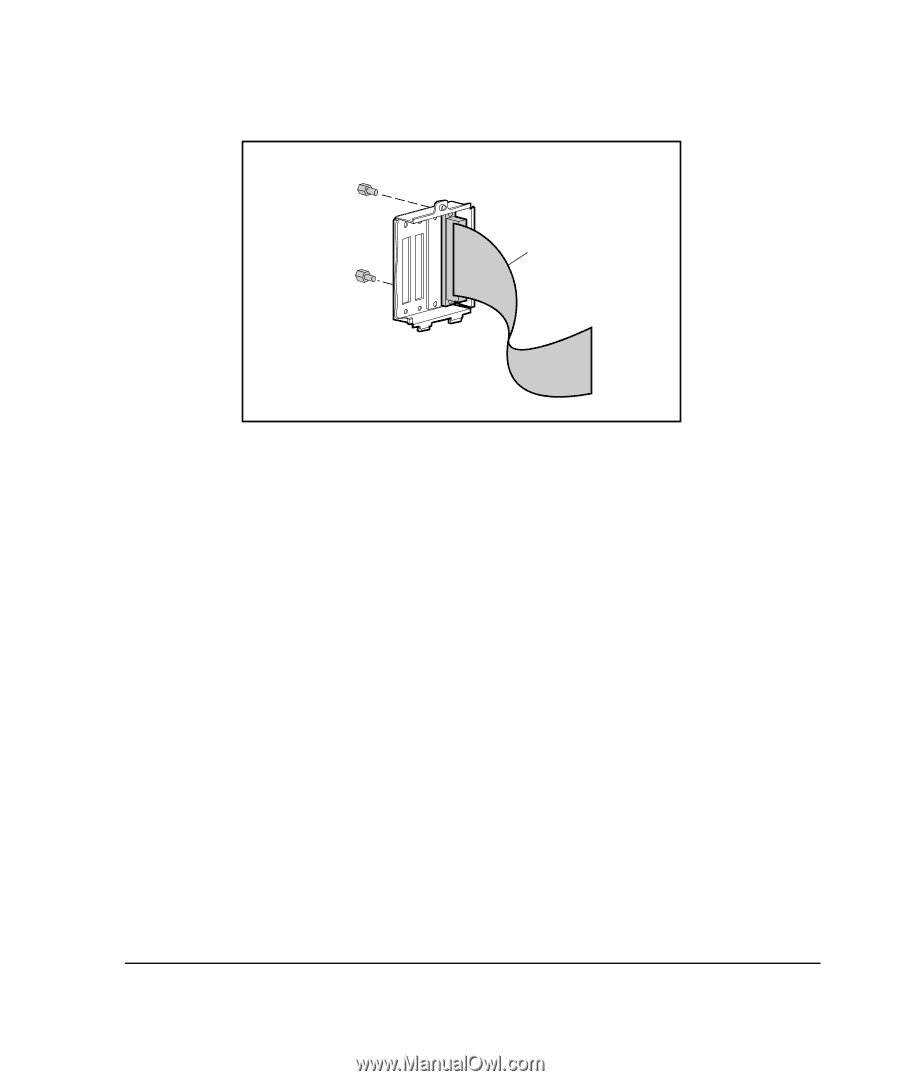
3-18 Planning and Installing the Online Storage Controller 4321 Stripe Figure 3-7. Attaching the Ribbon Cable to the External SCSI Slot 5. When all internal ribbon cables are connected to the knockout panel (if you used a knockout panel), install it on the server and bolt it into place with the black case mount bolts. If your server case has integrated knockout slots, skip this step. 6. Connect the internal ribbon connectors to the internal ports of the dualchannel SMART-2 controllers (see Figure 3-8). 7. Label the ports on the knockout panel so that it is easy to distinguish which connector is connected to each of the SMART-2 controllers.
-
 1
1 -
2
-
3
-
4
-
5
-
6
-
7
-
8
-
9
-
10
-
11
-
12
-
13
-
14
-
15
-
16
-
17
-
18
-
19
-
20
-
21
-
22
-
23
-
24
-
25
-
26
-
27
-
28
-
29
-
30
-
31
-
32
-
33
-
34
-
35
-
36
-
37
-
38
-
39
-
40
-
 41
41 -
 42
42 -
 43
43 -
 44
44 -
 45
45 -
 46
46 -
 47
47 -
 48
48 -
 49
49 -
 50
50 -
 51
51 -
52
-
53
-
54
-
55
-
56
-
57
-
58
-
59
-
60
-
61
-
62
-
63
-
64
-
65
-
66
-
67
-
68
-
69
-
70
-
71
-
72
-
73
-
74
-
75
-
76
-
77
-
78
-
79
-
80
-
81
-
82
-
83
-
84
-
85
-
86
-
87
-
88
-
89
 |
 |
.
.
.
.
.
.
.
.
.
.
.
.
.
.
.
.
.
.
.
.
.
.
.
.
.
.
.
.
.
.
3-18
Planning and Installing the Online Storage Controller
Stripe
4
3
2
1
Figure 3-7.
Attaching the Ribbon Cable to the External SCSI Slot
5.
When all internal ribbon cables are connected to the knockout panel (if
you used a knockout panel), install it on the server and bolt it into place
with the black case mount bolts.
If your server case has integrated
knockout slots, skip this step.
6.
Connect the internal ribbon connectors to the internal ports of the dual-
channel SMART-2 controllers (see Figure 3-8).
7.
Label the ports on the knockout panel so that it is easy to distinguish
which connector is connected to each of the SMART-2 controllers.