Konica Minolta Kodak Truper 3610 User Guide - Page 45
User Shading, Start Shading, Now Adjusting
 |
View all Konica Minolta Kodak Truper 3610 manuals
Add to My Manuals
Save this manual to your list of manuals |
Page 45 highlights
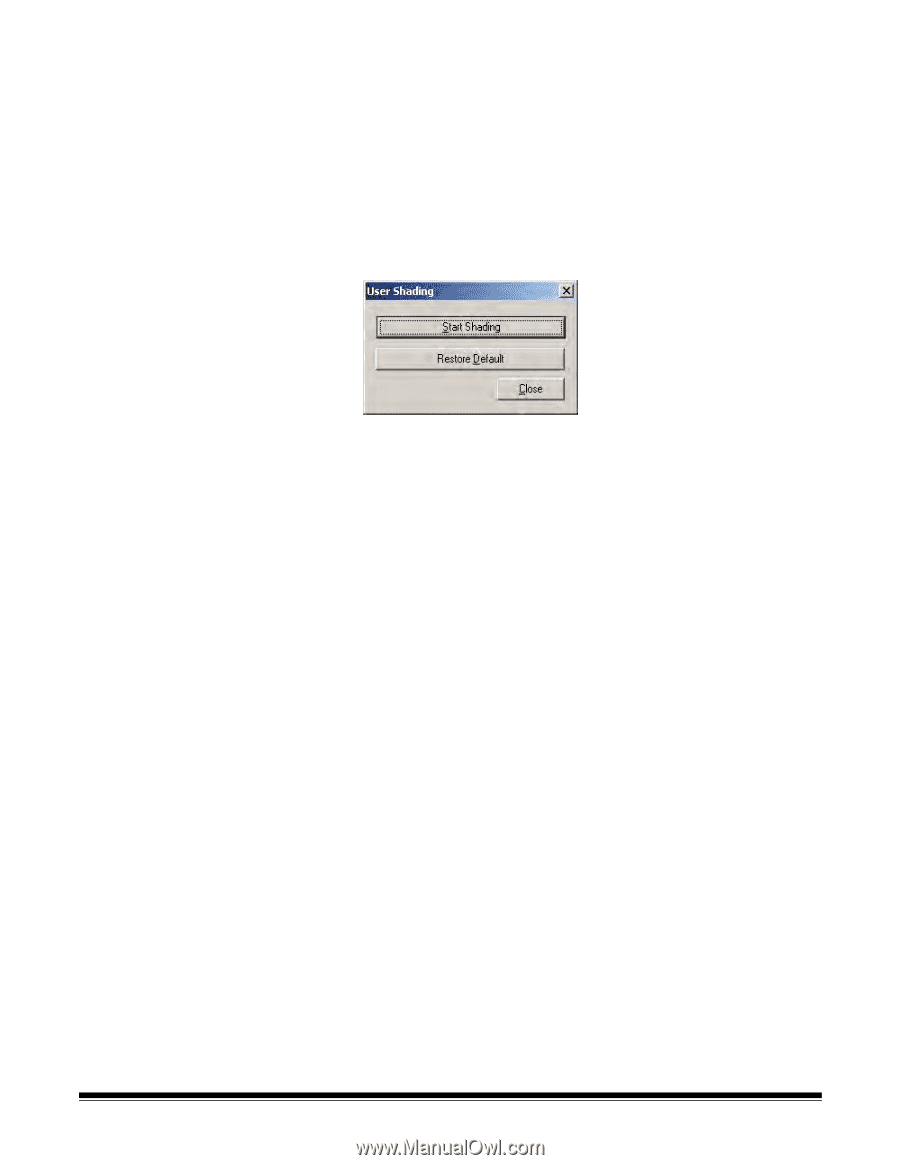
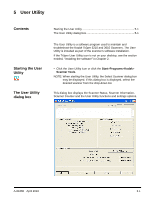
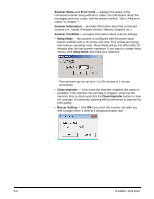
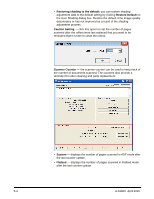
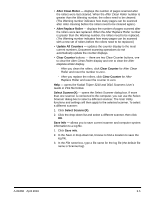
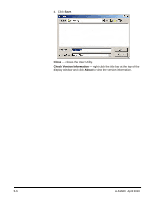
• User Shading - provides adjustments to improve image quality. Shading adjustment should be performed when the density of the scanned images is uneven and the image displays perpendicular lines, when colors in some parts of the scanned image are extremely different from what is expected, or when the image quality fails to be improved after cleaning the scanner. Before performing shading adjustment, thoroughly clean the drive rollers, background bars and ADF glass areas. Only use shading paper that is supplied with the scanner and is in good condition. 1. Click User Shading on the User Utility. 2. Click Start Shading. The User Shading utility will guide you through the necessary steps. 3. Clean the inside of the scanner. See the section entitled, "Cleaning inside the scanner" in Chapter 6. When finished, click OK. 4. Turn over the upper and lower background bars to white. See the section entitled, "Changing the background bars" in Chapter 3. When finished, click OK. 5. Place the shading paper in the feeder tray in the Landscape position, then click OK. The scanner reads the shading paper and the shading adjustment sets the background bars for the white shading. Wait until the message Now Adjusting is cleared from the screen. 6. Turn the upper and lower background bars over to the black side. When finished, click OK. NOTE: The shading paper is NOT used for the black background bars. The shading adjustment data with the black background bar is created. Wait until the message Now Adjusting is cleared from the screen. 7. Click OK to complete shading adjustment. NOTE: If the scanned images are still lined after the shading adjustment and these lines are not eliminated even after the ADF glass areas have been cleaned, the shading has not been compensated properly. Clean the parts again and perform the shading adjustment procedure again. A-61660 April 2010 5-3
-
 1
1 -
2
-
3
-
4
-
5
-
6
-
7
-
8
-
9
-
10
-
11
-
12
-
13
-
14
-
15
-
16
-
17
-
18
-
19
-
20
-
21
-
22
-
23
-
24
-
25
-
26
-
27
-
28
-
29
-
30
-
31
-
32
-
33
-
34
-
35
-
36
-
37
-
38
-
39
-
 40
40 -
 41
41 -
 42
42 -
 43
43 -
 44
44 -
 45
45 -
 46
46 -
 47
47 -
 48
48 -
 49
49 -
 50
50 -
51
-
52
-
53
-
54
-
55
-
56
-
57
-
58
-
59
-
60
-
61
-
62
-
63
-
64
-
65
-
66
-
67
-
68
-
69
-
70
-
71
-
72
-
73
-
74
-
75
-
76
-
77
-
78
-
79
-
80
-
81
-
82
-
83
 |
 |